
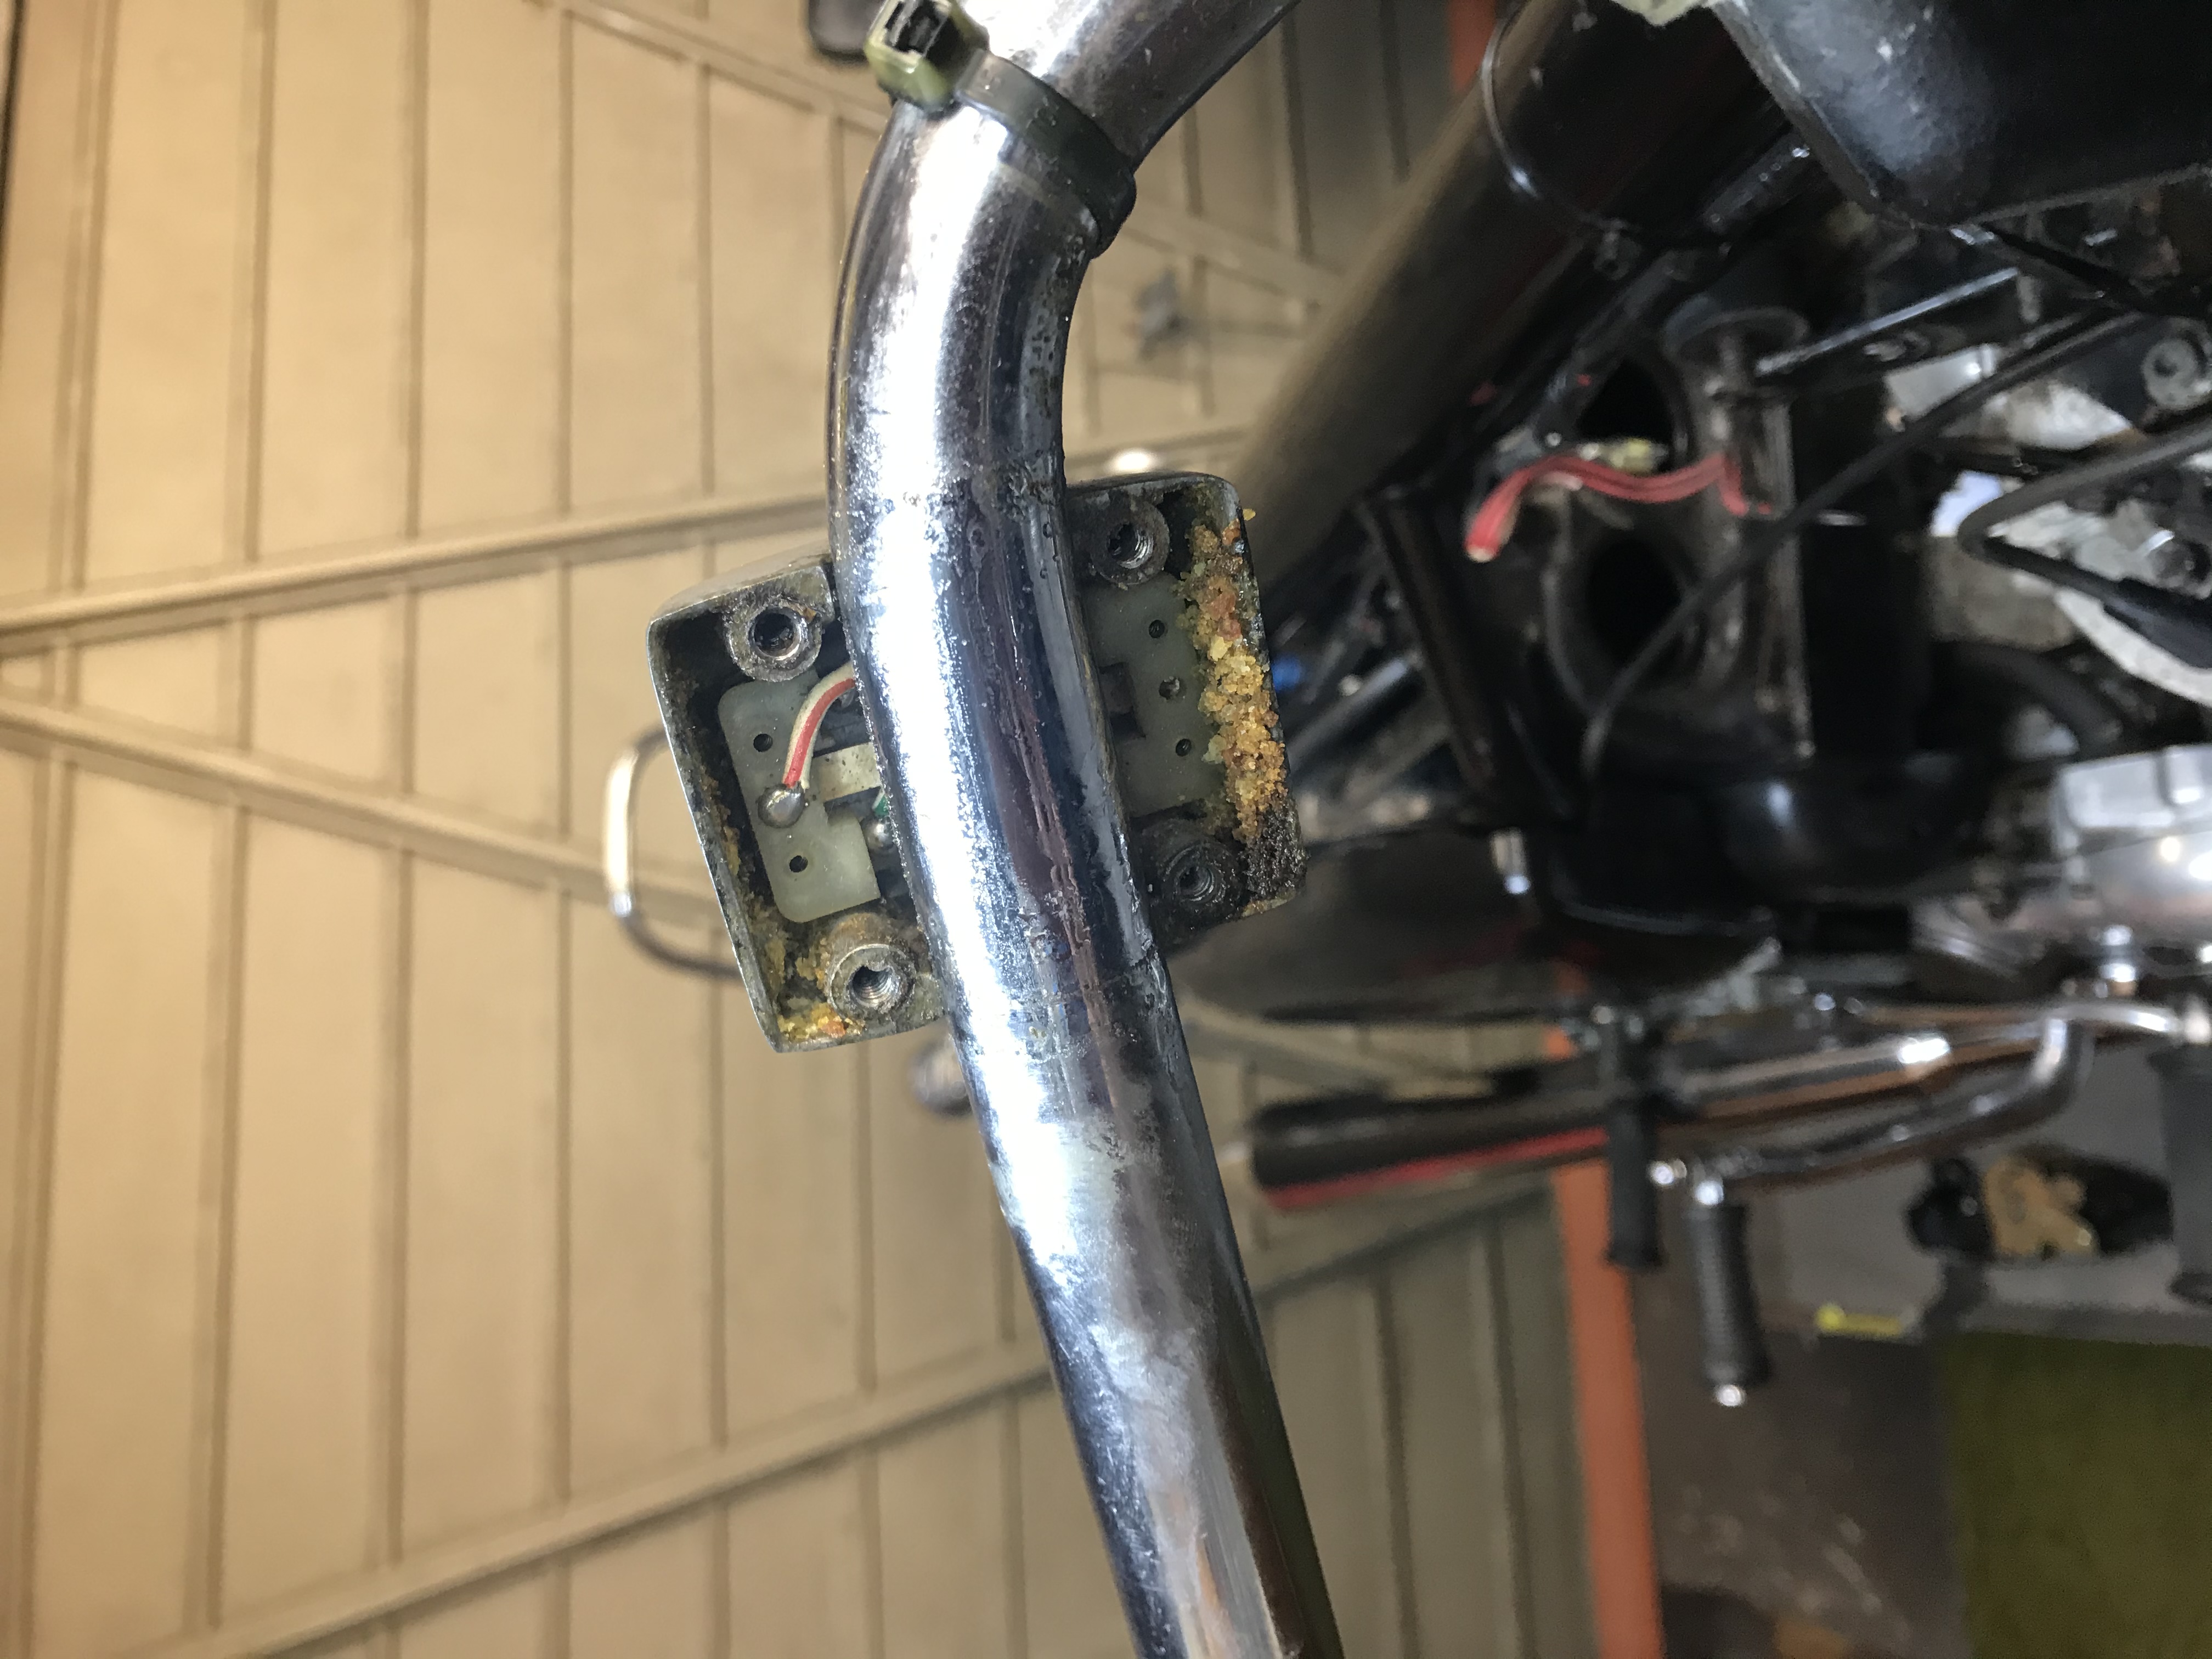
As you can see from the picture, my 46 year old switchgear on the RH side is rather cruddy although all of the services still work. Ideally , I’d like to give it a thorough clean and regrease. However, having stripped down some switches in the past, I don’t want to end up making it unserviceable. Does it strip down simply, and does it go back together easily too?
Yes, but do it inside a…
- Log in to post comments
Yes BUT
The small screws that hold the conntacterer part in place are steel, self tapped into soft ally. You only get a couple goes at rescrewing them. Also in the picture (from the front of the bike) you can see 4 holes where the fixing screws fix the whole gubbins with the lever to the handle bar, if these strip or fail then the brake and clutch lever comes 'off in your hand'. I don't know if there is a sensible answer to this but after some dismantling and mantling one wonders about the strength/safety of this department? Especial after nearly 50 yrs since the switch was made.
Any ides anyone.
- Log in to post comments
re: Yes BUT
I agree with Al about the four tiny clamping screws — a dodgy scheme when new, and frankly insane to rely on as a way of keeping one's brake lever attached now that they are approaching their golden jubilee.
There are plenty of serviceable period Japanese front brake master cylinders out there with robust stud and nut clamping systems.
Of course this may involve making alternative arrangements for switchgear if one is running indicators.
- Log in to post comments
I’m going to be extremely…
I’m going to be extremely careful how I go about pulling them apart, I my even chicken out after giving them as deep a clean as I can without actually dismantling further. I’ll be even more careful with the 4 screws as well.
- Log in to post comments
Try measuring resistance…
Try measuring resistance then washing out with WD 40, then something like Isopropy Alcohol followed by electrical contact cleaner.
- Log in to post comments
I chickened out. I simply…
I chickened out. I simply washed them both out with brake cleaner and electrical contact cleaner. I’ll review my actions if either of them develop a problem.
- Log in to post comments
The silicone grease is to…
The silicone grease is to protect the contacts from moisture, did mine 29 years ago and no issues including the kill switch. They are not sealed switches, water will enter.
- Log in to post comments
No, I haven’t forgotten the…
No, I haven’t forgotten the silicone grease John, all nicely lubed and protected.
- Log in to post comments
If attempting to retain a…
If attempting to retain a sense of originality were not critical then I’d be simply changing to a modern Japanese switchgear and master cylinder setup. I’ve seen plenty of very nice creations on the CNW website of how they’ve changed the styling, and they’re very tempting. However I must realise that at my time of life I don’t really now want to go down the modification route. My other bikes are almost 100% the way they came out of their respective factories despite being 20 and 21 years old (they’re almost new).
- Log in to post comments
LUCAS switch repair kits are…
LUCAS switch repair kits are available via a certain auction site. They come with new springs and ball bearings' should you lose one.
- Log in to post comments
This is not as daunting as…
This is not as daunting as you might imagine. I recently took mine apart, no trouble.
I did all the work in a plastic sink bowl.
Just be gentle with the self tapping screws. If you hold them in your fingers and rotate them you'll feel when they drop into the thread they had originally cut; then, just tighten them up but gently. The thing is not to cut 'new threads' when doing them up.
I re-used all of the original pieces.
Keith
- Log in to post comments
And so, of course I…
And so, of course I attempted to dismantle it as above. One screw came out ever so easily after a liberal amount of easing fluid.
the second one simply rounded its head and refused to turn. So I attacked it with a drill in order to remove the head, and then a carbide burr - which promptly broke off grrrr!
so I reassembled it with the intention of buying a complete new old stock one next week - whereupon it started to work perfectly, now held together with 1 screw and a rounded head.
- Log in to post comments


Yes, but do it inside a clear plastic bag as springs and balls will go flying about, clean all the contacts and reassemble with silicone grease, the alloy case will polish up nicely with a powered mop.