
Whilst "Self Isolating" I'm attempting to fit the original air filter box and rubber (Tubes) gaiters back onto my 1973 750 commando.
I've tried soap on the rubbers, entering the air filter front plate with the rubber tubes on already, attempting to squeeze the rubber tubes in after the plate has been loosly fitted but all to no avail!
The air filter element and rubber tuber are from Andover Norton and of substantial quality that allow such rough handling, but there is a limit and I don't want to mess anything up!
I did have the K&N one piece filter installed before but it just didn't fit right and I prefer the look of the standard fitment.
Any guidance / instructions would be well received, and hopefully I will have it fitted by the time this Corona Virus comes to an end!
Many thanks in anticipation Peter
Assuming you and I have the…
- Log in to post comments
If yours has the later air…
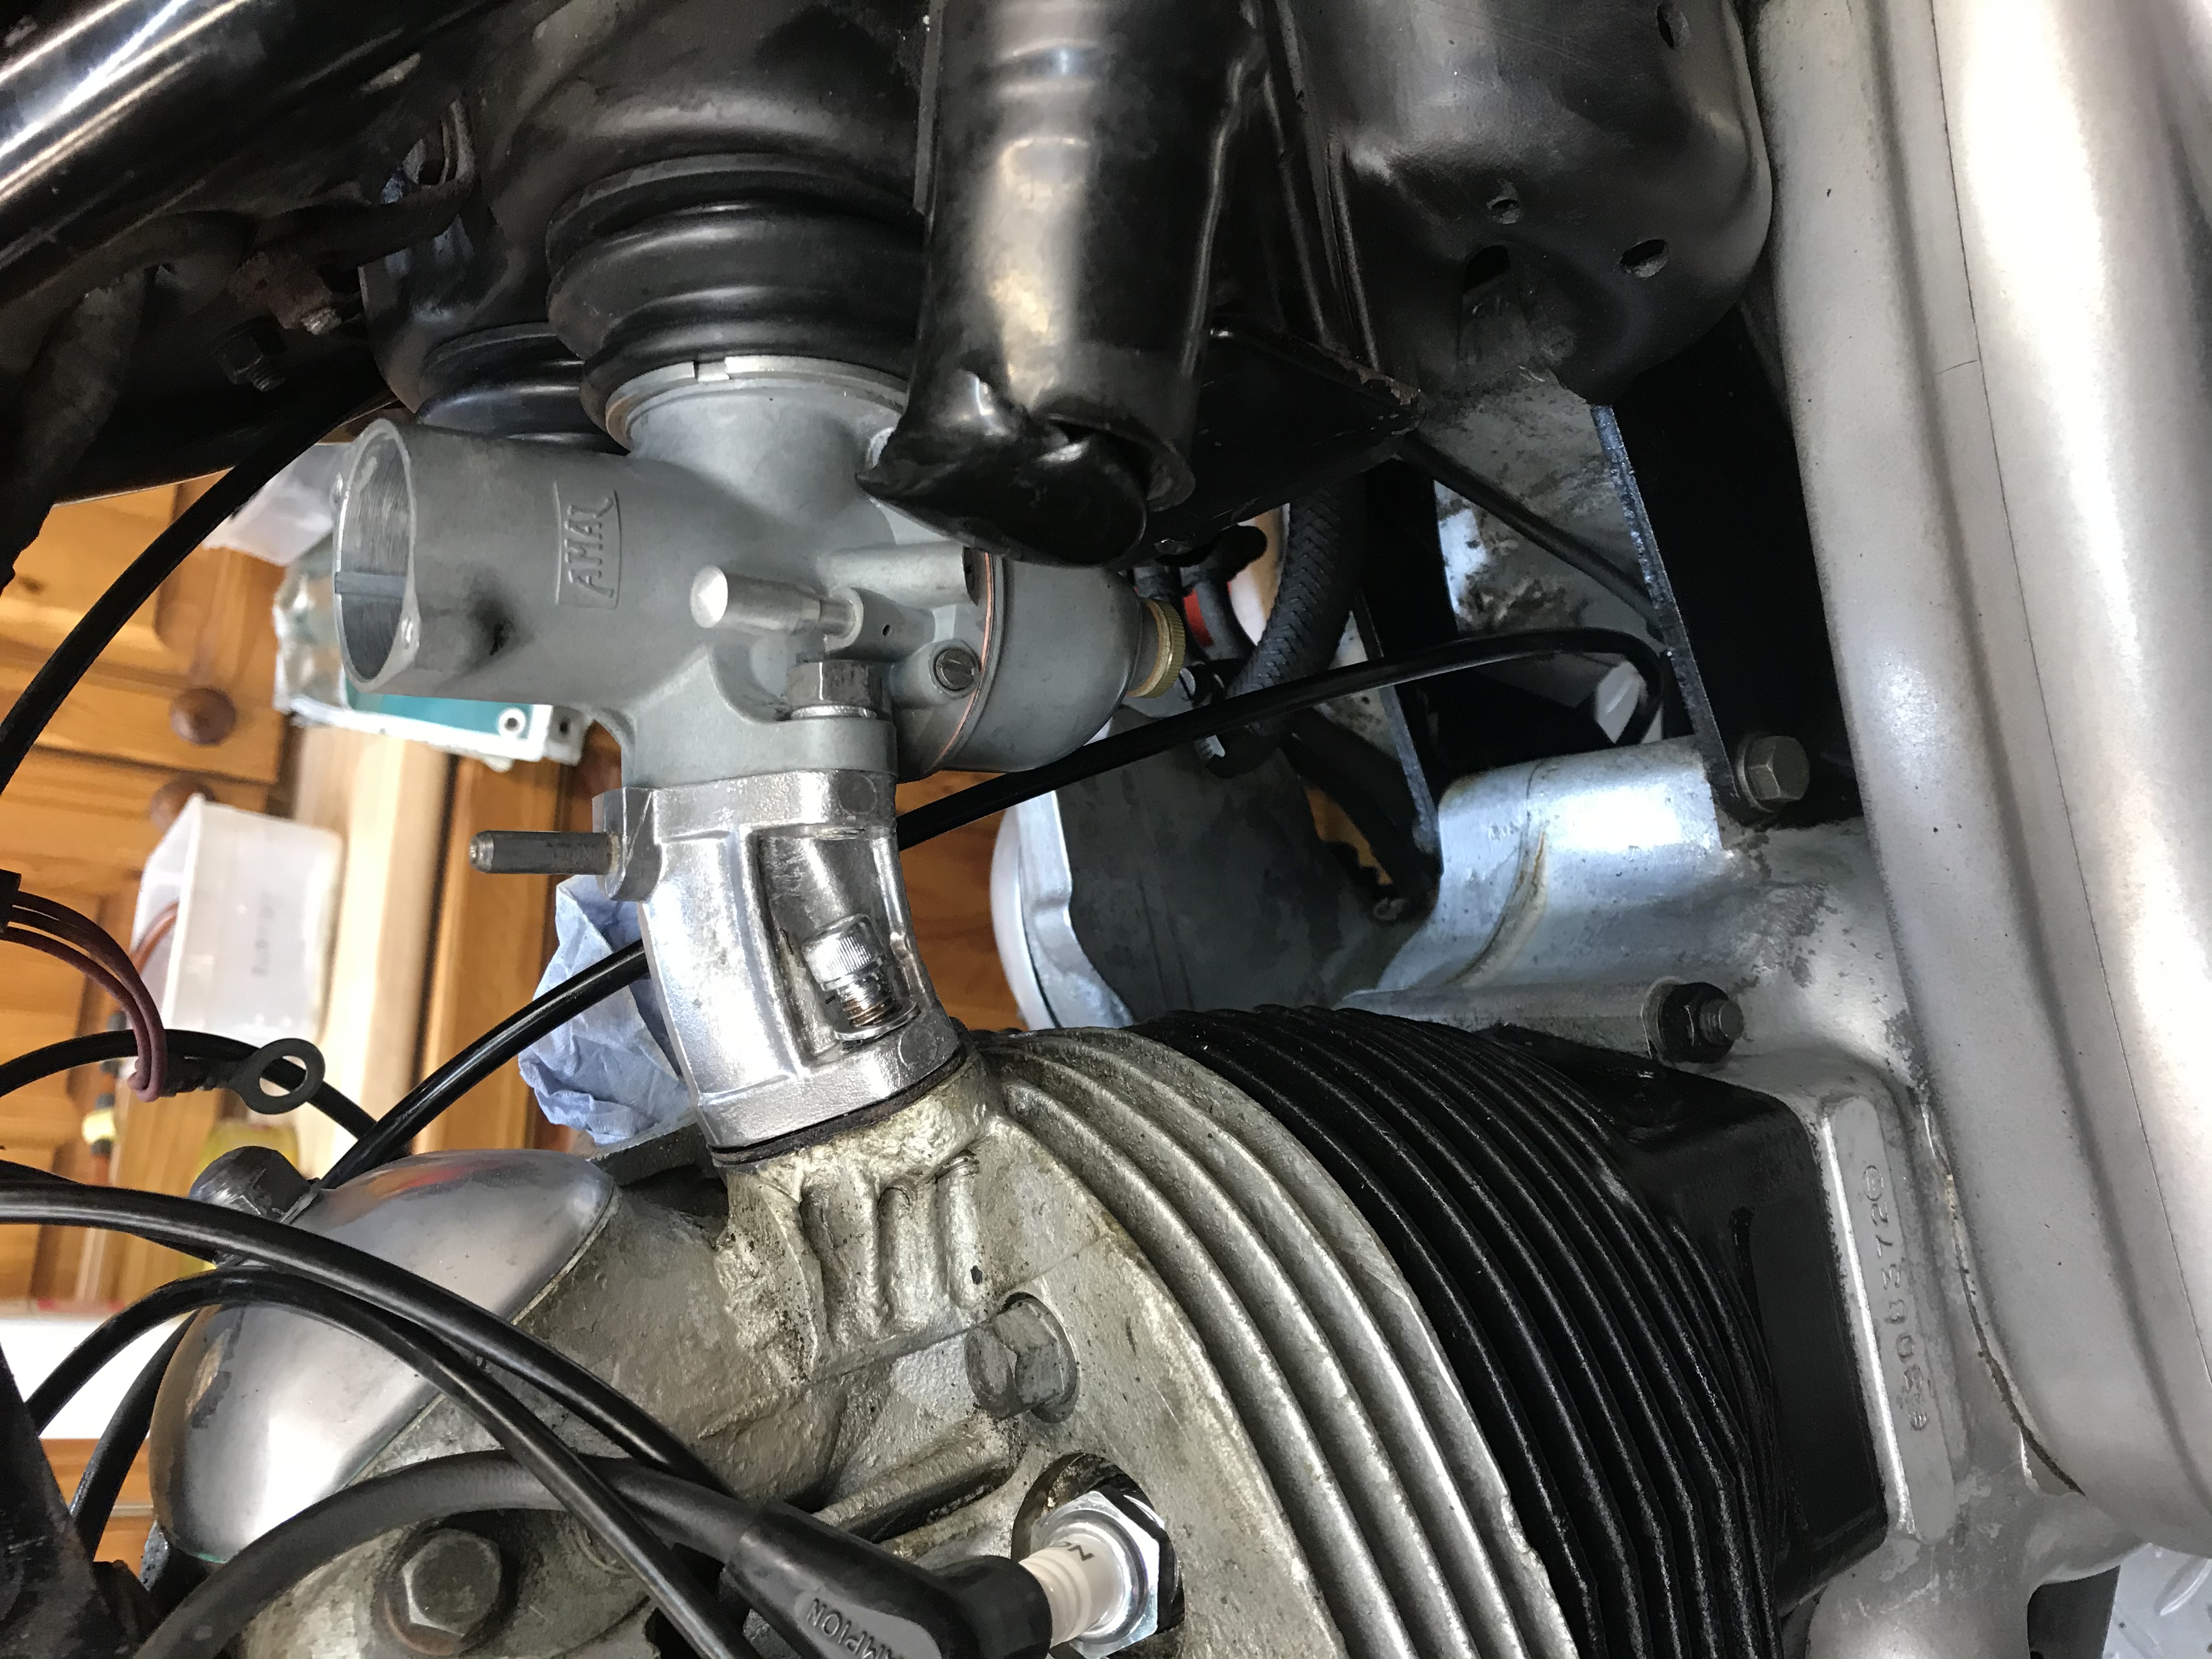
If yours has the later air filter then I also fitted the rubbers, new from AN, and then wiggled the carbs in place one at a time. Perhaps the picture will help.
- Log in to post comments
Use a hair dryer on the…
Use a hair dryer on the rubbers to warm & soften them when fitting, if you get one side started you can rotate the rubbers into place.
Mike
- Log in to post comments
Wriggle room
Peter
Whenever I do this job I undo the screw bolts from the manifold to head connection and remove the inlet insulators.
With the carbs hanging loose I fit the rubber connectors to the air filter 'ham can'.
I then connect the air filter rubbers to the sleeves on the carbs and refit the manifolds with the inlet insulators inserting the screw bolts hand tight. Check the rubbers are fitted correctly and adjust if necessary.
Tighten the manifold screw bolts. Check the rubbers are fitted correctly. If not undo screw bolts and repeat.
Job (usually) done first time.
Andy
- Log in to post comments
Thanks to all the advice,…
Thanks to all the advice, its good to know there's someone out there who cares!
I'm sure, back in the 70's when these bikes were in regular service, dealers didn't revert to hair dryers or taking off the carbs, just to change the air filter, but thanks for your input, there's always more than one way to skin a cat!
After coating the rubbers again with tyre soap and the use of a steel 6" rule to prevent the rubbers falling too deep into the filter housing,I finally managed to get both rubbers home! What a palarvour!
Now its only the rubber fork gaiters to change!
Cheers. Peter
- Log in to post comments
Air filter change and carb rubbers
Peter
Pleased you got it sorted. I definitely don't have much use for a hair-dryer these days.
However, I almost wish I hadn't bothered to respond. It probably took me longer to type the response than it would have done to do the job my way. Certainly many ways of skinning a cat!
I have looked up the routine maintenance in the Workshop Manual and I couldn't find any reference to a service interval for either cleaning or replacing the air filter.
The only reference I could find is in Section E10,
I reckon that back in the day air filters were rarely inspected or changed. So much of the Commando implemented design is a 'bit of a kludge' and I reckon the carb to air filter connection is one of those. Maintenance has definitely not been designed for.
Andy
- Log in to post comments
Glad you got them on - for…
Glad you got them on - for future reference I have found it best to mount carbs to intake runners first, then runners to head. Adjust throttle and air slide cables as you need to feel / see that they raise in unison, then fit rubbers to carbs. Next fit rubbers to air box front plate without filter and mesh in place - this will allow you to seat rubbers in their holes by reaching behind the plate with your fingers . Then pull plate forward and compress rubbers with cable ties run through plate bolt holes and around spark plugs. Insert filter and mesh , cut cable ties and fasten front plate . Job done.
- Log in to post comments
Unexpectedly …
… I found myself with the same problem today.
Unexpected, because
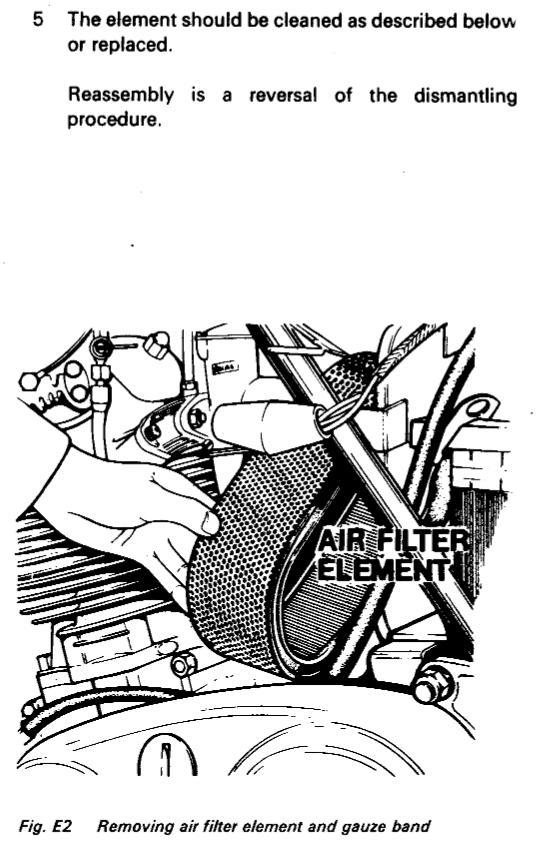
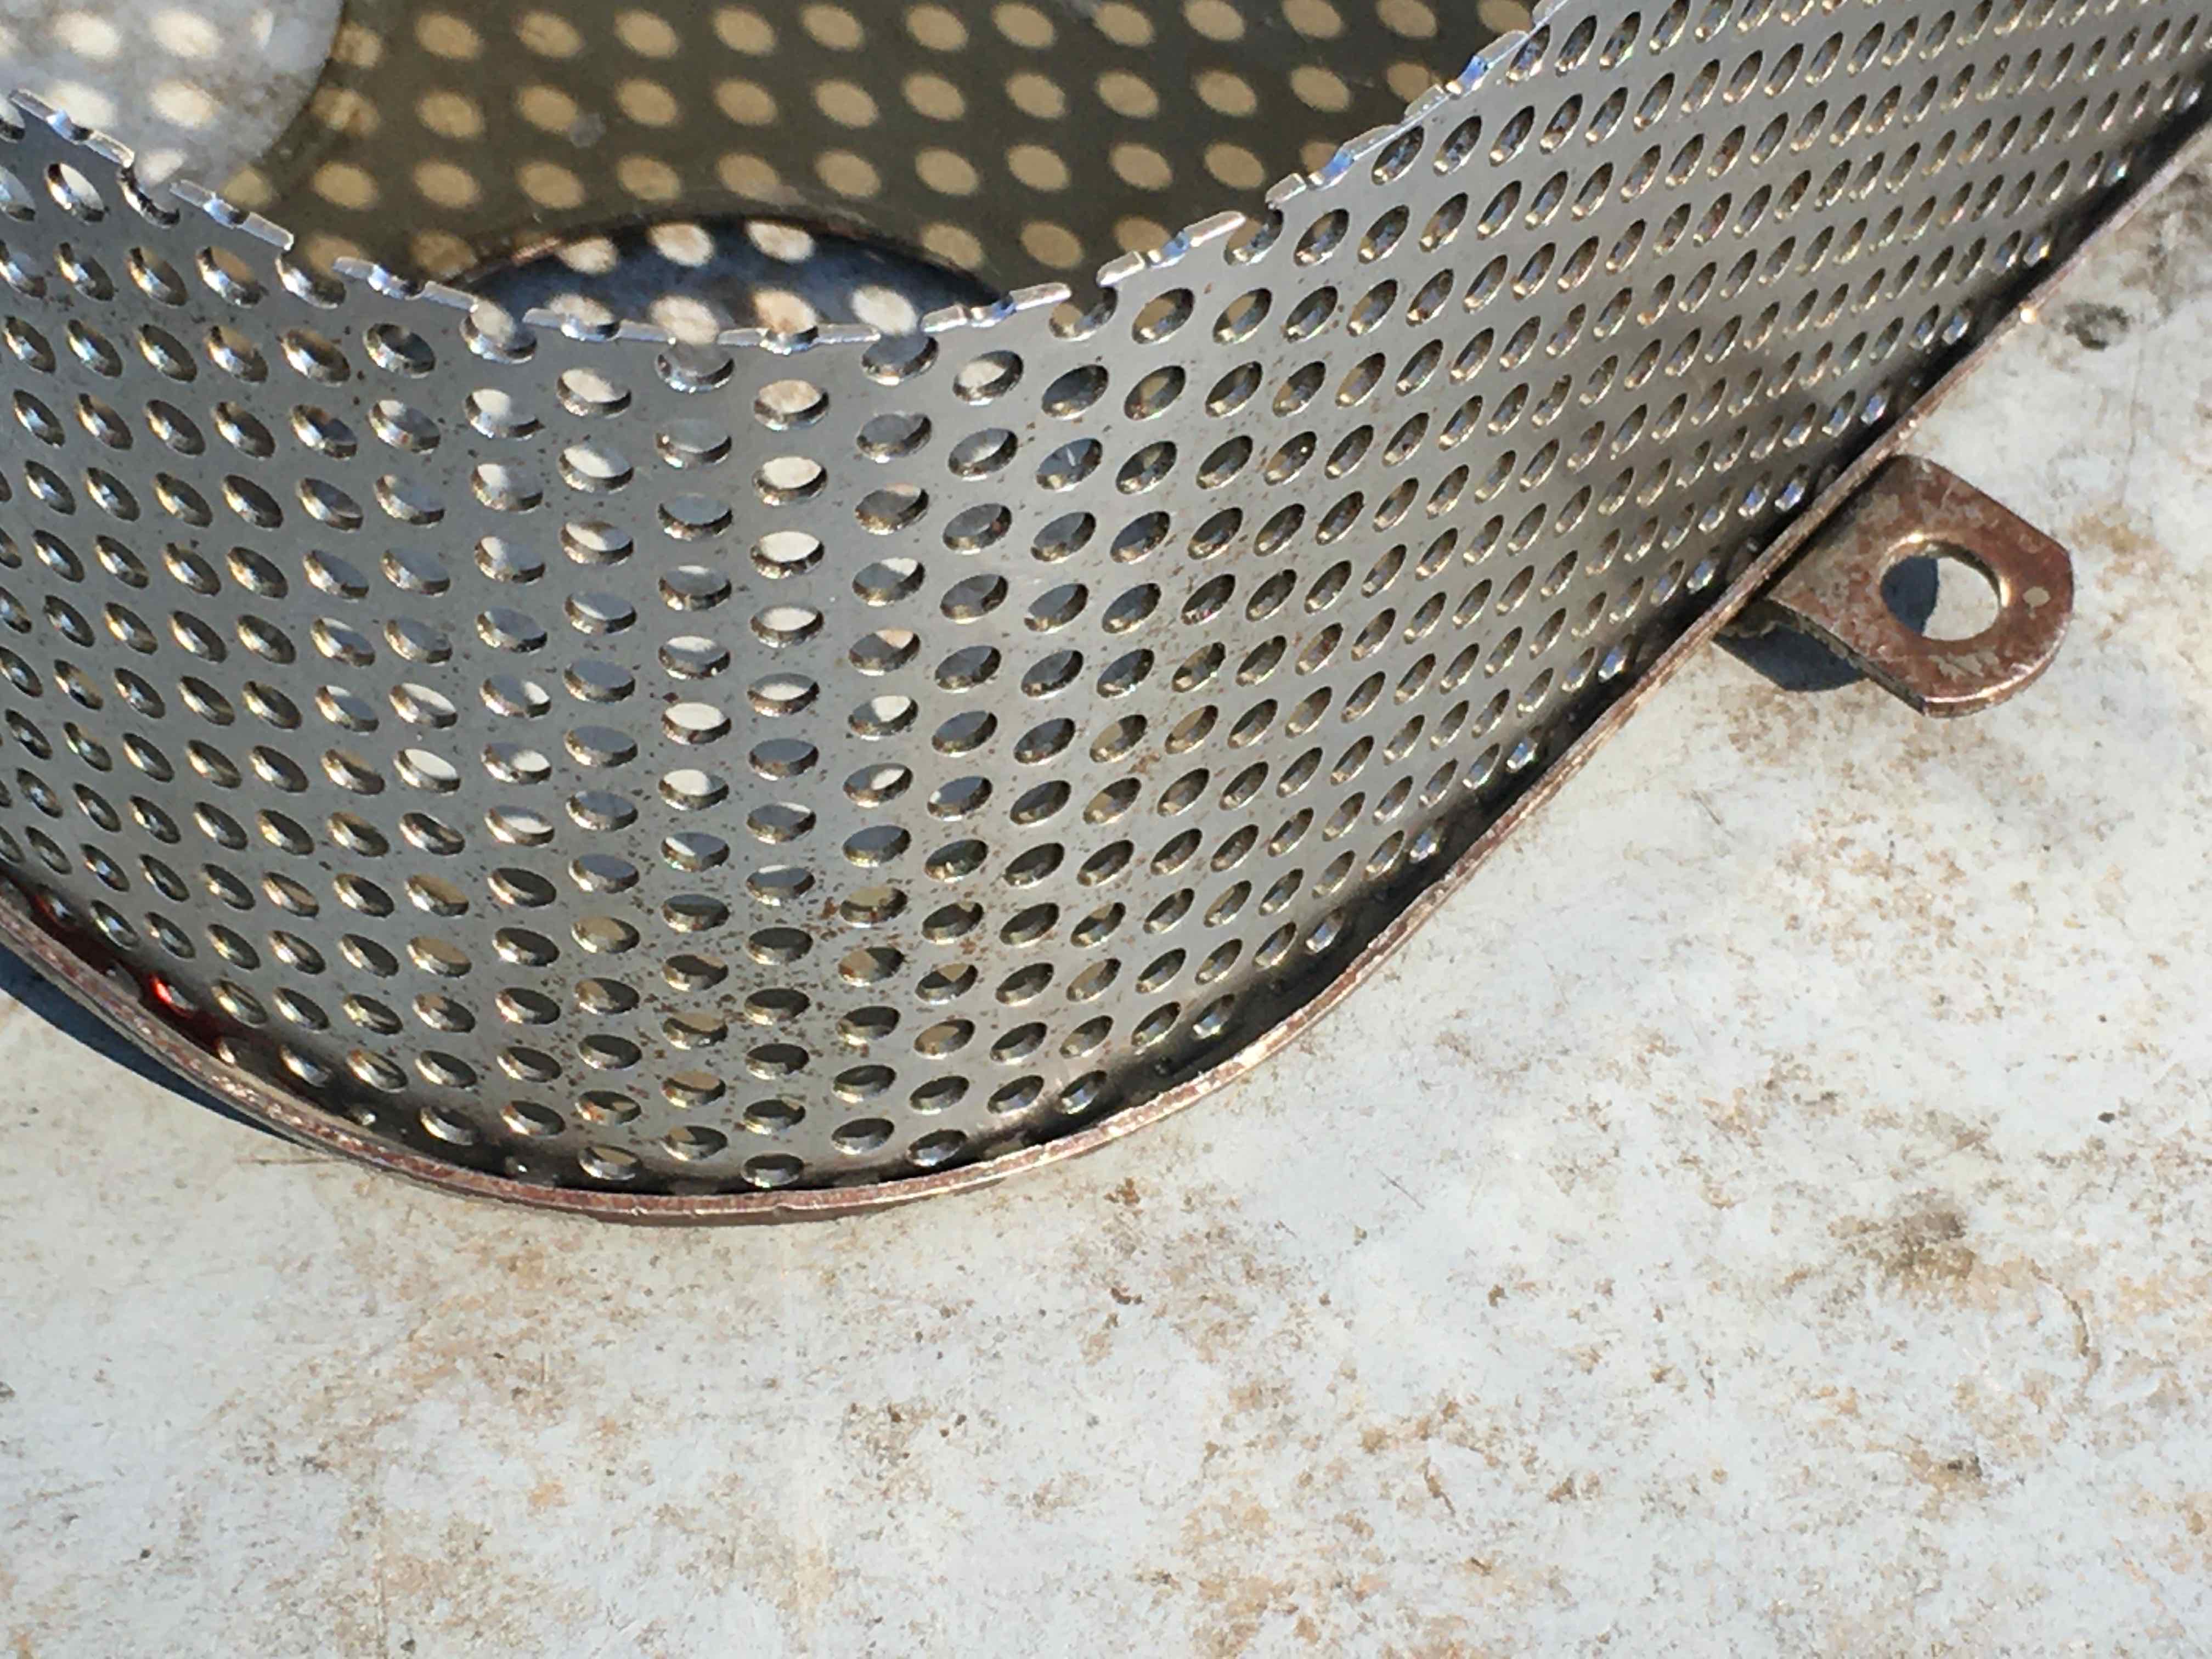
(a) I have always found that the procedure as illustrated in Andrew's excerpt from the Workshop Manual perfectly satisfactory (with the exception that it is surely easier to remove and refit the filter and "gauze band" from the other side, i.e. over the gearbox end-cover; the quotes are because a perforated metal sheet does not fit my notion of gauze)
(b) I thought I had done this successfully only a few days ago.
However, I was investigating possible weak mixture, and found that the r/h carb rubber had not properly engaged with the air cleaner cover and all my efforts to get it do so were failures.
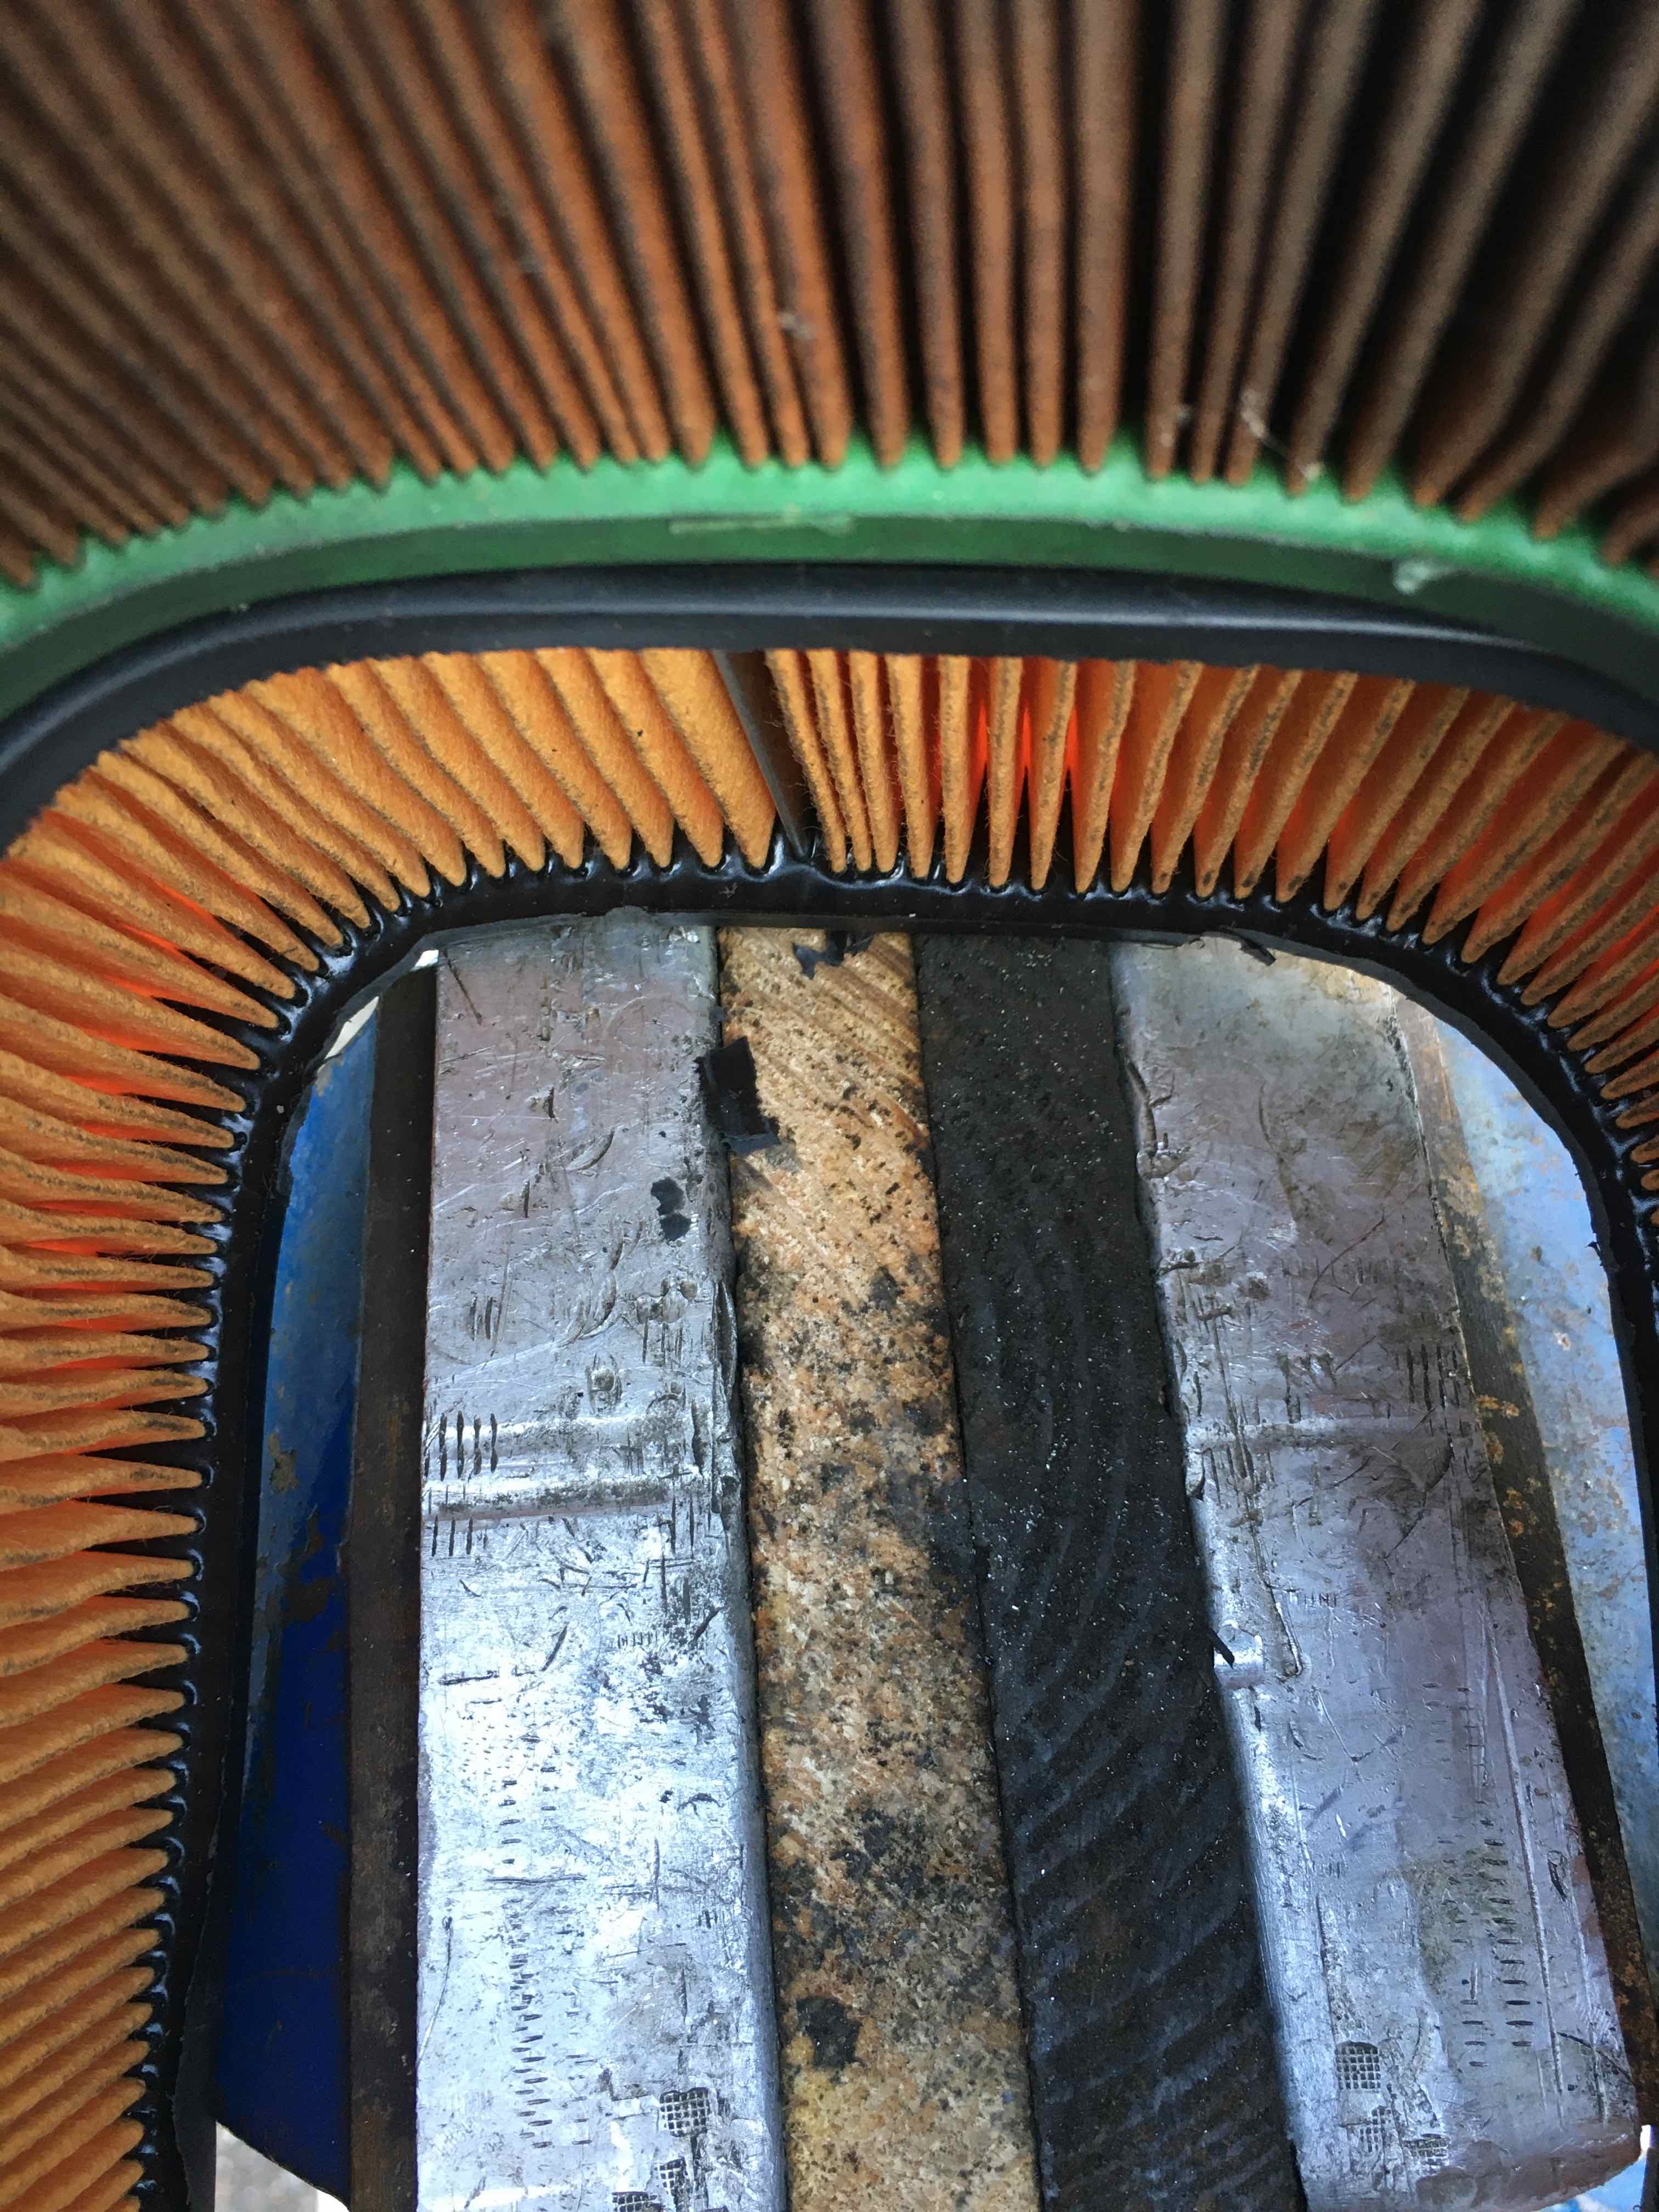
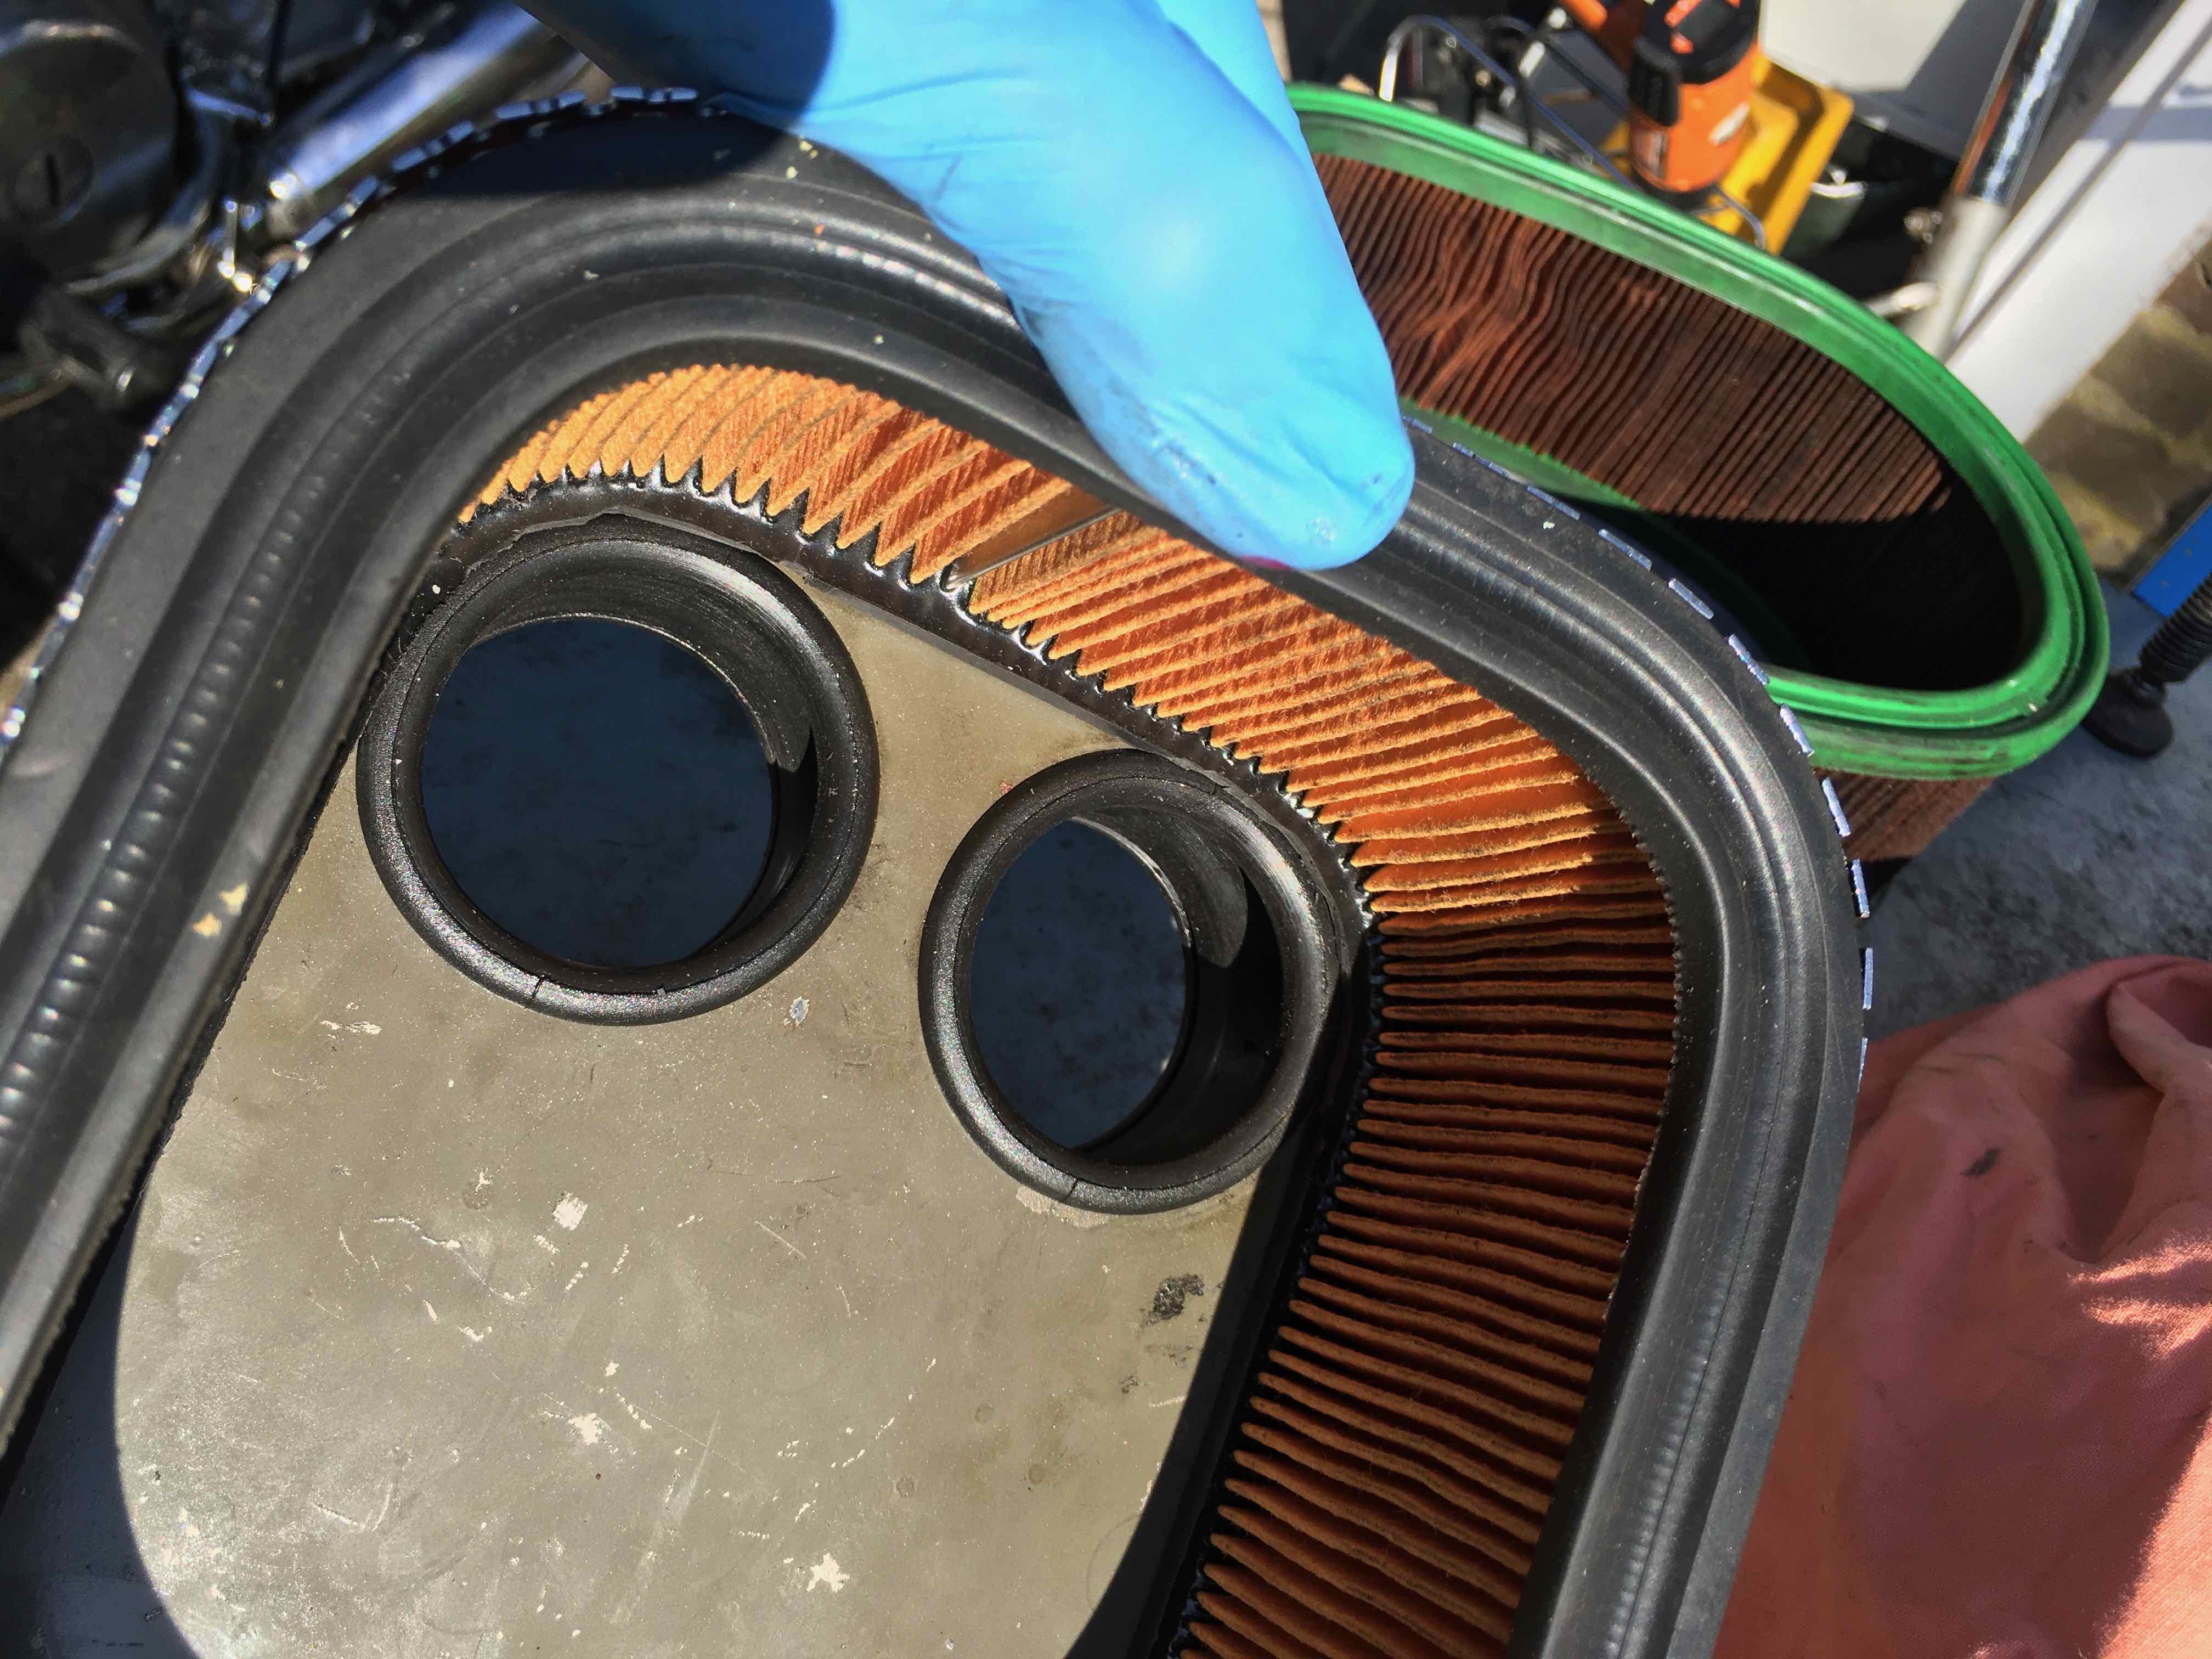
Further inspection revealed that the seal of the air filter element was fouling the inner lip of the carb rubber, and that the reason for this was excess width of the seal compared to the previous filter element by about 1 mm: see attached picture — old seal is green, new is black.
The solution looks to be to trim the edge of the seal where it curves around the rubber. I'll report on success or otherwise in due course.
- Log in to post comments
Update
So today I
- Spent some time carefully bending the "gauze" to properly follow the curves in the upper corners of the front plate of the air filter housing
- Used a hot air gun at 100ºC to try and induce some thermosetting in conformity with the bends in the gauze
- trimmed the edge of the seal inside the upper corners to provide clearance for the carb rubbers
See pictures; subsequent to taking the final picture showing the relationship between seal and rubbers, I was successful in inserting the rubbers in the front plate openings having reassembled the filter housing.
One correction: I measured the seals of the old and new filters, and the difference is bigger than stated in my previous post. The old one is 15 mm wide, while the new is 17–18 mm.
I can confirm that the (relatively) easiest way to get everything back together is to take out the insulating spacers between the intake manifolds and the head, attach the carbs to the rubbers, and then re-insert the fibre spacers.
Interestingly, I have two AN-supplied "short" Allen keys; they turn out to be from different manufacturers, and one is absolutely the minimum possible length that will engage with the manifold screws, and the other is not. Guess which is easiest to use (hot tip: temporarily remove the inlet rocker cover nut to allow more movement.)
- Log in to post comments
Allan keys
And a further mod is to bend the long arm back so that it clears the rocker cover nut … thus obviating the need to remove it and thus obviating the opportunity to drop and lose its washer on the ground …
- Log in to post comments
I really struggled to use an…
I really struggled to use an AN supplied Allen key as it was too short and the bend had enlarged and distorted the hex end. Of course I don’t own any imperial keys, so I carefully ground down a metric size to finally get the carbs off.
once I knew what size the key was I searched on evilbay and purchased a pack of 5 extremely cheaply and proceeded to cut down a couple to the correct size, one is now kept on the bike, the other in my tool cabinet. And I still have more spares available.
- Log in to post comments
Installing commando carb boots.
The factory article above is very lacking and not universal
The procedure I use is the same for all commandos. I've never done a SS so I can't comment there.
Consider the S commando blocking access from the LH side pipes.
Now consider the 74 air cleaners with the internal snorkel.
Also the air cleaner metal screen scratches the #### out of the primary and is additionally blocked by the LH ignition key and switch on many versions of commando.
This is what I do.
1. Manifolds/carbs fully installed with boot adaptors with flange forward as original.
2. Air cleaner fully assembled and installed....
3. Always install from right side of bike. Use correct tool to work boots in.
About 8" long. very thin screwdriver with sharp edged buffed off.
4. Always work on LH boot first. Silicone lube the air cleaner rubber end only.
Install on carb flange first dry, make sure boot flat is toward center. using screwdriver to aid working the air cleaner boot end in capturing the thin groove in the air cleaner sheet metal. Check again the flat is toward the center.
5. Only when full completed left side boot, follow similar for right side boot. Carb end first dry.
then do the air cleaner end silicone lubed putting the flat inward.
I have become fairly good at doing this and most of the time it takes under 5 minutes. I have been doing it this was since the mid 90's. The practice and skill is in using the screwdriver as a finger to manipulate the boot with minimum aid from a finge on your hand.
If the boots are hard ...change them
- Log in to post comments
Why did they make it so difficult?
I realise this thread was 4 years ago, but I am now struggling with the same. I can't help wondering why the air filter box could not have been made 1/2 cm thinner - then fitting the rubber boots would be so much easier!
- Log in to post comments
Carb to air filter rubbers
Hi Peter Merrick here again, 4 years later!
After some time I found that RGM actually supply a slimmer air filter element, complete with the wire gauze that goes around the outside of the filter element, thus making it a completely slimmer unit, by about one inch, and allowing easy acces to the rubbers. This complete filter unit, front plate, wire gauze and back plate is available in stainless steel should you need it, or just the filter element and surrounding gauze. It doesn't look out of place compared to the original item. One of their better "After Market" products.
- Log in to post comments
RGM
Peter,
I must go into bat for RGM. Who seemed to be damned by faint praise.
I've had quite a few of their aftermarket products they market that have absolutely transformed my Norton's.
Two that spring to mind are the Covenant Fork kit for my Atlas and the vernier magneto sprocket for my ES2 is absolutely the best thing since canned beer!
Good on 'em I say.
Don Anson
Melbourne Australia
- Log in to post comments
Slimmer filter
My blue 69 750- very small gap between filter and carbs made it pretty much impossible to fit the rubbers so switched to the RGM slimmer unit and now not a problem and rubbers fit perfectly- not overstretched.
My yellow 69 750, gap seems to be a bit bigger and while still a faff, can get the rubbers on with a normal depth filter.
I just bought the slimmer RGM filter and cut the original filter mesh to the smaller size.
Eddie
- Log in to post comments
Since it doesn't seem to…
Since it doesn't seem to have been mentioned, I would note that there are two different types of intake rubber to suit the early metal plates airbox and the later black plastic airbox. My original intake rubbers for the metal airbox fit with adequate clearance for the air filter elements current sold by AN. The intake rubbers for the black plastic airbox have much larger flanges and would interfere with the early type air filter.
- Log in to post comments


Assuming you and I have the same set-up, I have the air box fitted with the gaiters, then fit the carburettors last. They slide down from above and can wriggle into the gaiter.