
My 1961 unit worked fine when I rebuilt the bike, but now the headlight circuit is open circuit.
Has anybody any expertise in opening these things up, cleaning and reassembly?
Is it straightforward or a nightmare of springs and ball bearings?
My memory from 30 years ago…
My memory from 30 years ago says mark both halves of the switch with a line to ensure reassembly in the same position . Yes there are longish leaf springs , a length of cotton wound round will hold the springs in position during assembly and can be pulled out of the vaseline filled switch when its almost assembled.. Be carefull of the plastic thread on the body .Some find that after the rewire sticking the switch into the Headlamp shell with bath mastic helps to secure the switch. Not needed if all else ok. Some wiring diagrams show an incorrect connection , a link wire?, can't remember.Thats all folks.
- Log in to post comments
Thanks everybody. I have…
Thanks everybody. I have ordered a new one but I will try to recover the old one. The cotton trick sounds like it might be a vital tip. I had found the aoservices data sheets, but they are sadly lacking in photographs.
I have Electrex charging/ignition, so the required functionality is more of less off/pilot/headlamps really.
The original switch seems to be in pretty good shape, the bakelite not really worn at all.
Isn't it illegal to make phenolic resins these days?
Steve
- Log in to post comments
NOT quite
There is no need to mark the switch on disassembly, as the two banks cannot go together wrong, a lot of holes to line up. Also the cotton round the springy contacts is not needed as if you 'wind' the switch parts in in their direction of rotation they just pop in. I have found if you take this switch apart with a bit of care it becomes self explanatory. As you say there is a lot of functions for the 1950s 6V charge control, but once you have gone 12V only the basic lights and ignition is needed.
- Log in to post comments
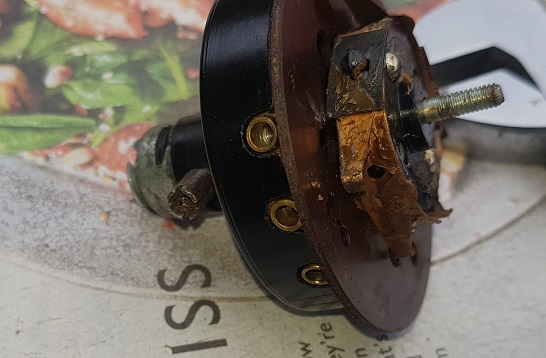
I will photograph the…
I will photograph the internals for the benefit of posterity. Mine feels good and unworn, but it is completely open circuit now on some sections, having worked initially.
That sounds like more than a bit of verdigris.
- Log in to post comments
I received my new Lucas…
I received my new Lucas Switch from VOF DeGroot BSA EU70.25 + EU 20 Brexit bonus.
It looks absolutely the same as the original except the knob is bakelite (or similar) whereas my original is more vulcanised rubbery.
I will still have a go at fixing the original one.
- Log in to post comments
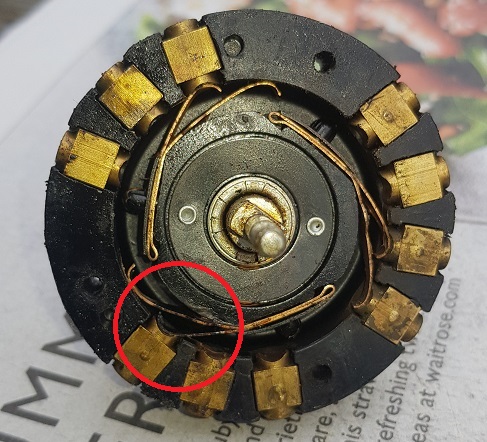
Switch Internals
It isn't too difficult too dismantle and reassemble.
Tips:
1) Mark the top and bottom halves and the tufnol disc in two places, one scratch and two scratches.
I think that Lucas did make it impossible to assemble wrongly, but you don't want to be running through all the options while holding a loose assembly of bits. The disc can be either way up too.
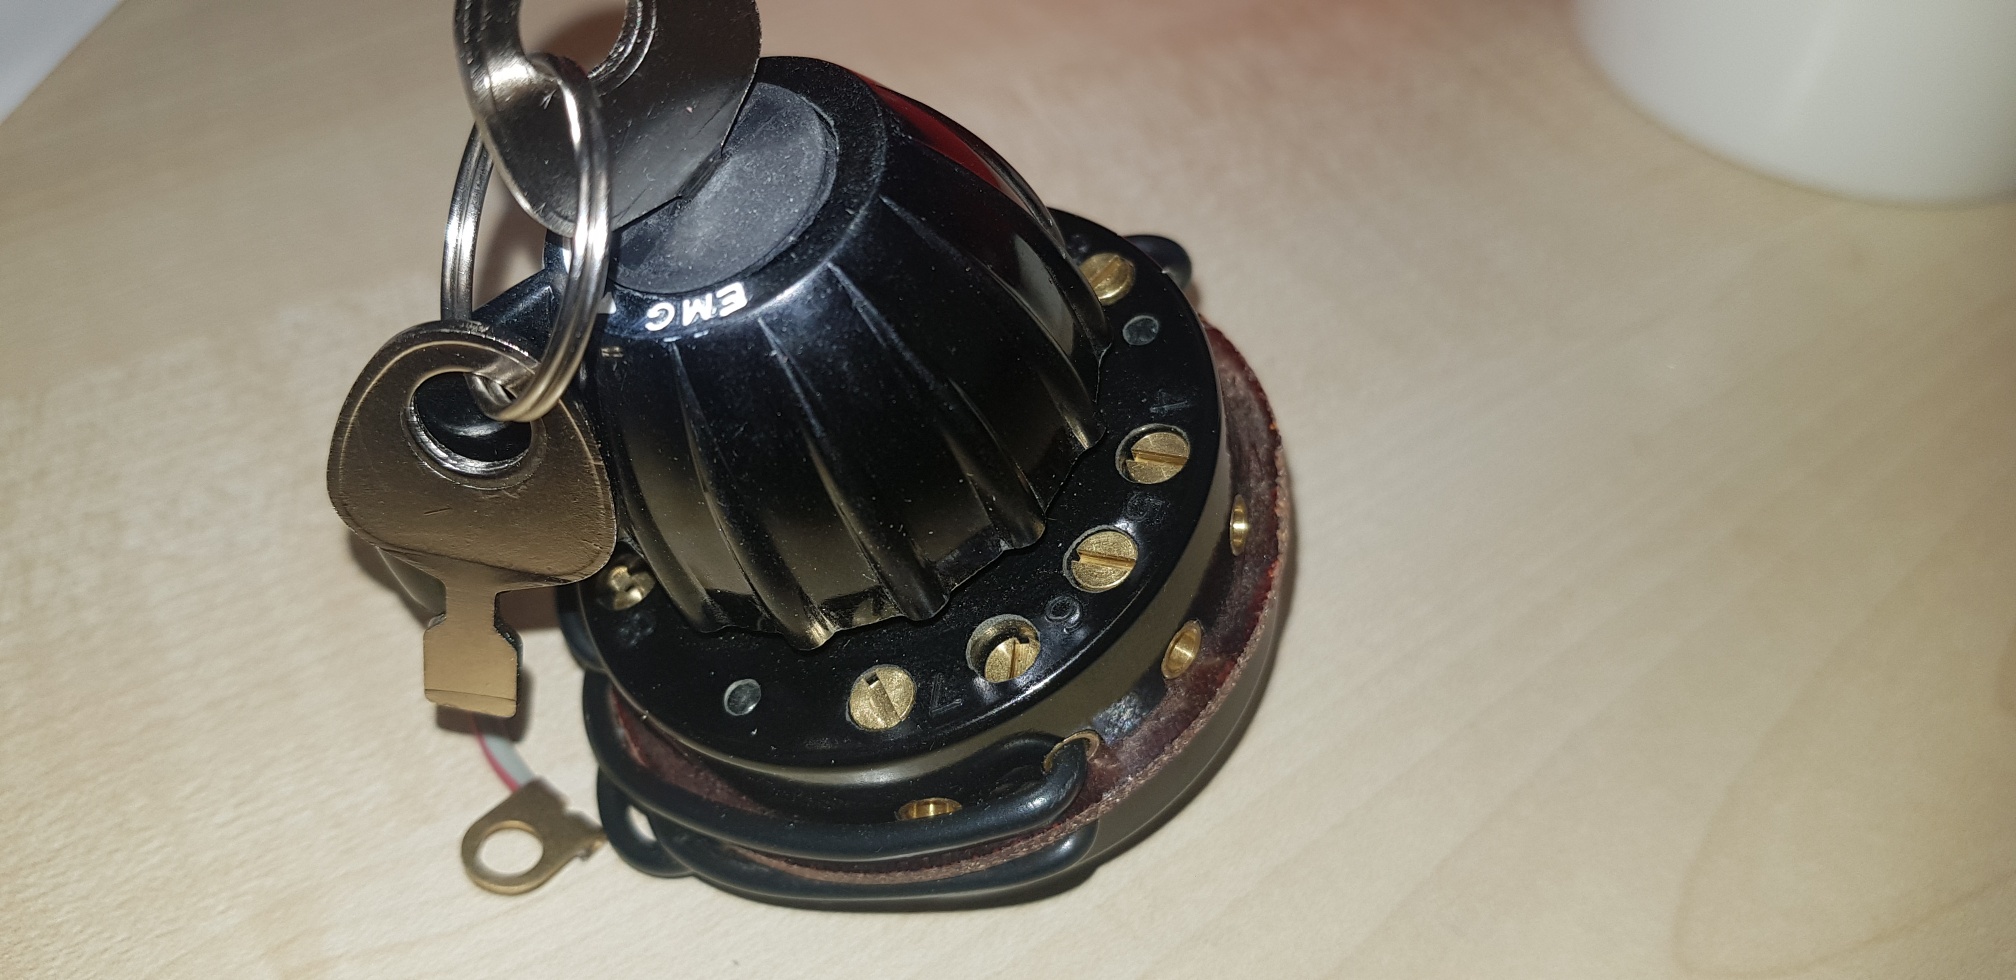
2) Insert the ignition key when re-assembling or it might be impossible later. Don't ask me how I discovered this.
3) Put plenty of grease on the lower detente ball bearings to retain them.
What I found was a surprisingly delicate set of copper leaf springs. The leaf picking up the headlight terminal was a bit blackened and possibly annealed. It must have happened when it was running at 6V and carrying 6A, not when running at 12V and carrying 1/4 amp or whatever for led headlight lamps. Anyway a bit of Brasso and it works again. It doesn't look like it was ever up to carrying 6A to me.
The upper and lower halves both look like this.
- Log in to post comments
Nice one
A nice picture of this 'wonderful' switch. You notice the fixed brass contacts are curved on the contact side, yet the same type contacts on the ignition bank are NOT curved-plain flat why? Any re-manufactured switch I have seen has flat contacts on both. But they still won't swap as the Lucas contact blocks are 1/4 while the re-manufactured ones I have come across are 6mm!
I can't see the bit about 'inserting the ignition key before assembly'being relevant-never had an issue with this department. But while looking at the ignition key, be aware this is retained by a 'piece of tin' which is crimped onto the top. This 'piece of tin' gets very worn hence a new one is recommended. This hold the little rubber bung at the top 'keeps the water out and the key in' if you are lucky!
- Log in to post comments
AlanWeirdly my switch had…
Alan
Weirdly my switch had only one flat contact. I didn't notice which one it was, as they all seemed to be identical when I dis-assembled it.
In normal service the ignition key cannot be pulled out in the IGN or EMERG positions. Similarly it cannot be inserted if you do the assembly with the switch iinternals in either position. I tried to correct it with a screwdriver, but it wanted more force than I was prepared to apply.
- Log in to post comments
AHA
I see the problem now. When I have rebuild these switches the small tin shield that holds the key in place was being replaced, hence off when putting the switch back together. But I have always found this tin cover very 'mullered' as it gets used with the 'screwdriver' ignition key or often the wrong key. The issue with the flat or curved connection blocks remains an enigma.
Thanks
- Log in to post comments


aoservices.co.uk click on the orange icon, this goes to pdf one of which is all about PRS8. I still have some parts after my servicing days.
It is not a nightmare but a little care and understanding is needed.