For those of you who own an early Commando like me here is a conversion for the light/horn/ beam switch:I was lucky to find an original Wipac Triconsul switch whiich was originally mounted on my 1970 Commando.This switch is not produced as a replica currently, only the Ducon (horn/lights) and Tricon ( horn/lights/kill switch).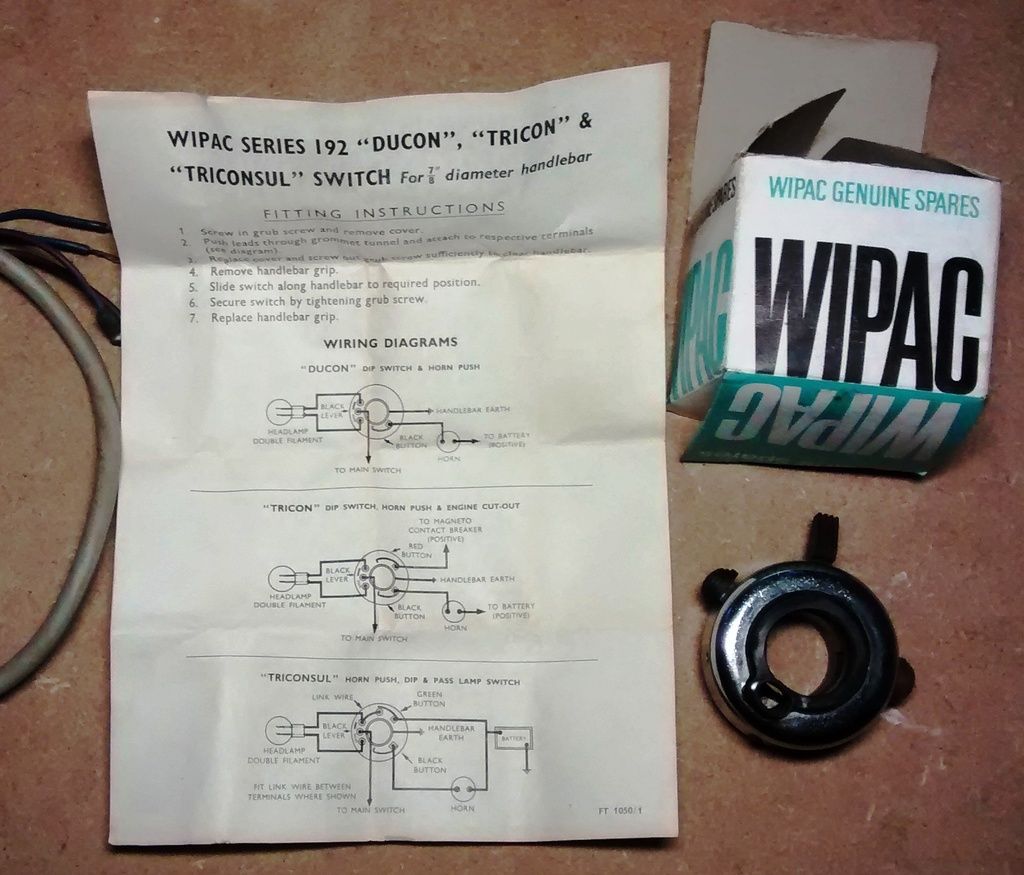 It has a brown high beam flash knob instead of a green one.Last week I bought a whole wiring harness from a 70 Commando S on Ebay only the get the orginal green knob switch...The switch was incomplete but I found the missing high/low beam lever and a new backplate in my electrical spare parts box.A friend of mine also has a 1970 Commando. He wants to rebuild it as close to factory stock as possible. At a local swap meet we bought a Wipac Tricon replica switch.The difference to the Triconsul is both contacts go to ground when pushed. Pushing the red kob is a kill switch for magneto ignition.The Triconsul has an extra connecting post where the brass strip has contact when pushing the green (or brown) knob which is for the high beam flash.The black knob is for the horn.The inside of the two switches:
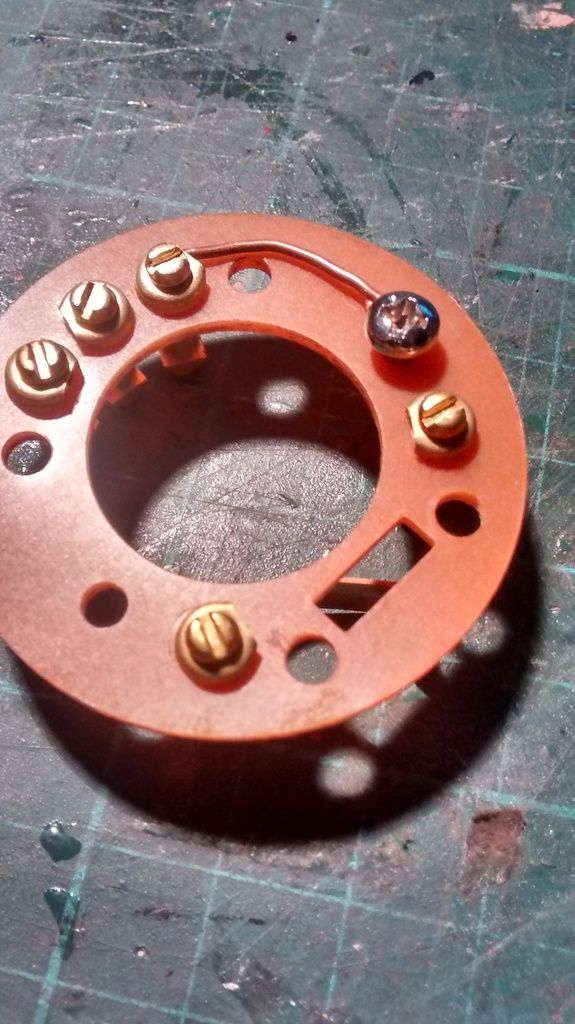
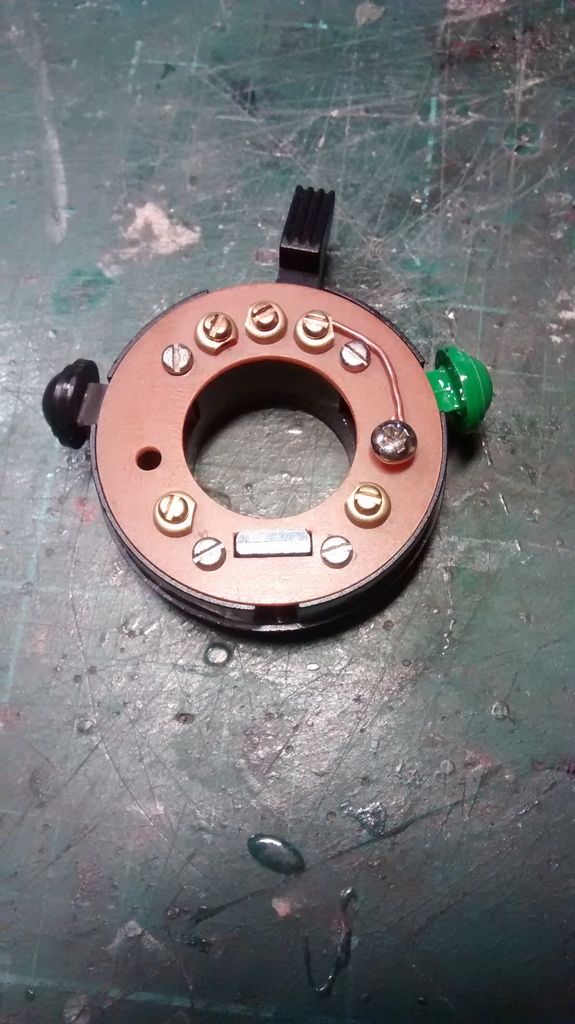
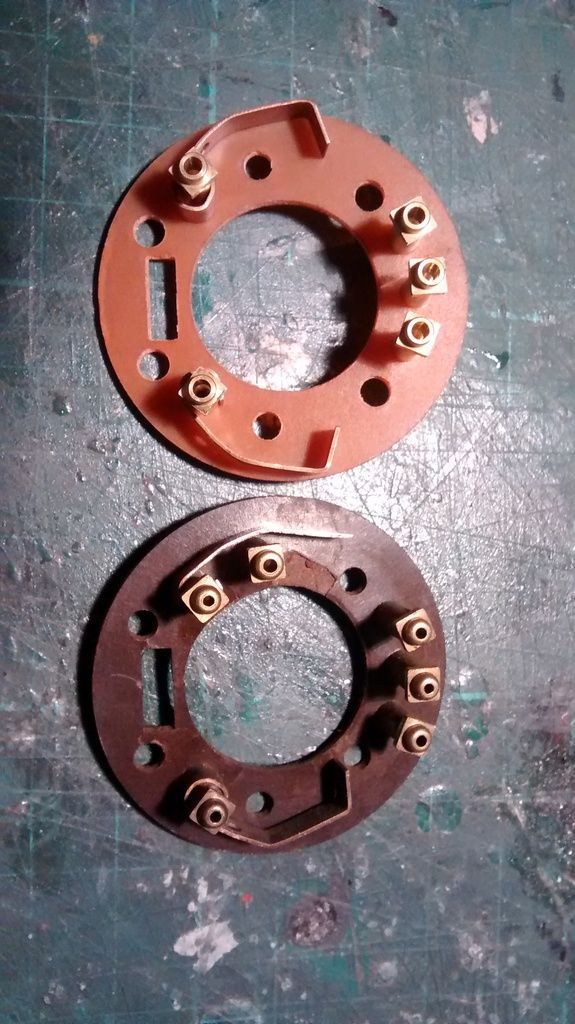 On top is the replica base plate , below the original Triconsul plate. The holes for the extra connector are already there.The extra connector is seen on top also the brass strip is different.
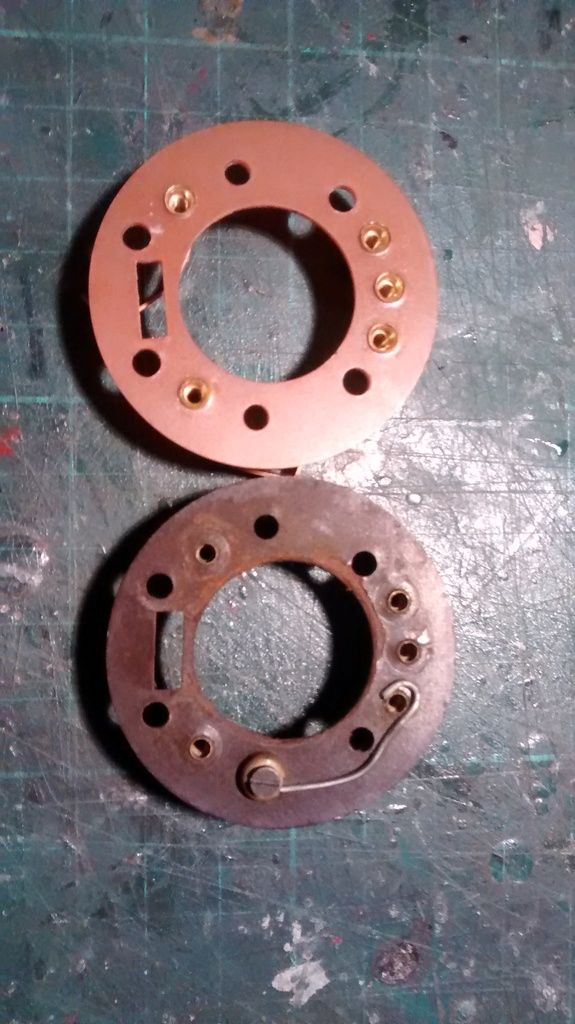 The other side shows the connecting bridge to the high beam connector.Since I had no surplus connector I used a cable end sleeve in the right diameter for the hole in the base plate.
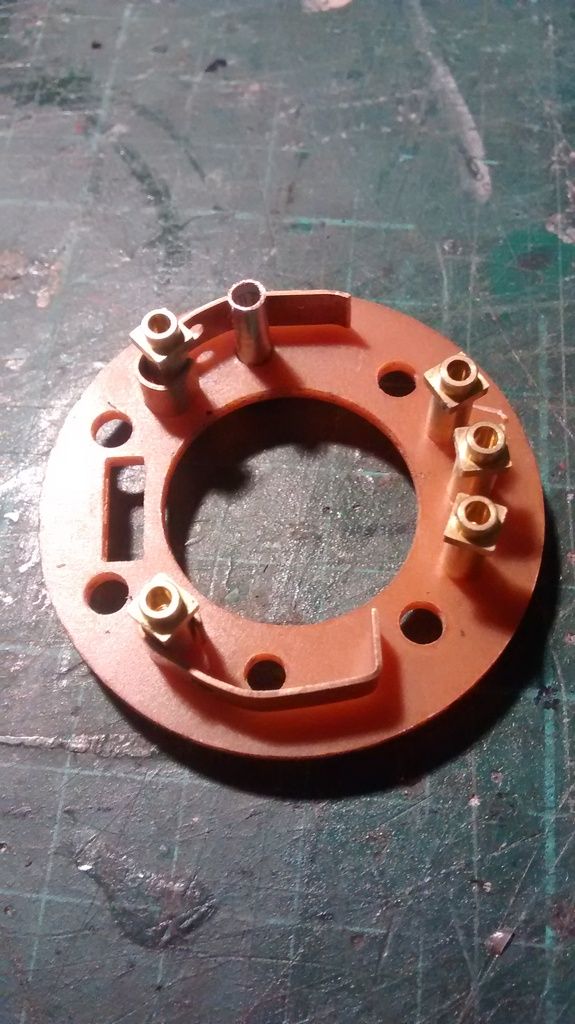 A suitable screw was driven in for securing the connecting bridge and the brass trip was bent and shortened.
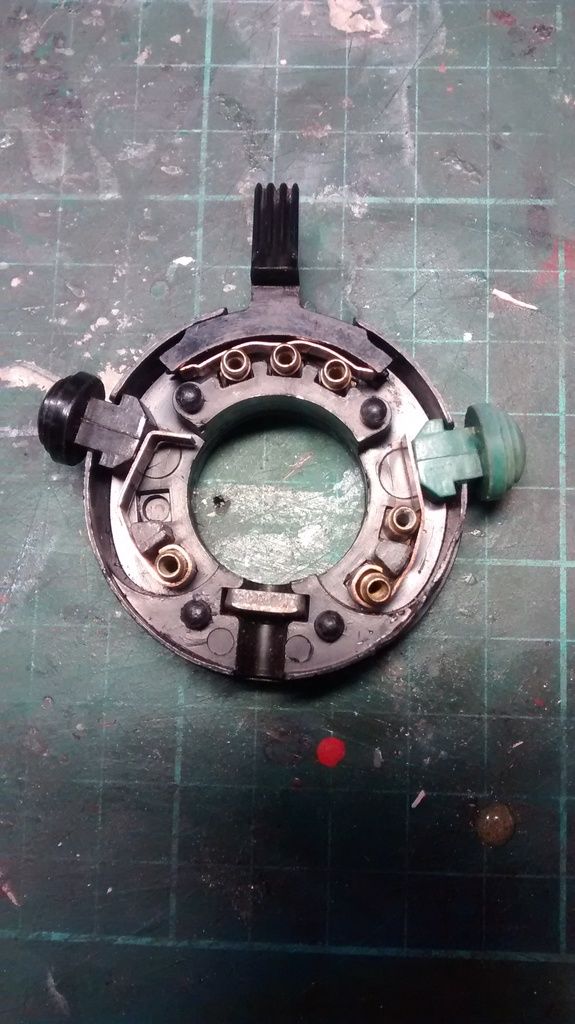
 This is how the original switch looks from the inside.
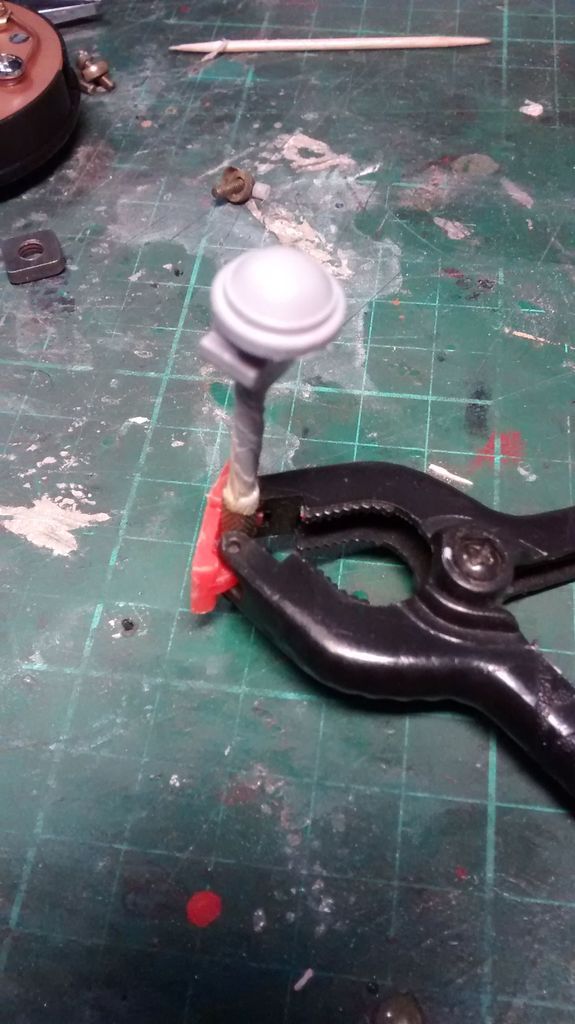
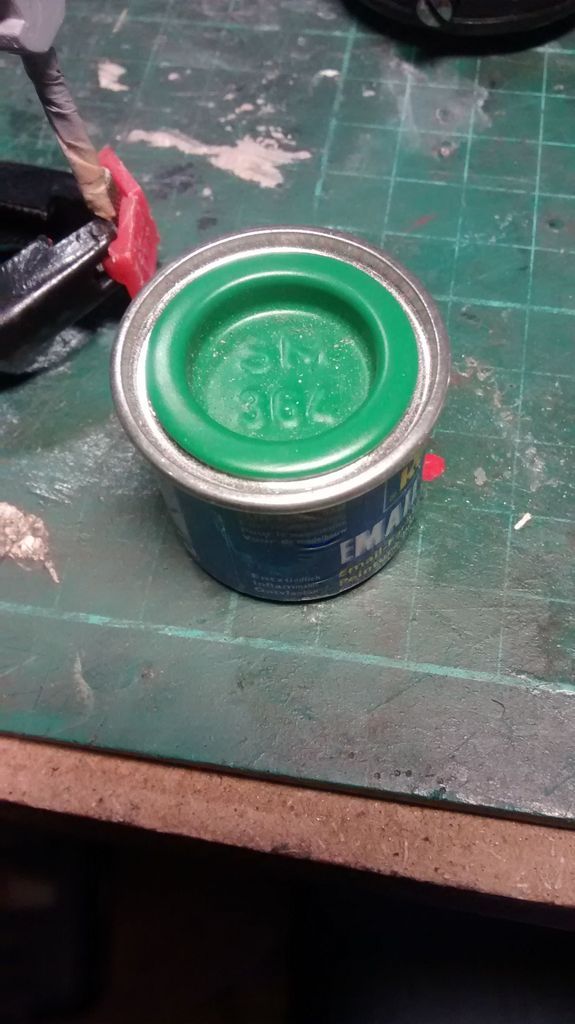
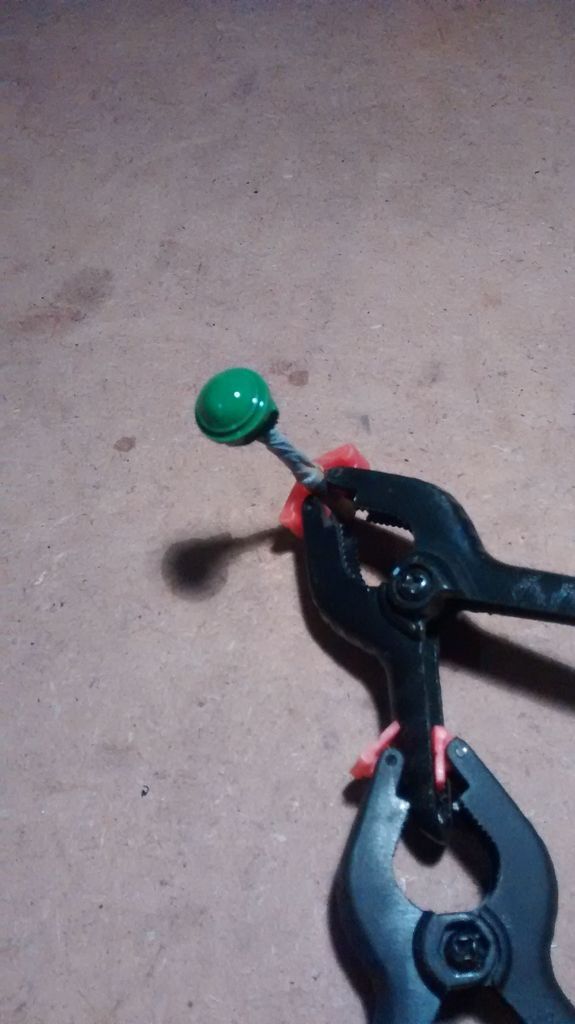
 The red knob was firstly primed and the painted green with Revell enamel paint for plastic models.
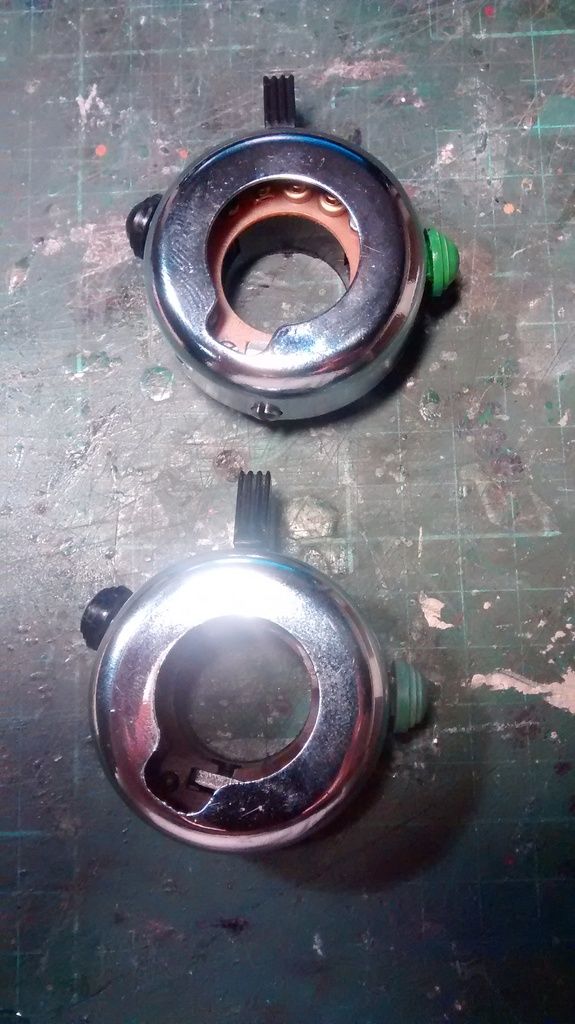
 The finished Triconsul replica on top and the original below.
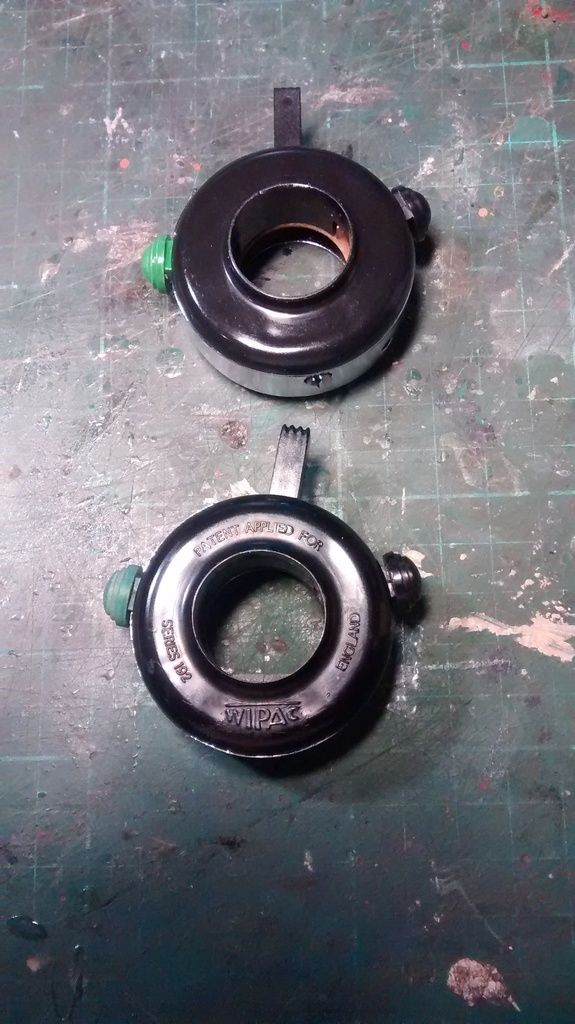
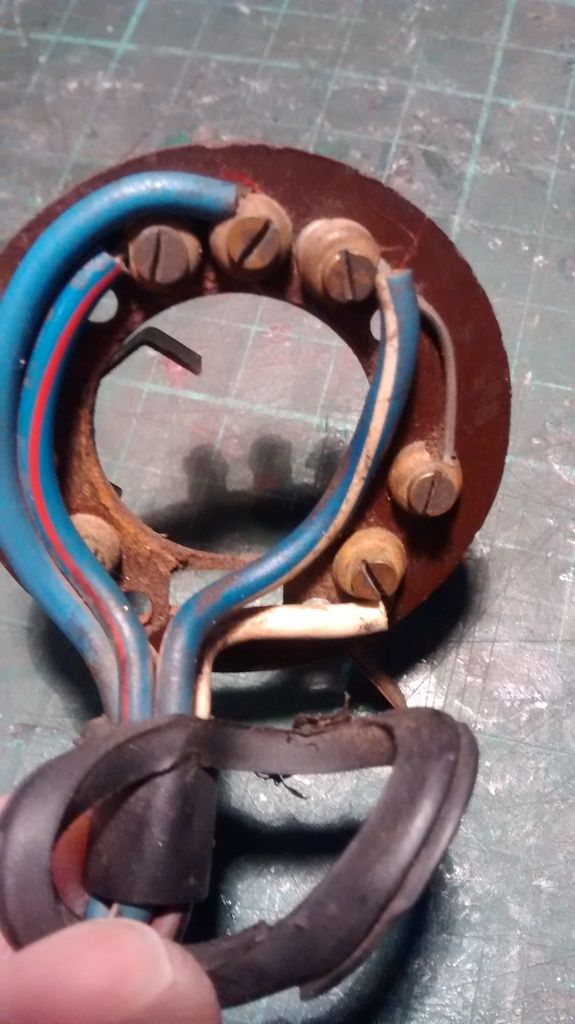
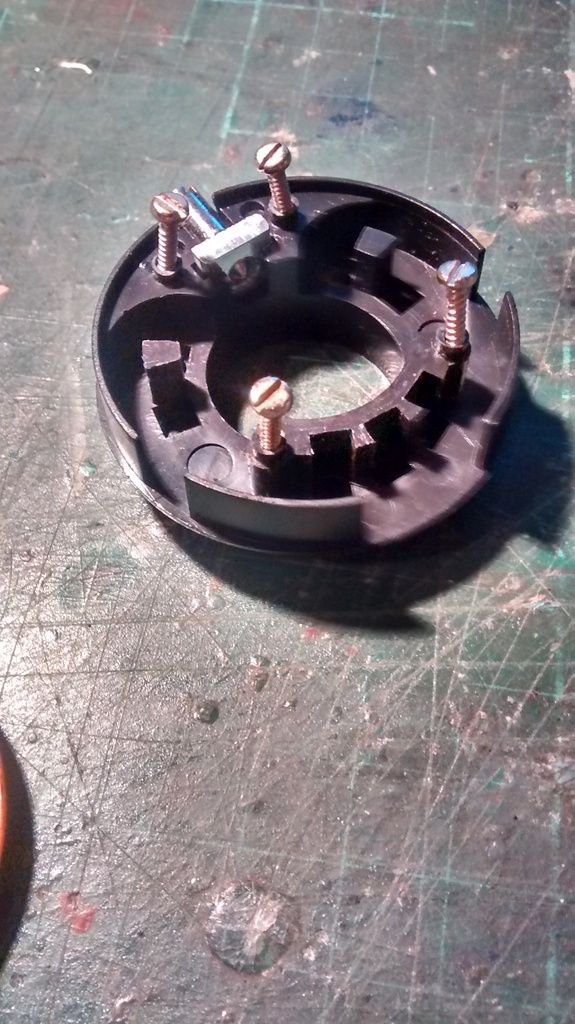 To open the relpica switch I had to cut off the melted plastic pins. I drilled holes in the posts and four screws are securing the switch now.Here is how the cables connect to the switch posts:
 Happy butchering the switches!
Thank you Ulrich, So it sh…
- Log in to post comments
HI Great & informative…
HI Great & informative article just the sort of thing for this site
- Log in to post comments
So it should be possible t…
So it should be possible to use it as a flasher-switch too 
No, for a flasher you need a 3 position switch, left off and right. This switch has no off position, its either dipped or not dipped.
Good right up by the way.
- Log in to post comments
I did a similar thing for…
I did a similar thing for my Electra. Only I kept the red button and turned it into a electric start button. I was surprised that there was already provision for extra terminals inside the switch. It made me wonder whether they make different types of Tricon switches?
- Log in to post comments
@Ulrich, How do you integr…
@Ulrich,
How do you integrate pictures into the text?
Fritz
- Log in to post comments
I found this link: http://…
I found this link:
http://www.nortonownersclub.org/noc-chat/website-suggestions/558634341?b_start=0#193000562
You need a photobucket account and some advanced computer programming knowledge... (SpÃ?ssle!)
- Log in to post comments
Previously Maurice Turling…
Previously Maurice Turlington wrote:
I did a similar thing for my Electra. Only I kept the red button and turned it into a electric start button. I was surprised that there was already provision for extra terminals inside the switch. It made me wonder whether they make different types of Tricon switches?
To my knowledge ( and search) our far east friends only make Ducon ( horn/lights) and Tricon (horn/lights/kill switch) variants. But you?re right the extra holes for additional posts are already there.
- Log in to post comments
Previously Ulrich Hoffmann…
Previously Ulrich Hoffmann wrote:
You need a photobucket account and some advanced computer programming knowledge... (SpÃ?ssle!)
OK, that's what I don't like. I'd prefere to copy and paste.
Fritz
BTW. I'm a retired IT-Pro, have been in this business since 1968
- Log in to post comments
Previously john_holmes wro…
Previously john_holmes wrote:
So it should be possible to use it as a flasher-switch too
No, for a flasher you need a 3 position switch, left off and rightâ?
I have this: https://motogadget.com/shop/en/m-stop-bremslichtsteuerung.html as a flasher relay so it should be possible 
Fritz
- Log in to post comments


Thank you Ulrich,
So it should be possible to use it as a flasher-switch too
Fritz