
A couple of years ago the seat on my 1973 Roadster broke in two. The seat base had rotted most of the way across between the mounting points such that the rear of the seat was only restrained by the foam!
I stripped the seat and cleaned it up, ready to weld it back together. As a guide I chose to reconnect the vertical flanges at the edges of the seatbase where they had failed and then just plate over the original crack. This turned out to be a mistake as some material must have disappeared at the time of failure because, when the seat came back together it was a lot more banana shape than it had been before!
After a few thousand miles of riding like this I have decided that this is not comfortable (like sitting in a hammock) and am ready to cut the seat apart again to reweld in a better position. My problem is what is that position?
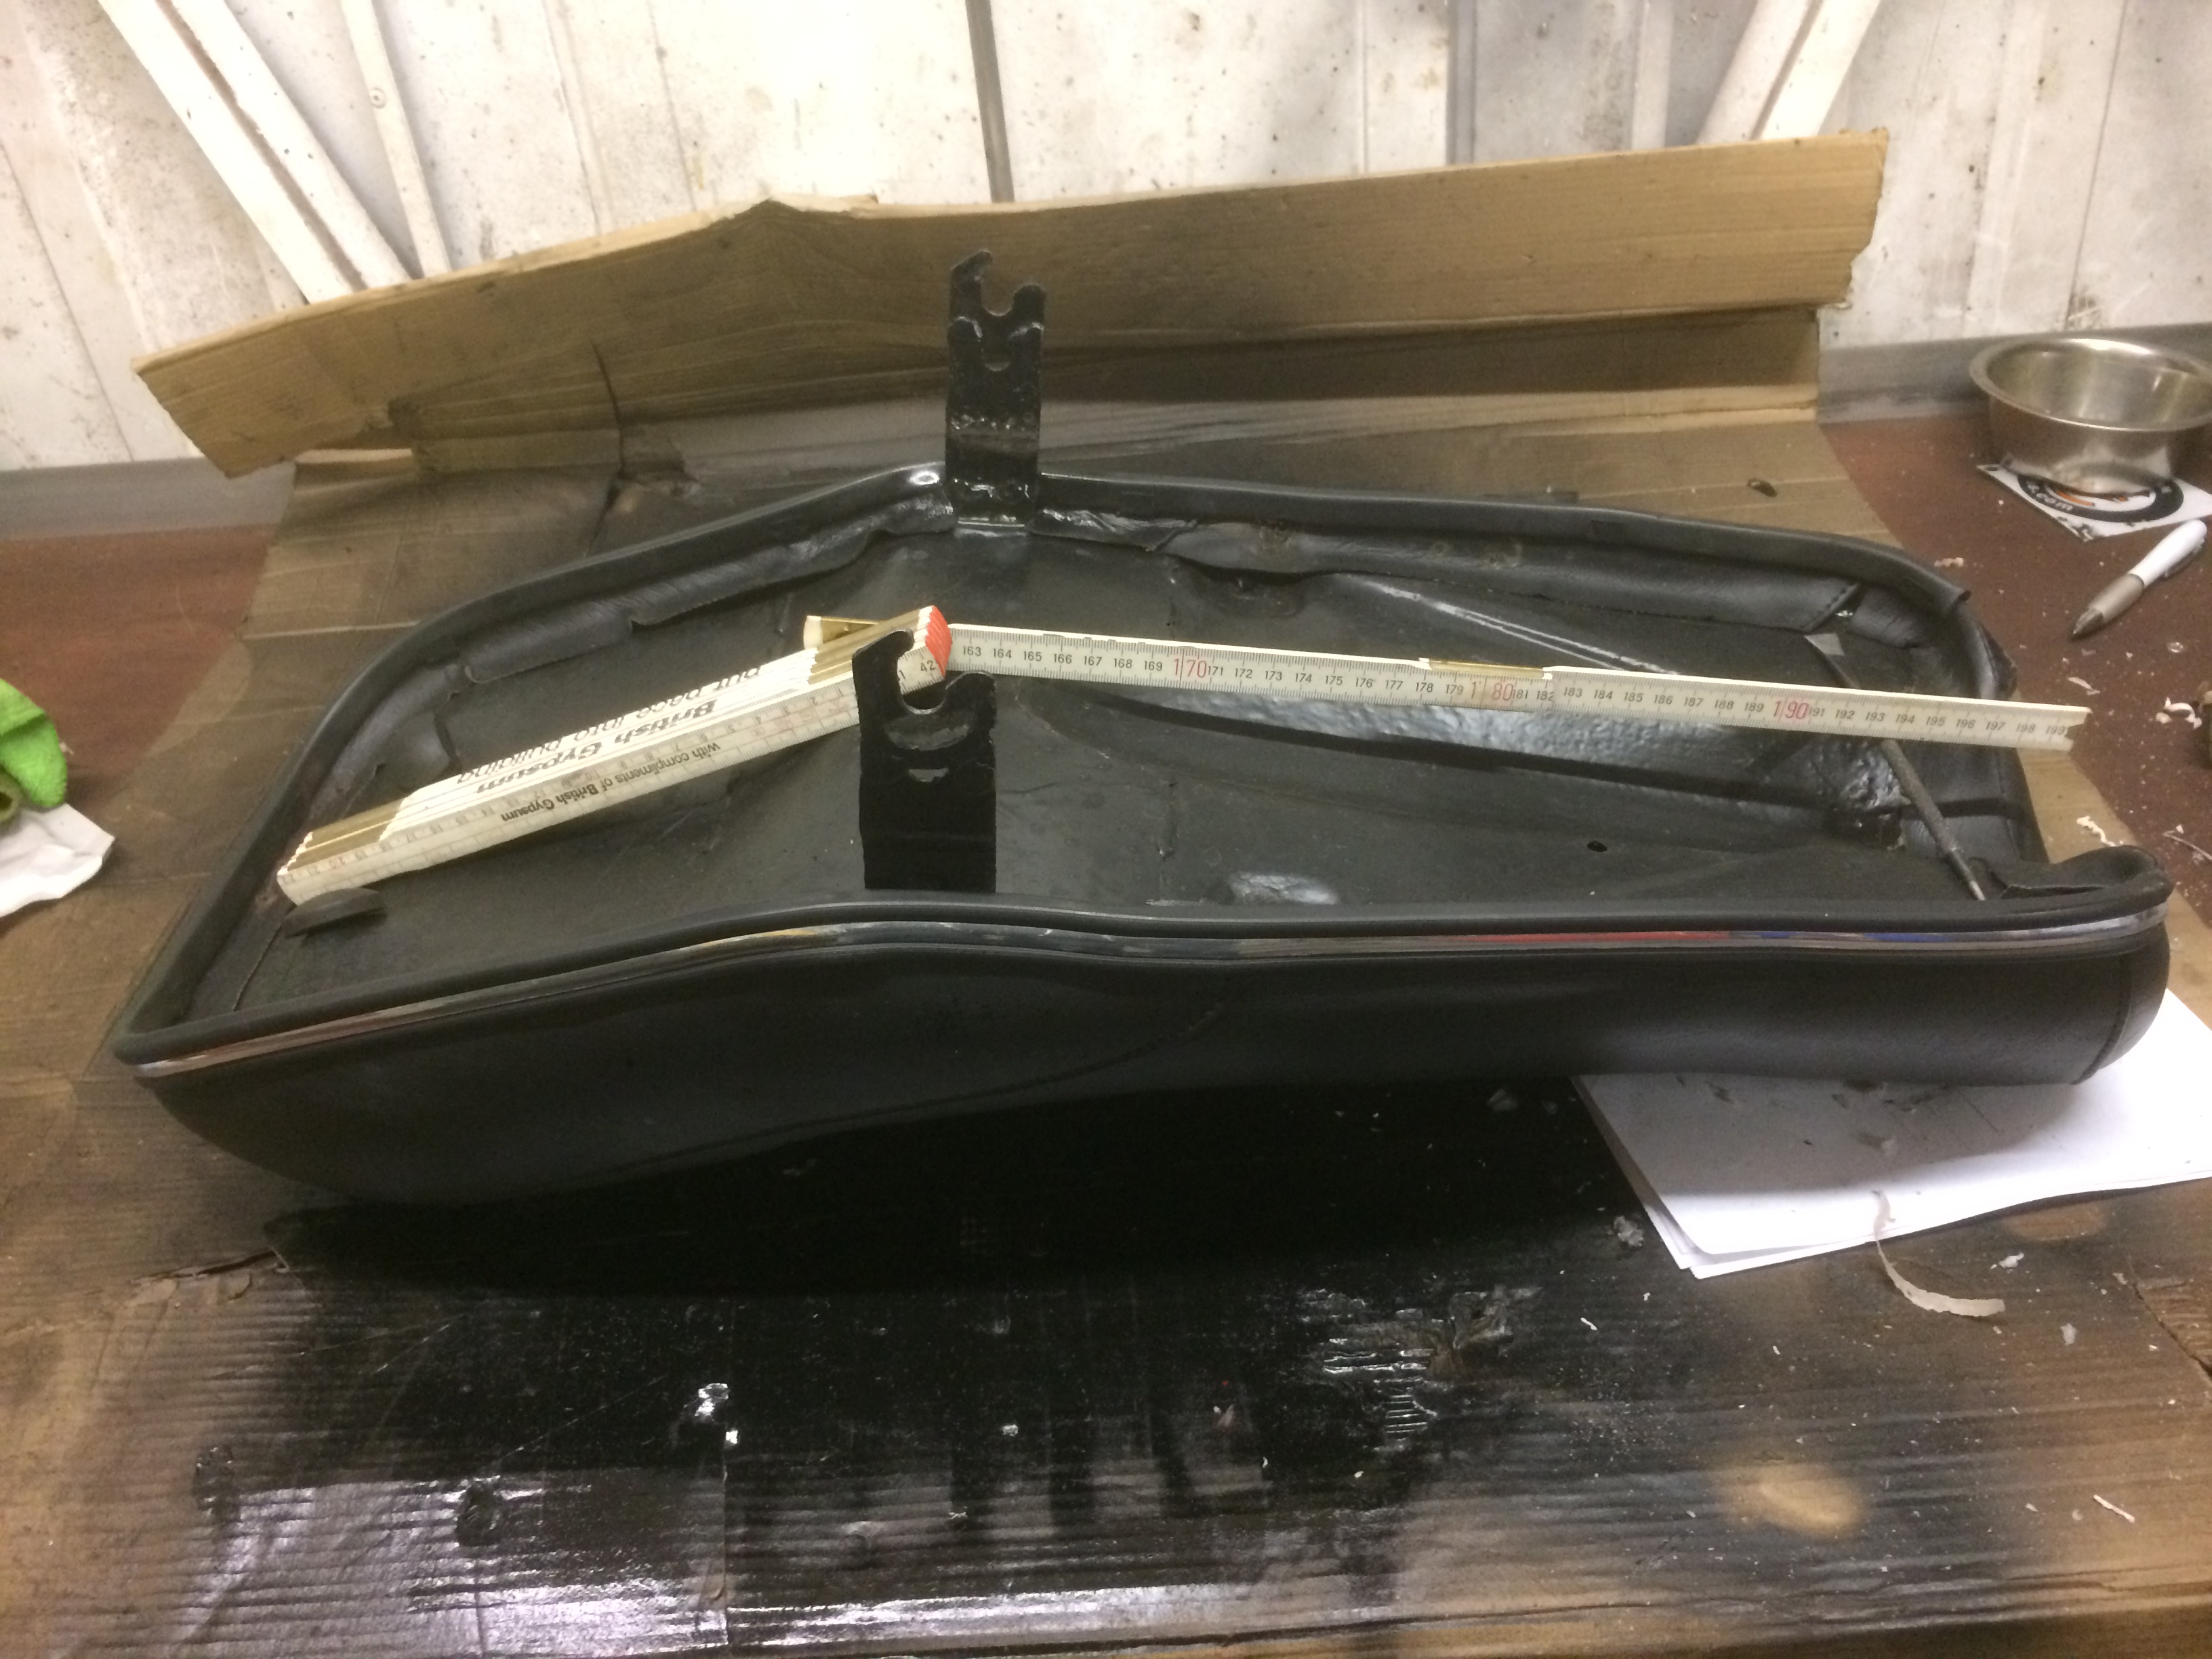
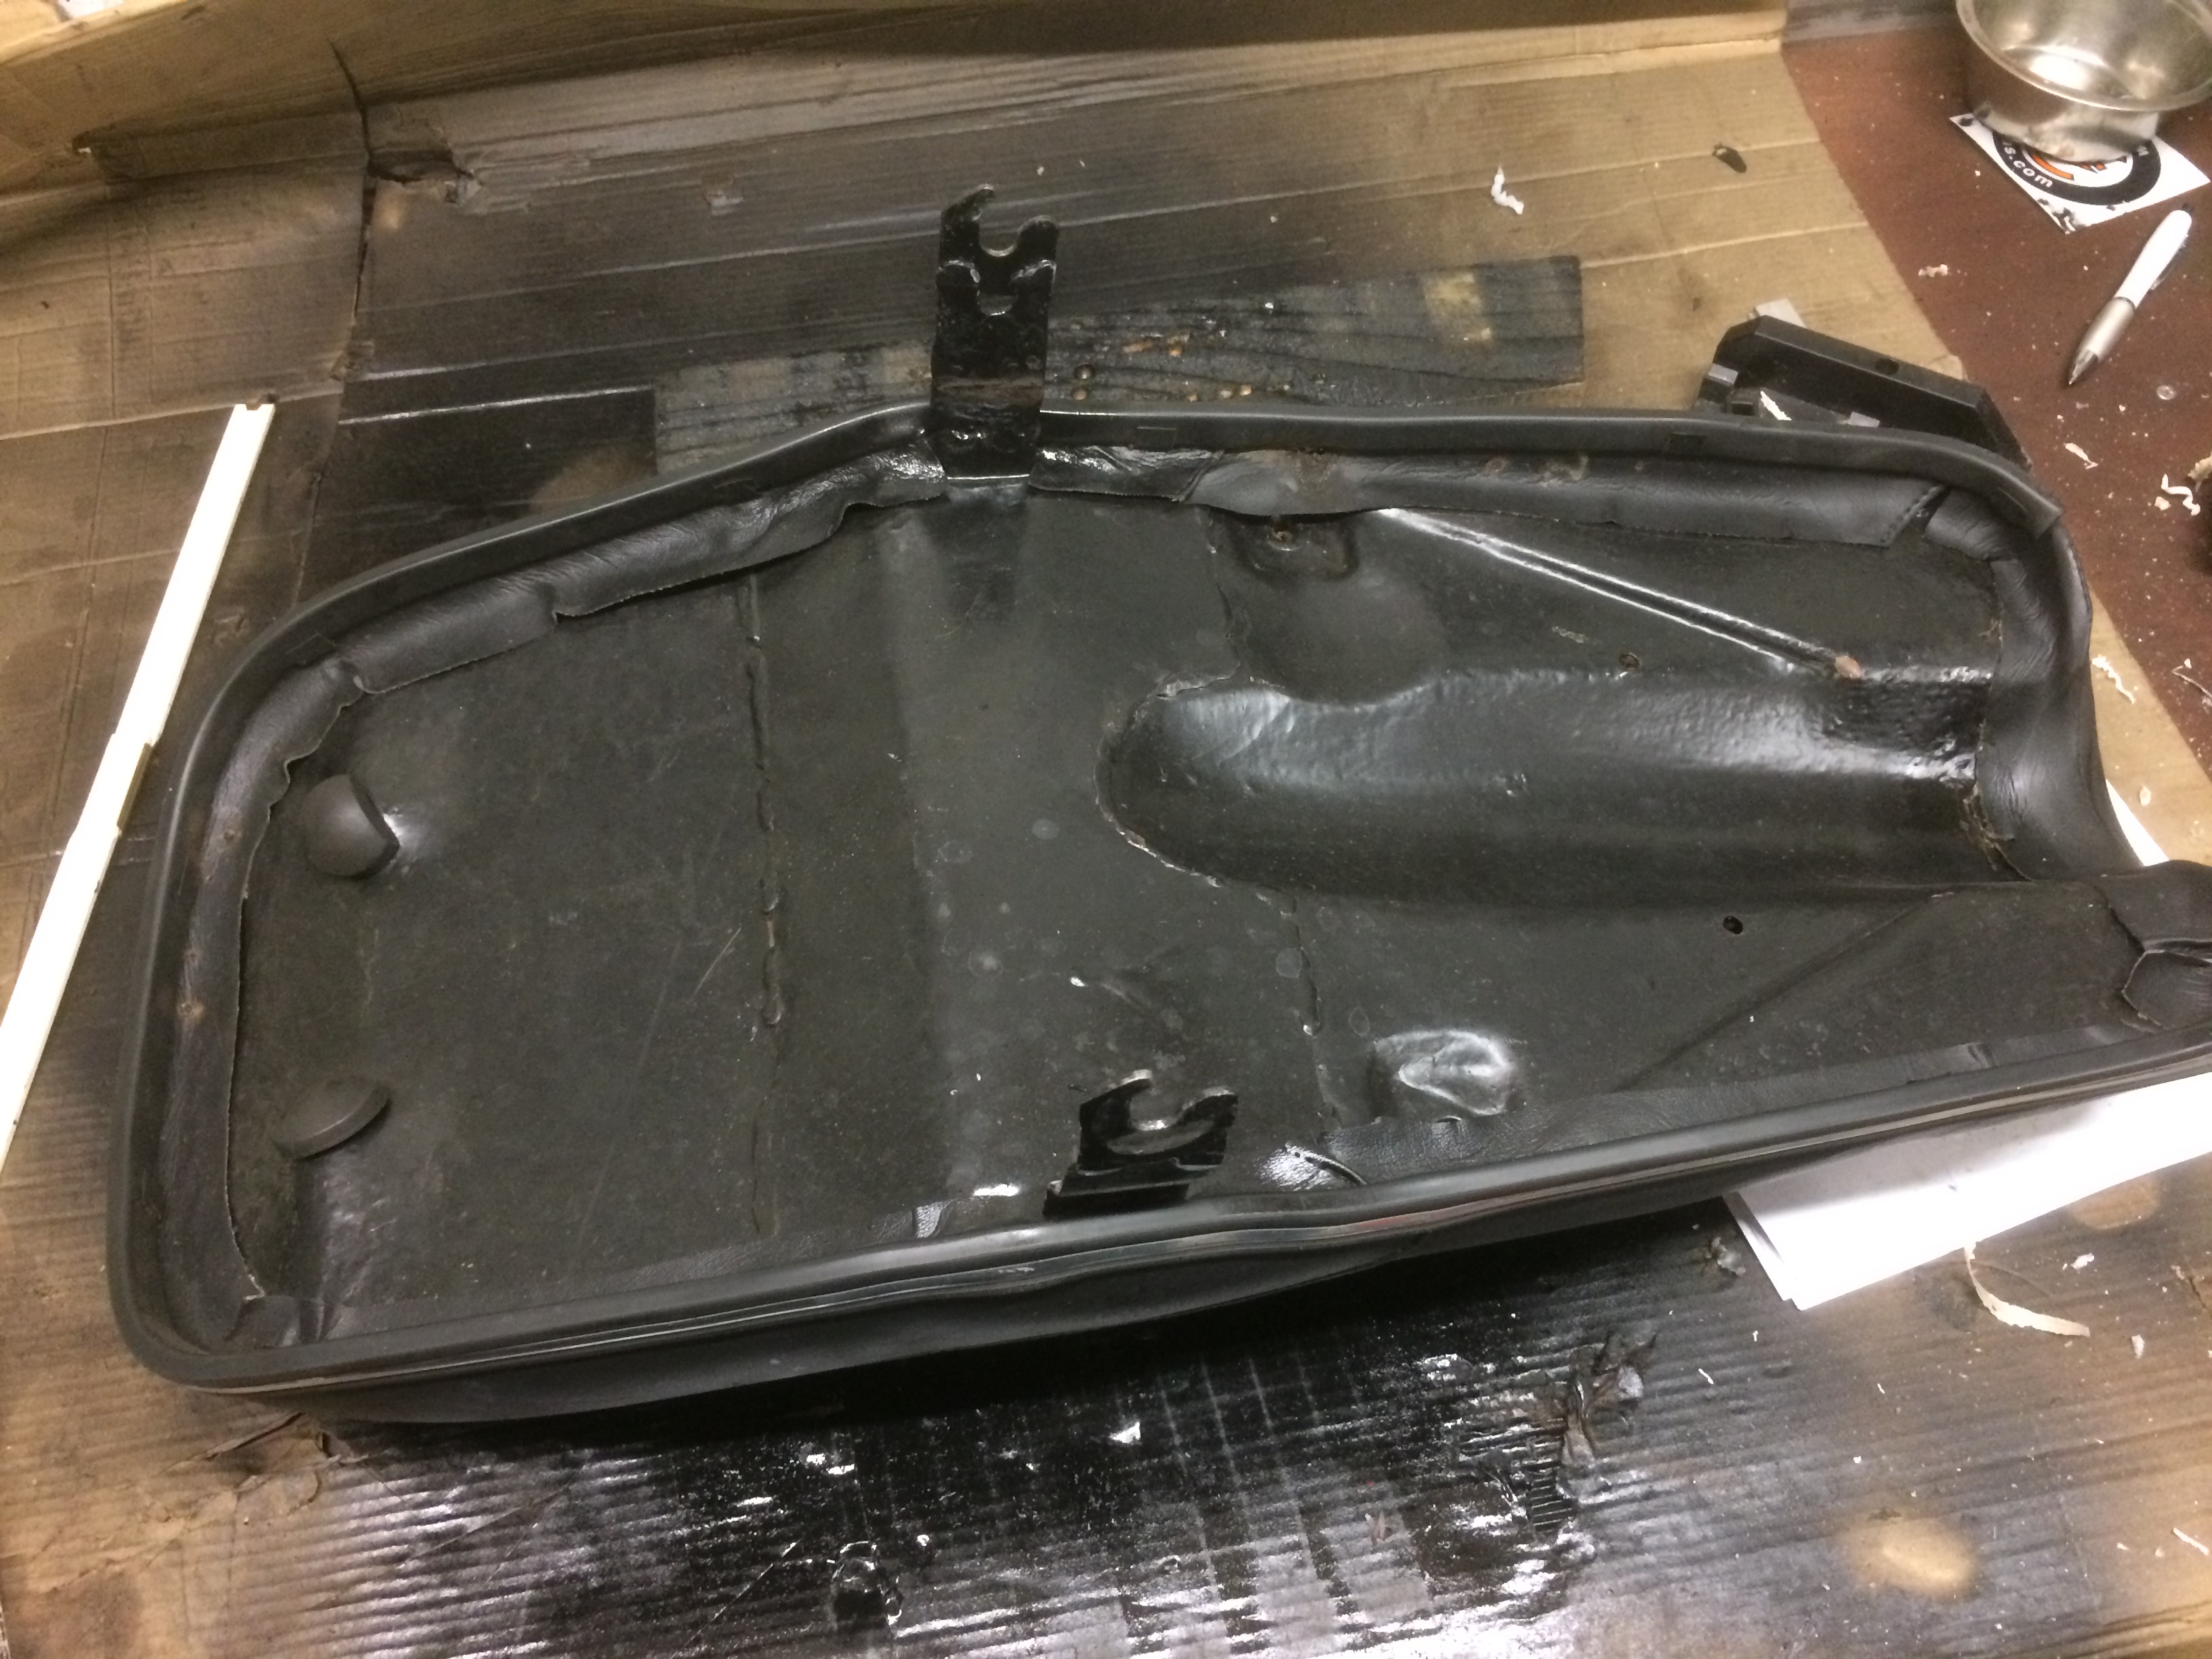
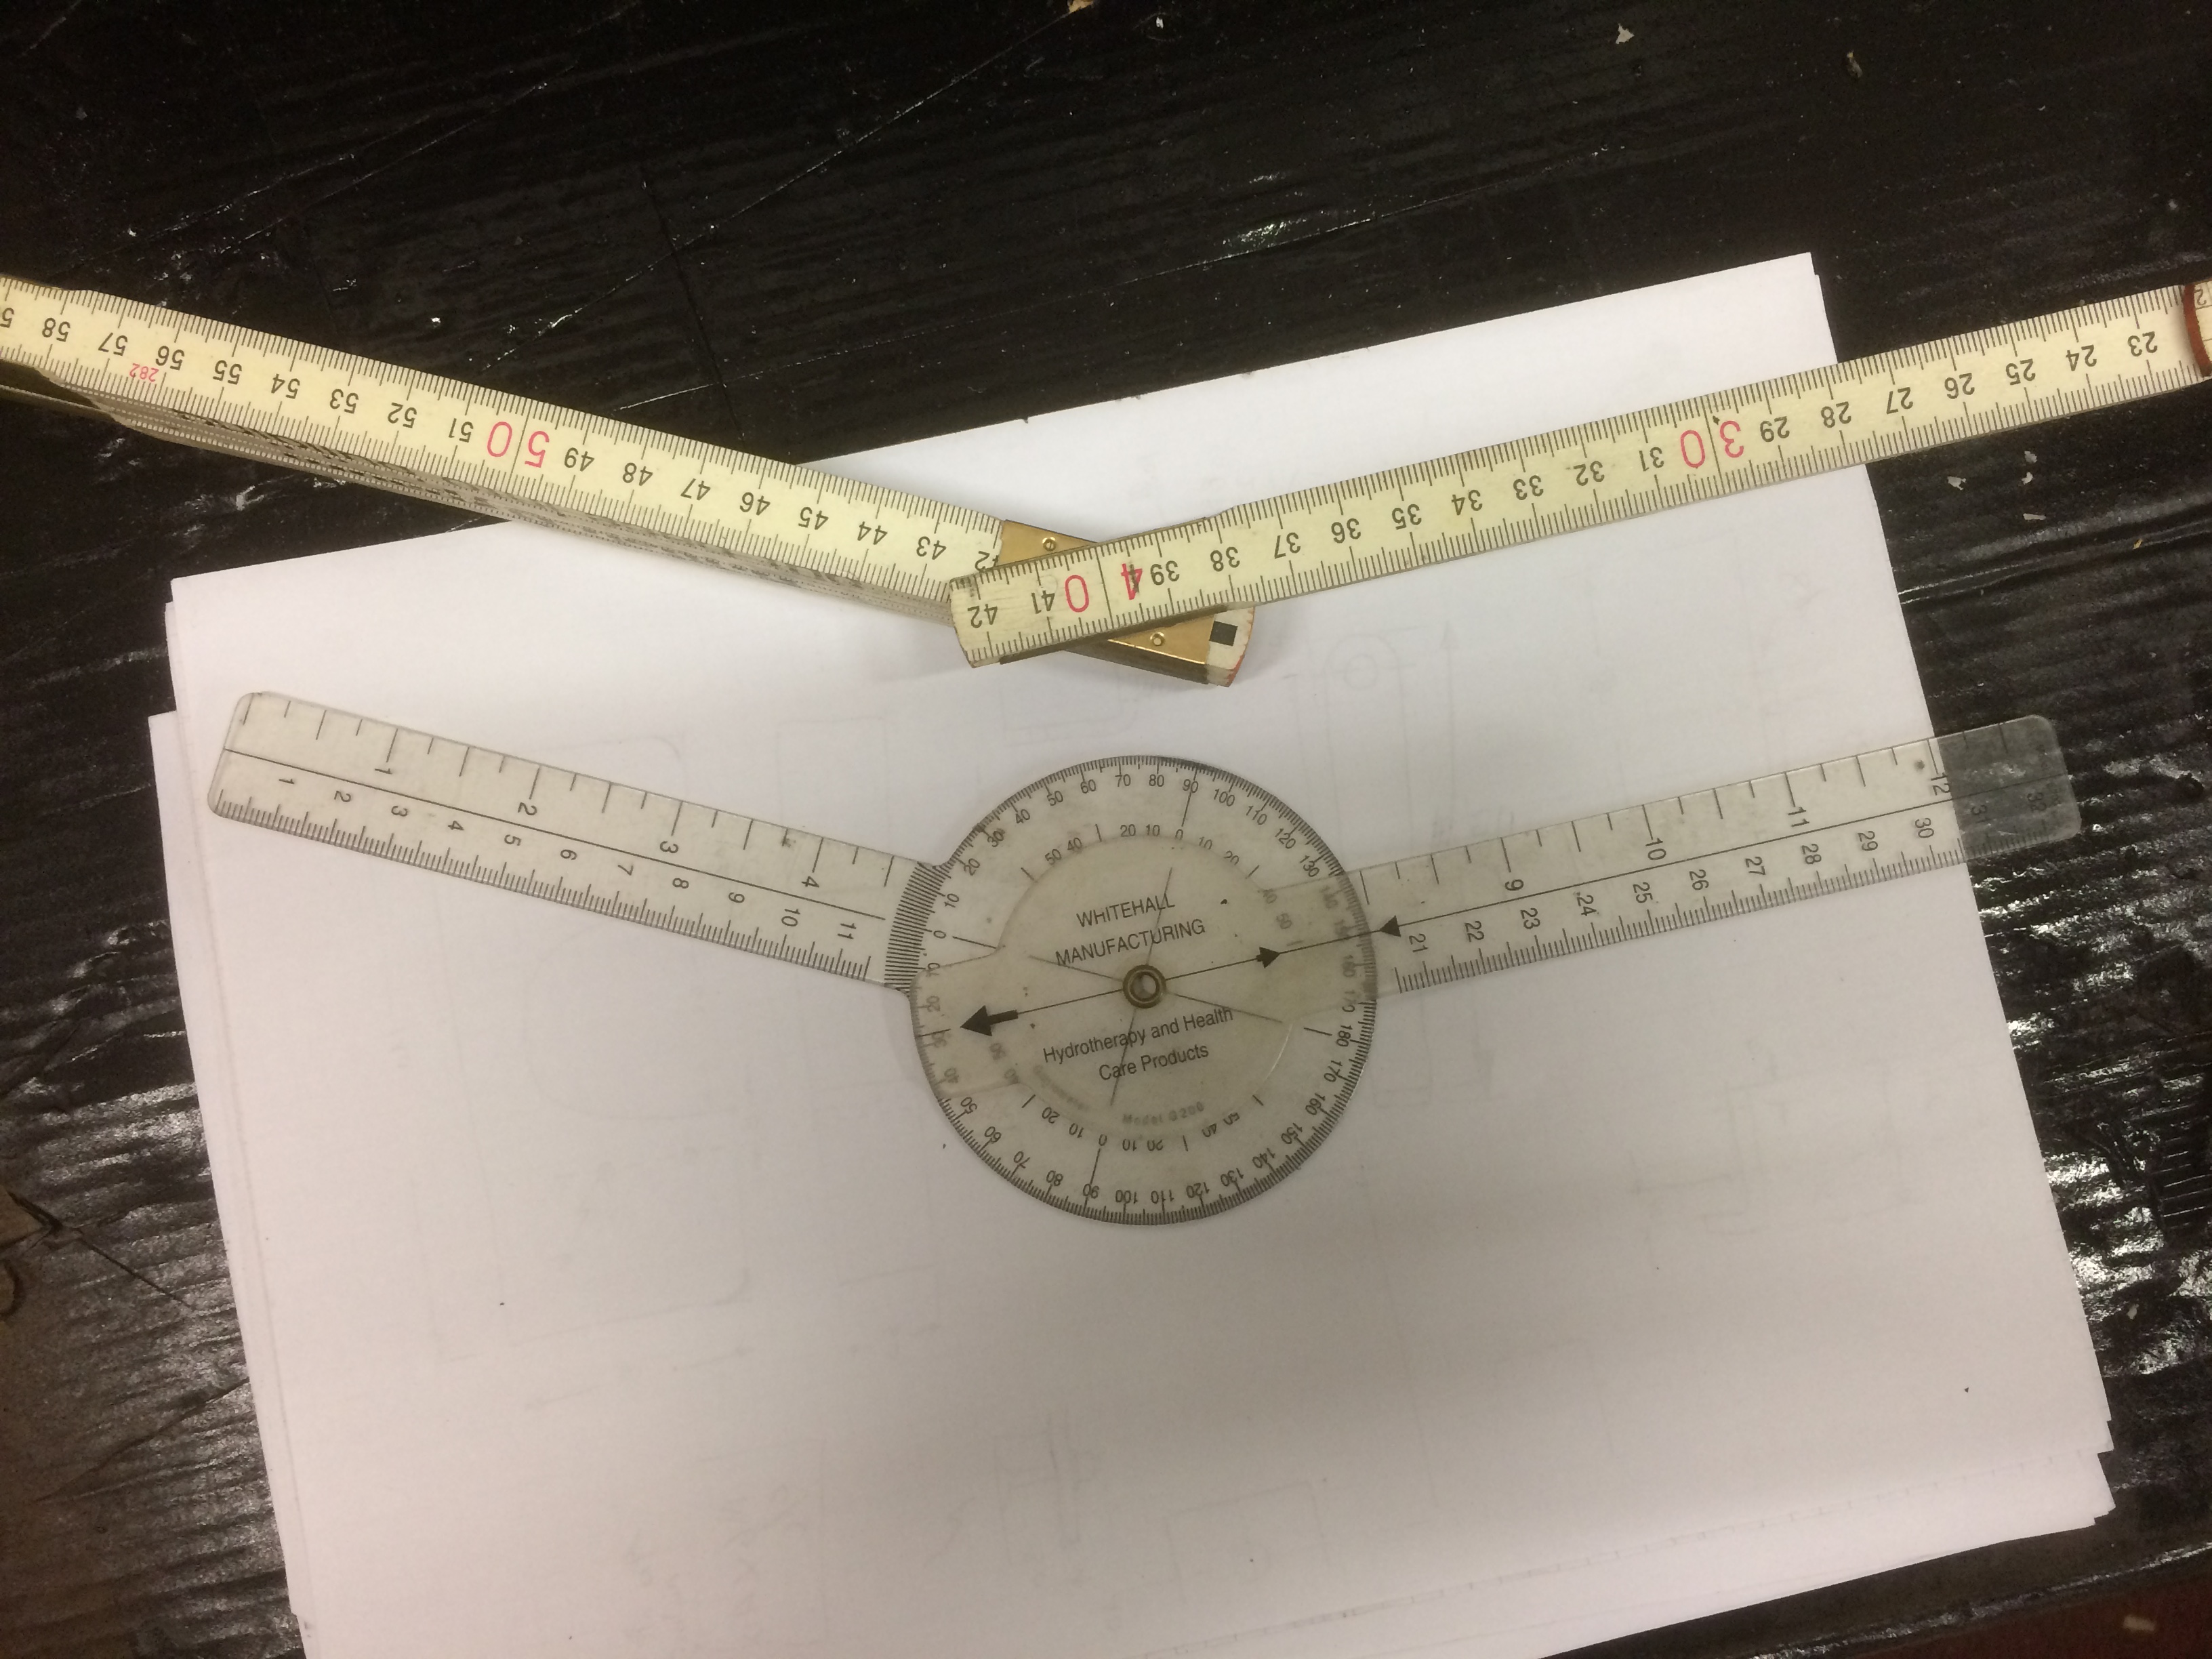
I enclose three snaps of seat in current shape. As you can see there is roughly a 153 degree included angle in the current shape of the seatbase. What should this angle be?
I see quite a few photos of…
- Log in to post comments
Roadster seat shape
Yes, I appreciate that I can get a new seat, and indeed they come up on EBay from time to time, but I have the repair skills and enjoy using them. Otherwise the bike becomes just another "Trigger's broom"! (Had the same broom for 40 years. In that time it's had 23 new heads and 18 new handles.) Having said that, a replacement seat would solve my problem about trying to establish the original shape.
If I knew how flat the seat should be however, I could just get on and do it a lot more economically though. Strip off the current cover, flatten it and off we go. I'm also keen to have it built up a little as anything that gives me more leg room is a bonus - I will have to replace the cover anyway and my local bike seat trimmer in Preston is very good at such mods. (Bootleg Bike seats)
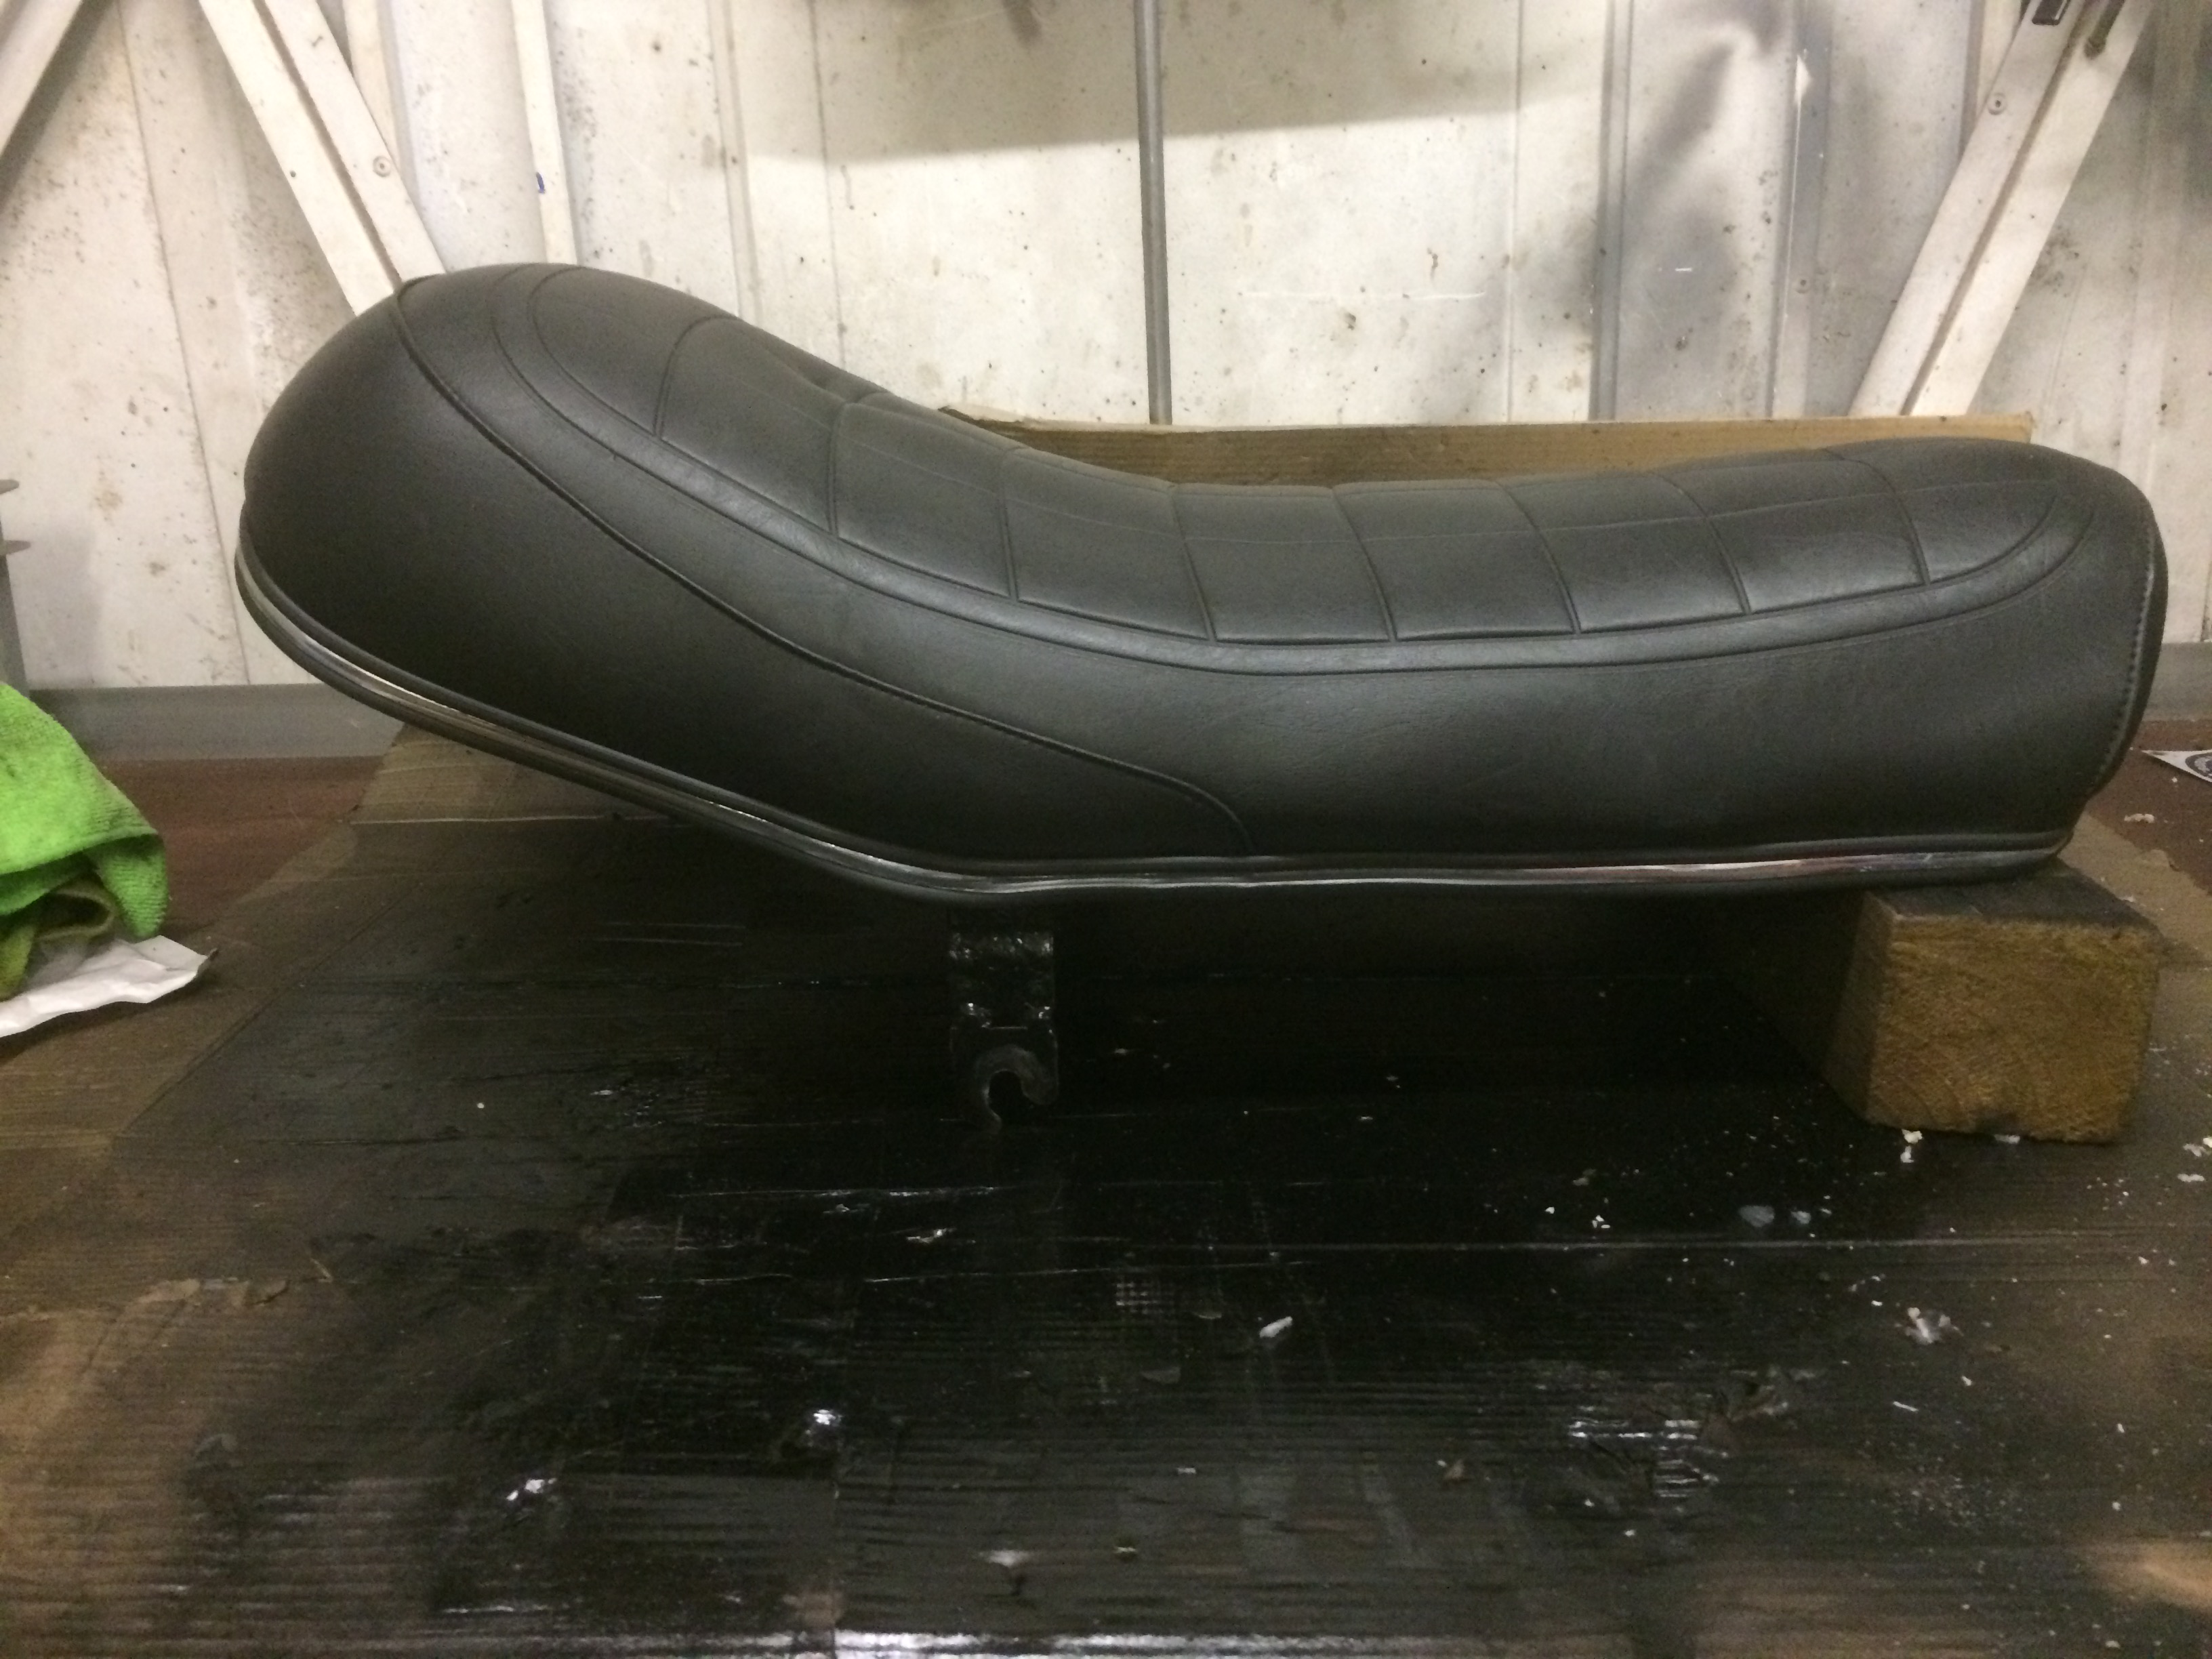
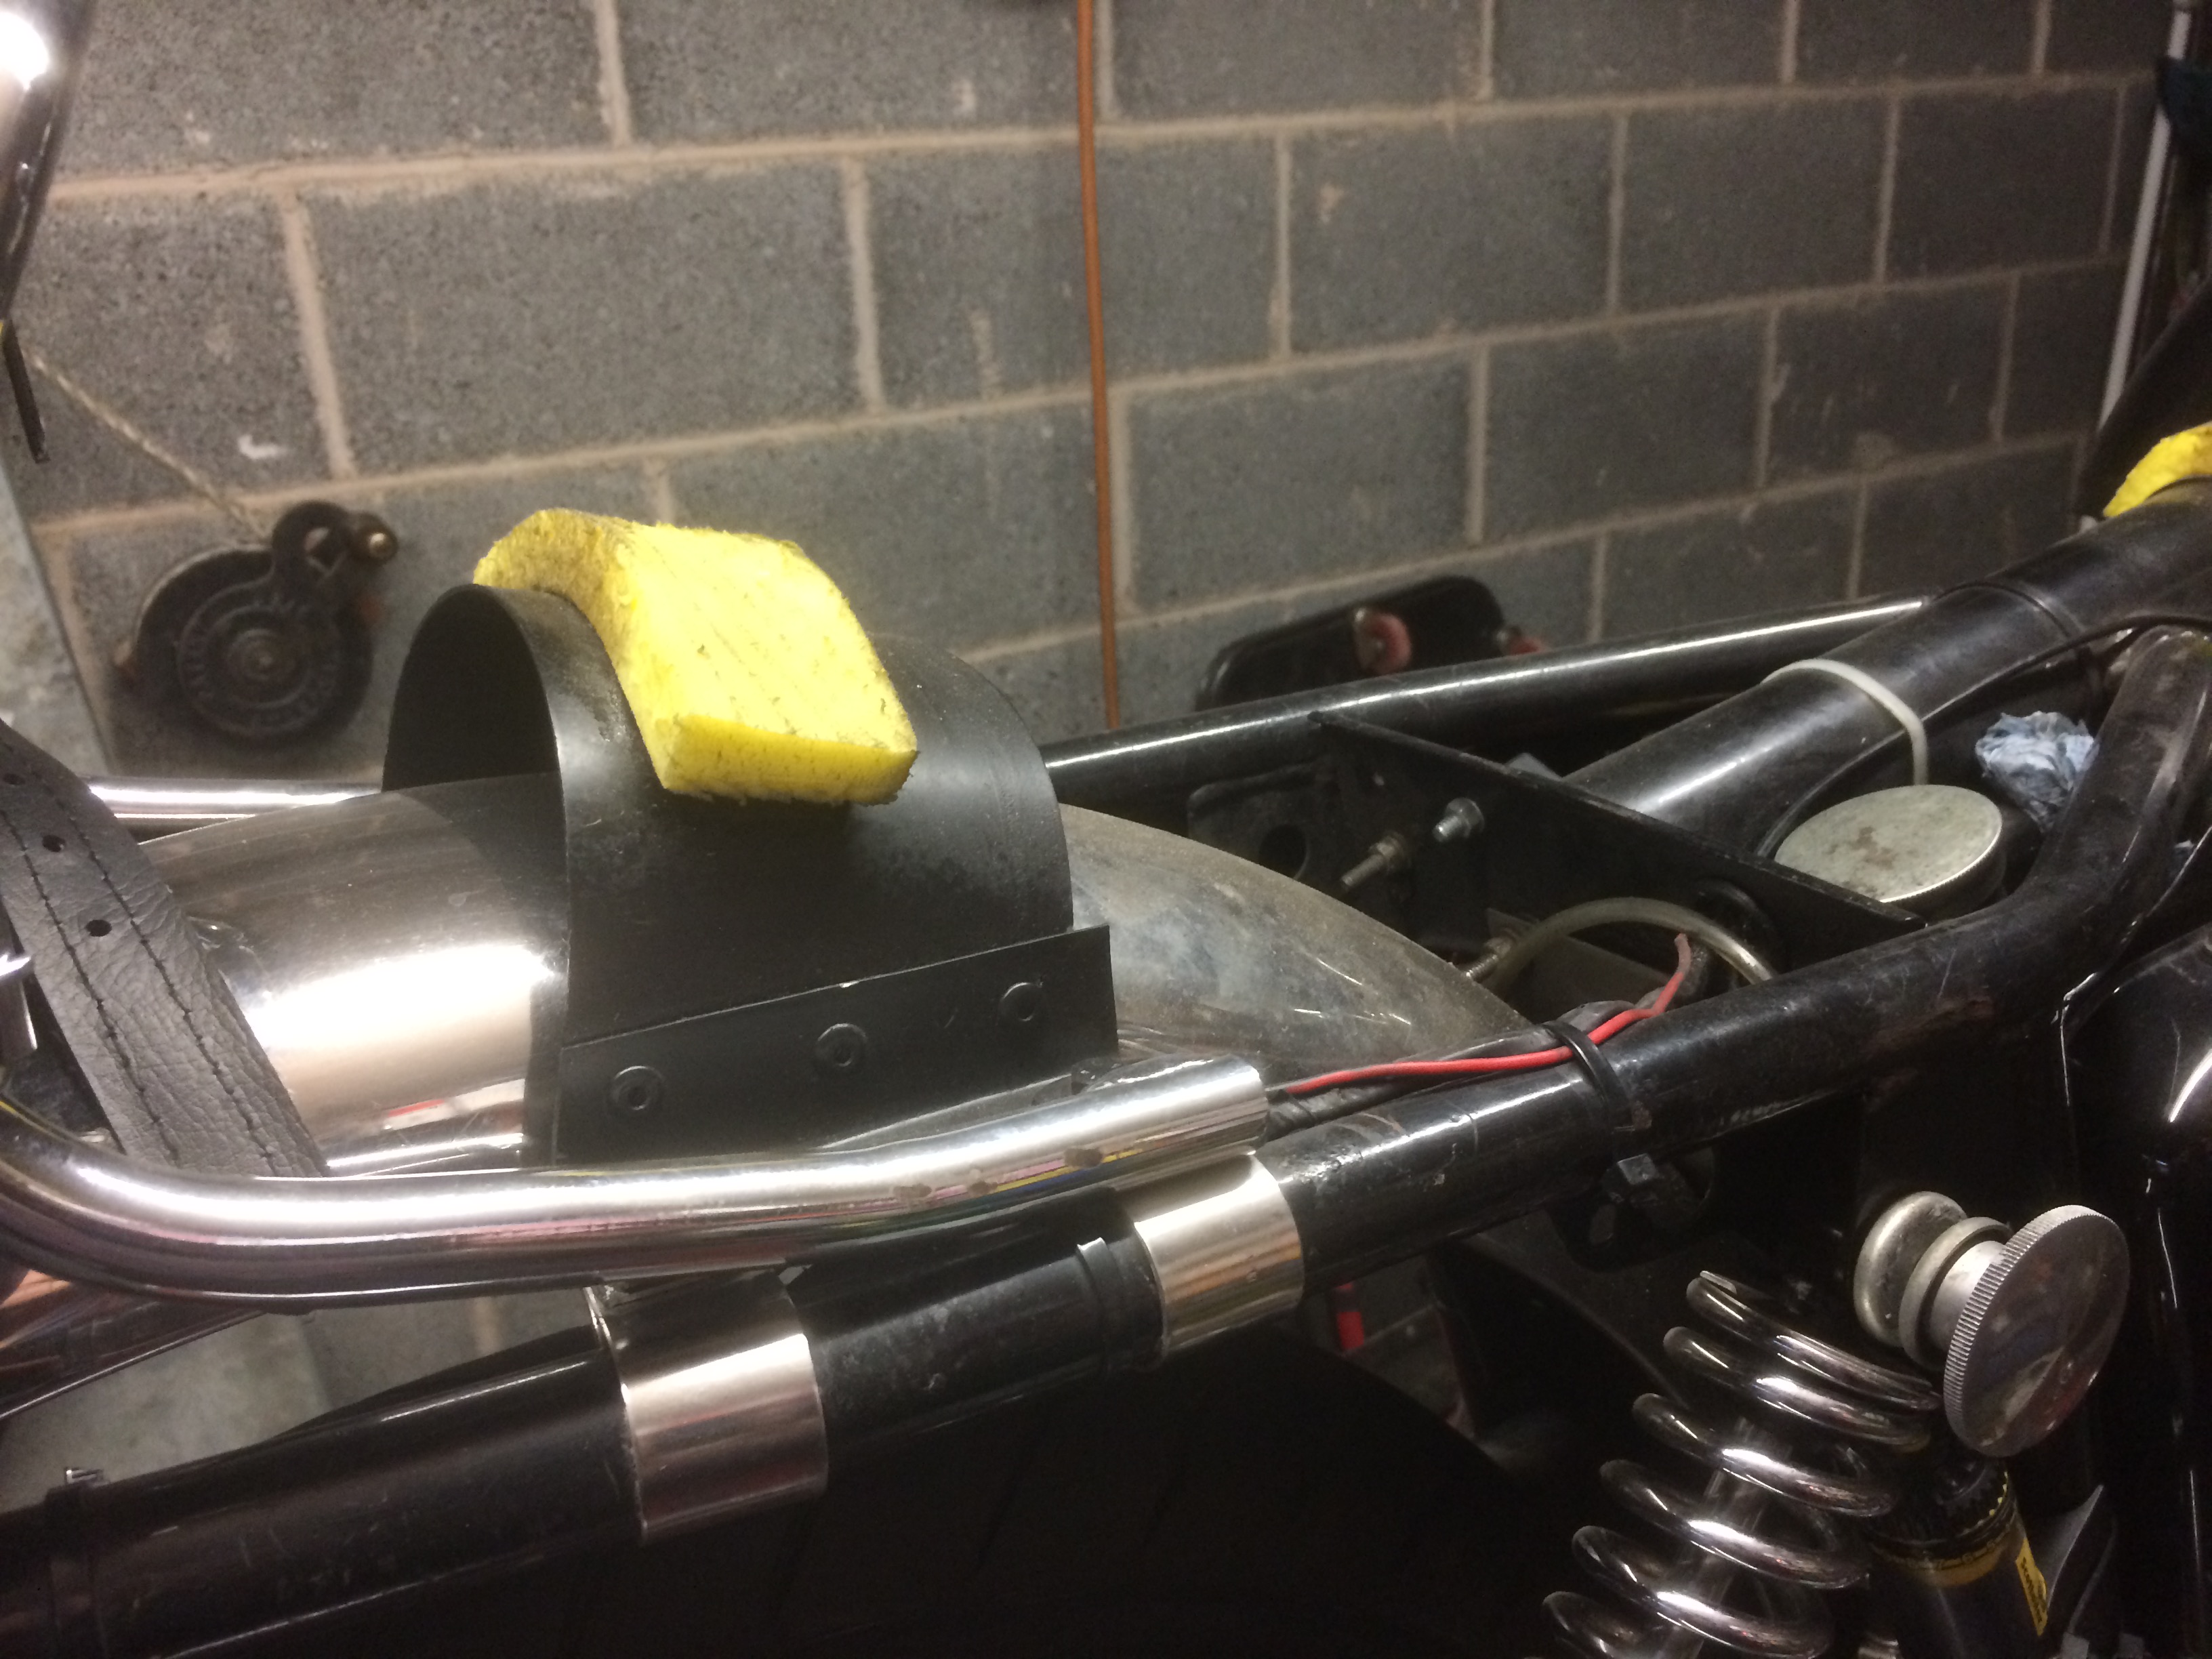
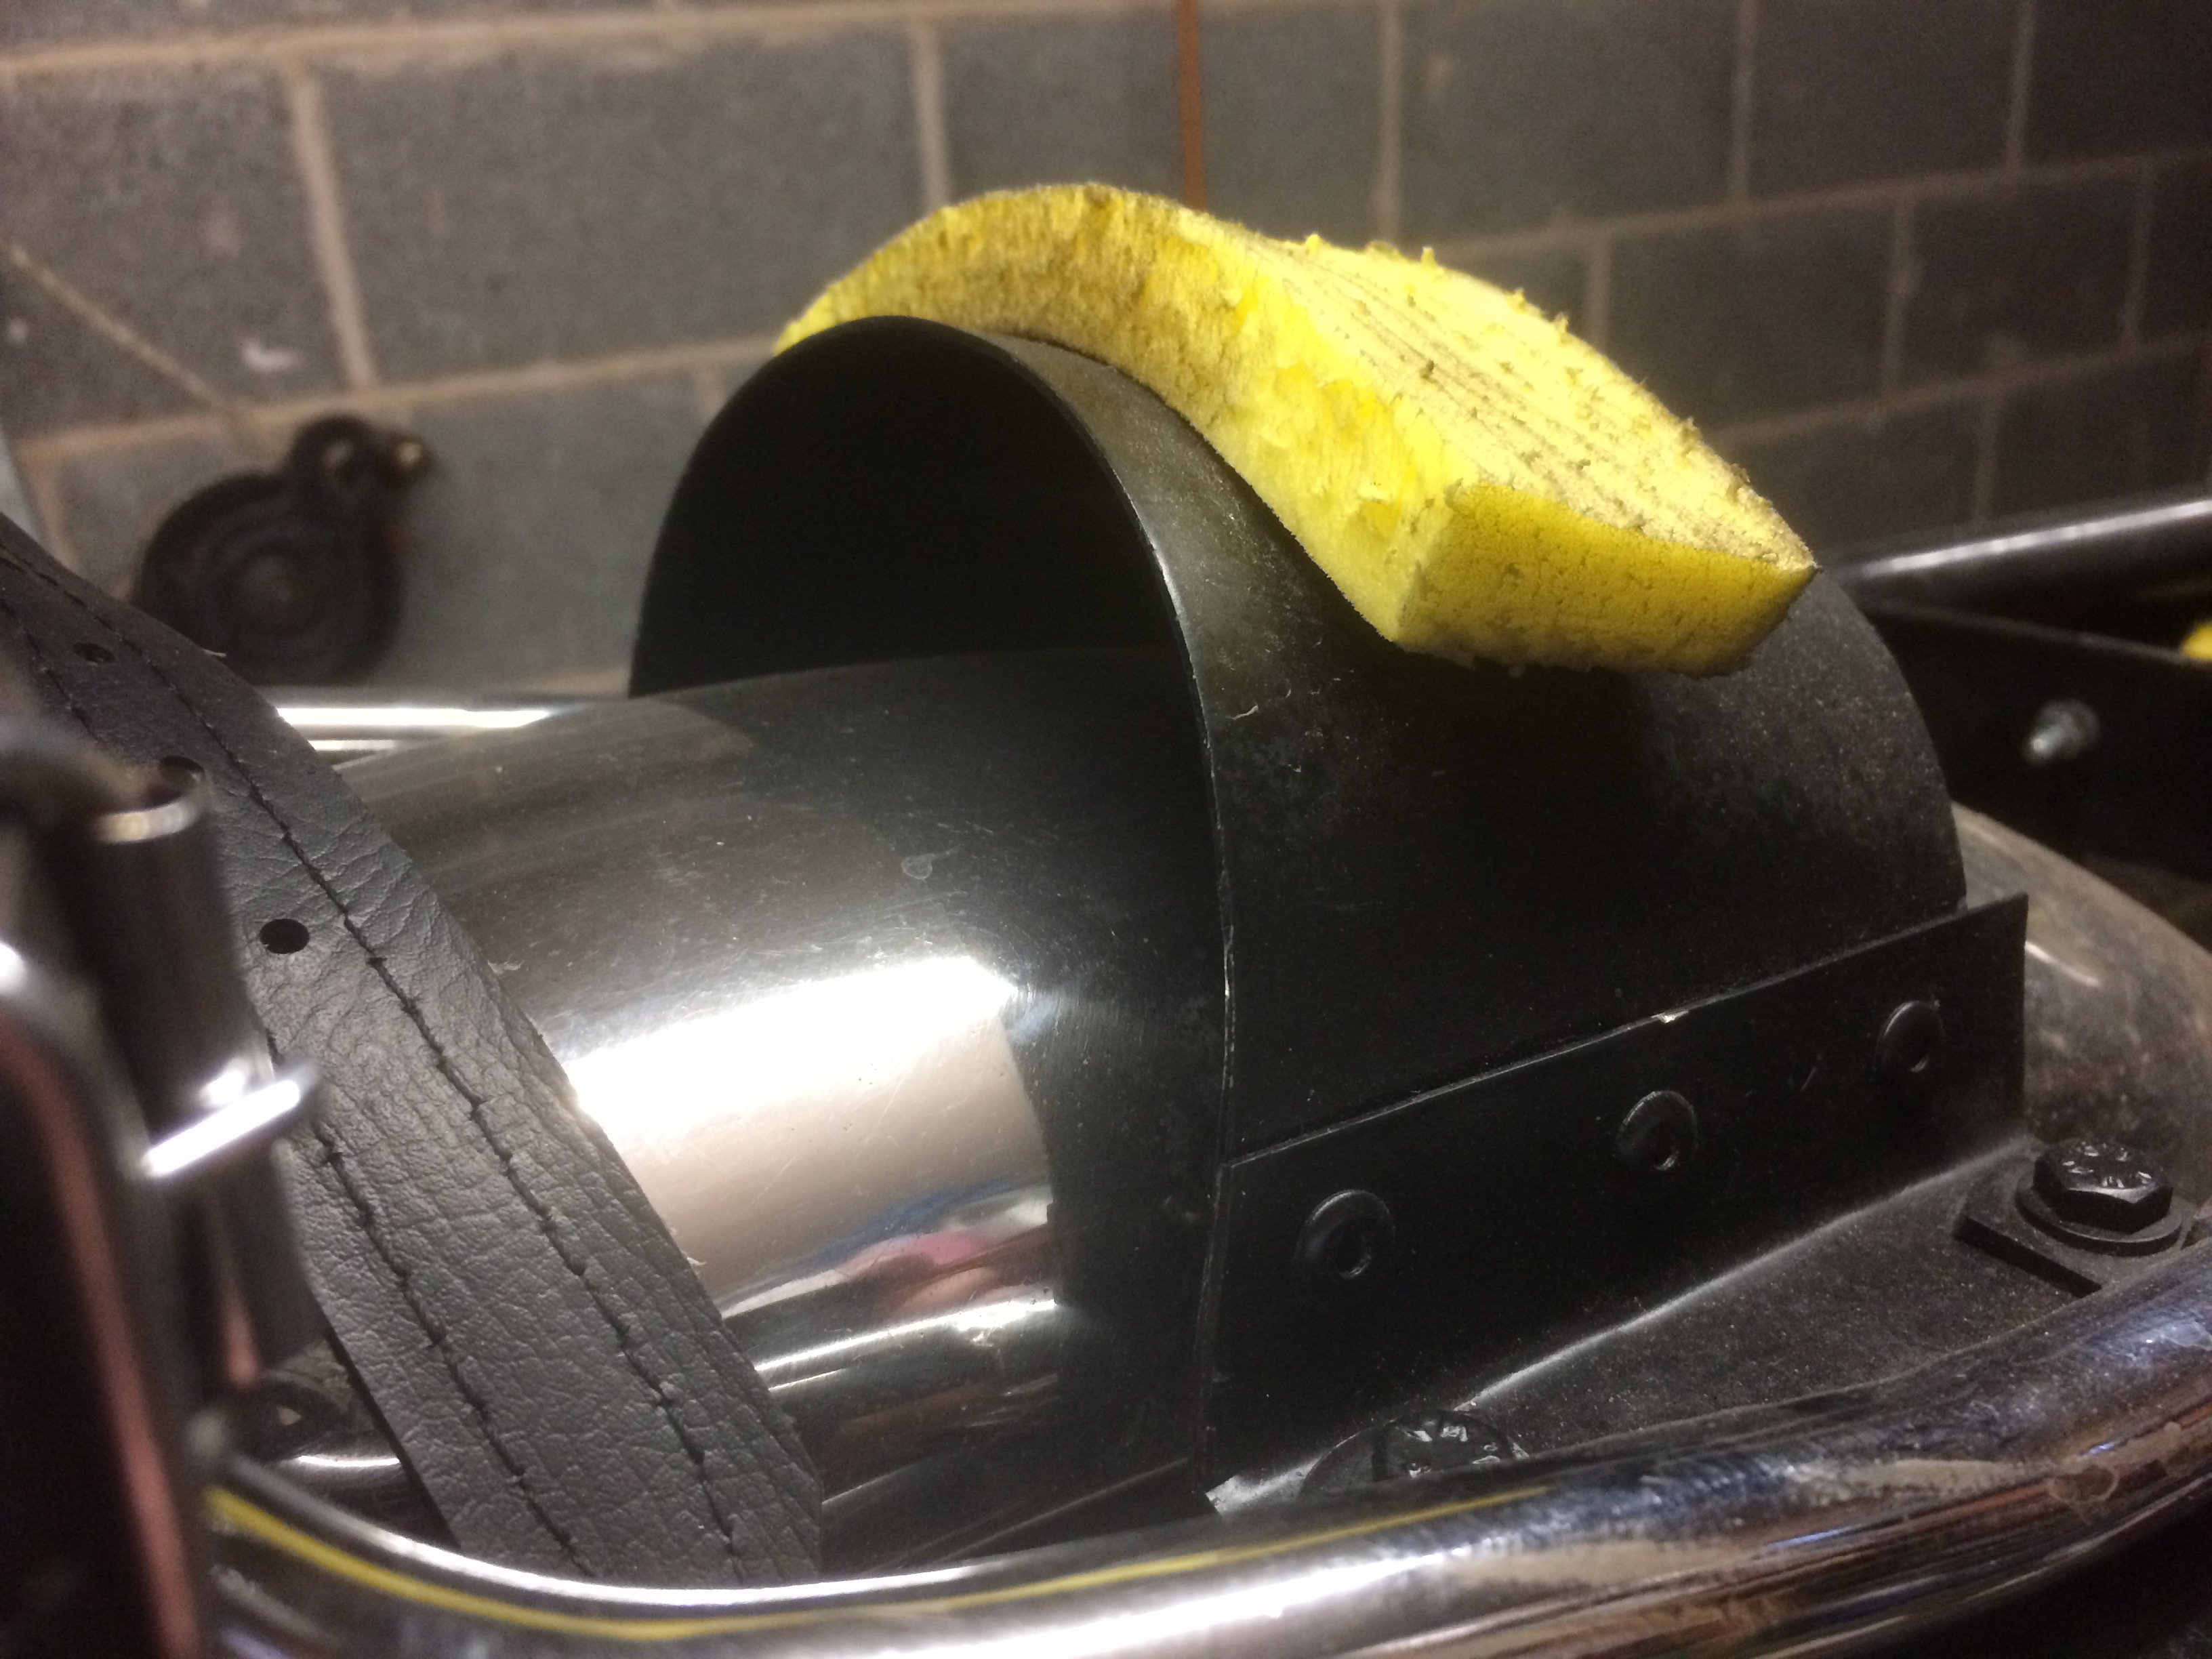
I enclose a simple side view of the seat in its current shape, and also a view of the hoop support I made to go under the back of it once I realised how much higher the back of the seat had become!
- Log in to post comments
Mk 3 versus Mk2 Roadster seat shape
Just noticed a Mk3 seat for sale on EBay. Other than the method of attachment, Mk3 being hinged at one side unlike the Mk2 which is a simple lift off, is there any difference in shape between that and a Mk2 seat?
- Log in to post comments
Seat shape
Do the pictures in the 'models' section not give any guidance as to the shape? Might be worth a look. Irrespective of model though, it looks like the front half follows the line of the subframe.
I like your fix it approach. I came to a similar conclusion on my Morini (similar seat fixing arrangement), but the base had rotted so much that I ended up taking a mould from it and made a new 'base' in fibreglass and 20 years later it is still as solid as when first made.
George
- Log in to post comments
Seat buttons NM21852
I recently refurbished my original '74 roadster seat which looks similar to yours.
There should be six rubber buttons fitted to the seat base.
Two at the rear of the seat which rest on the rear mudguard.
Two next to the fixing brackets which rest on the frame rails.
And two towards the front of the seat also rest on the frame rails.
Perhaps you could fit buttons then re-shape the seat base to suit and this should be the correct original shape.
I purchased the seat buttons from Andover Norton (part number NM21852)
Hope you can finally sit comfortably.
- Log in to post comments
I molded a fiberglass base…
I molded a fiberglass base off of a rusty base which I had covered in tape and then built it up and with steel threaded plates inside used stainless brackets off of E bay. (Pictured on the floor) I stuck foam and a cover on top while I played around with different foam. Then I found the Fastback setup worked. But I modified the old seat base and use it on my Velocette.
- Log in to post comments
Roadster seat buttons
Great idea about the seat buttons as reference! I will give it a go.
Thanks again for all inputs.
I actually thought my current seat fits rather well to the lines of the Roadster. The back of the seat follows the line of the upswept exhaust a treat! A shame it's not more comfortable.
- Log in to post comments
Zen and the art...
Chris, there is just something hugely satisfying in doing a job like that. Forget how many hours it took - be proud of the result.
I rebuilt an intergral part of our vacuum cleaner a few months ago. It works perfectly and will do so for a long time yet. My wife said,"couldn't you have just bought a new part?"
"Where's the fun in that?" I replied!
- Log in to post comments
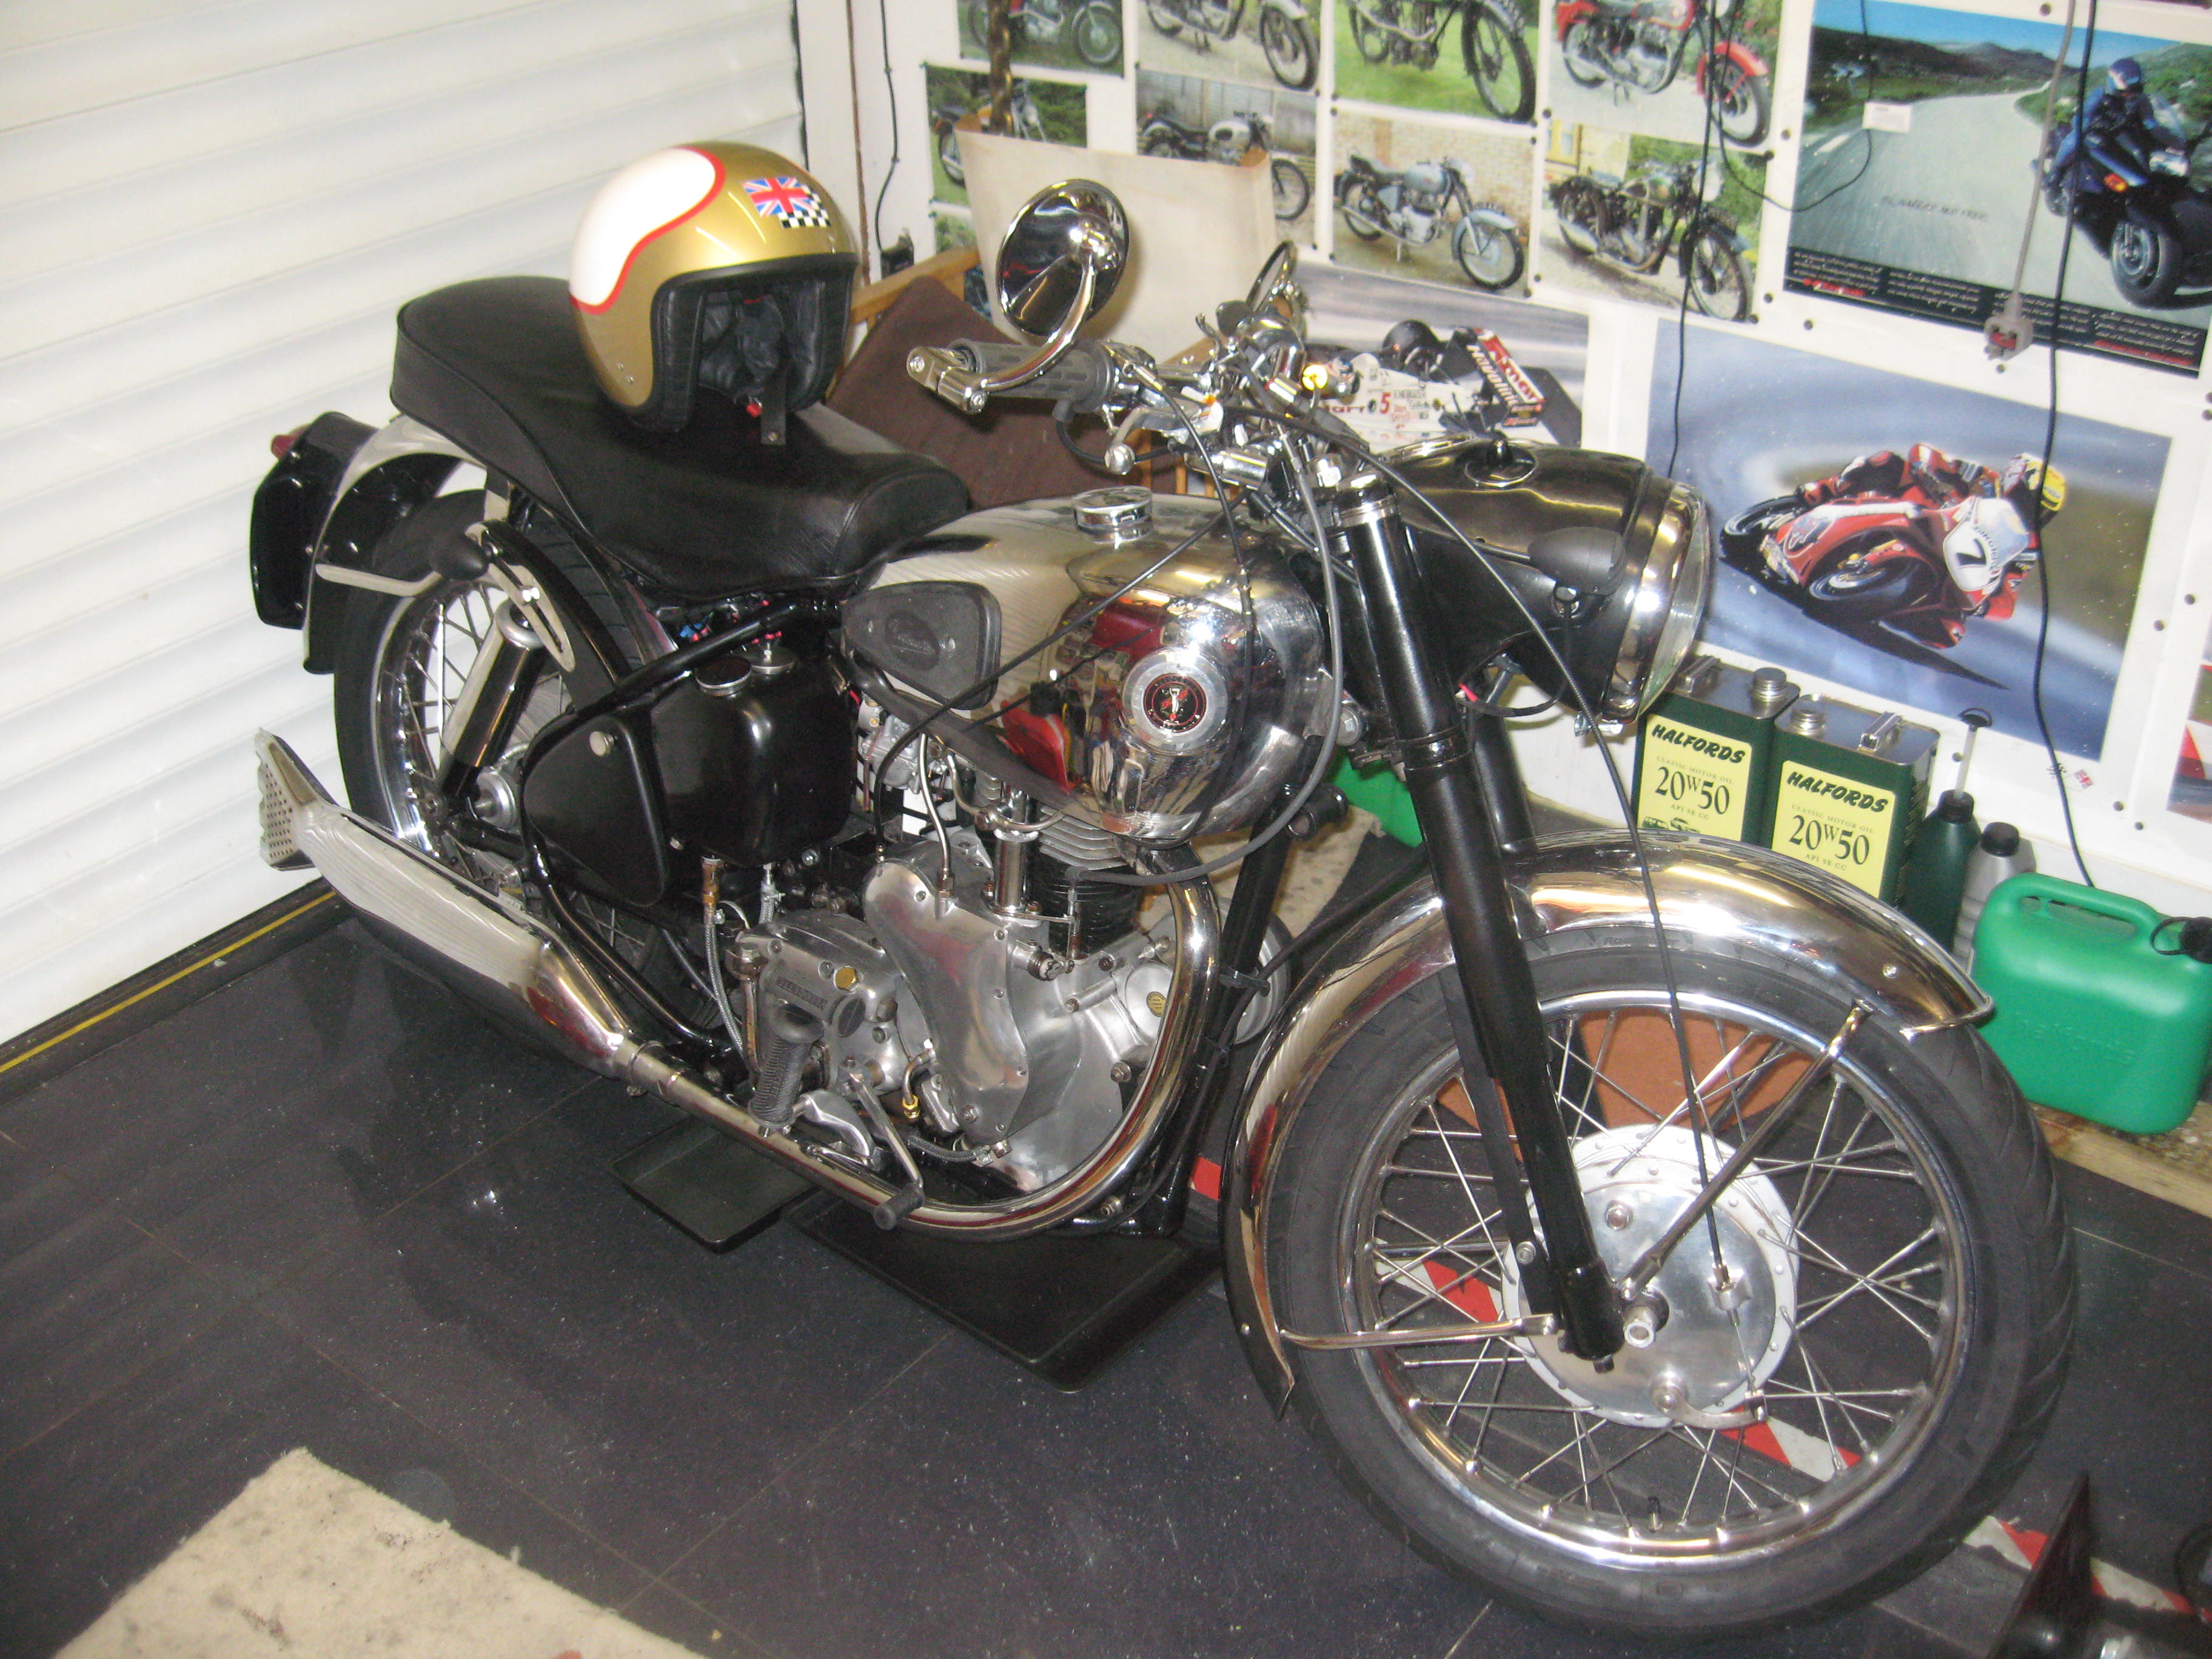
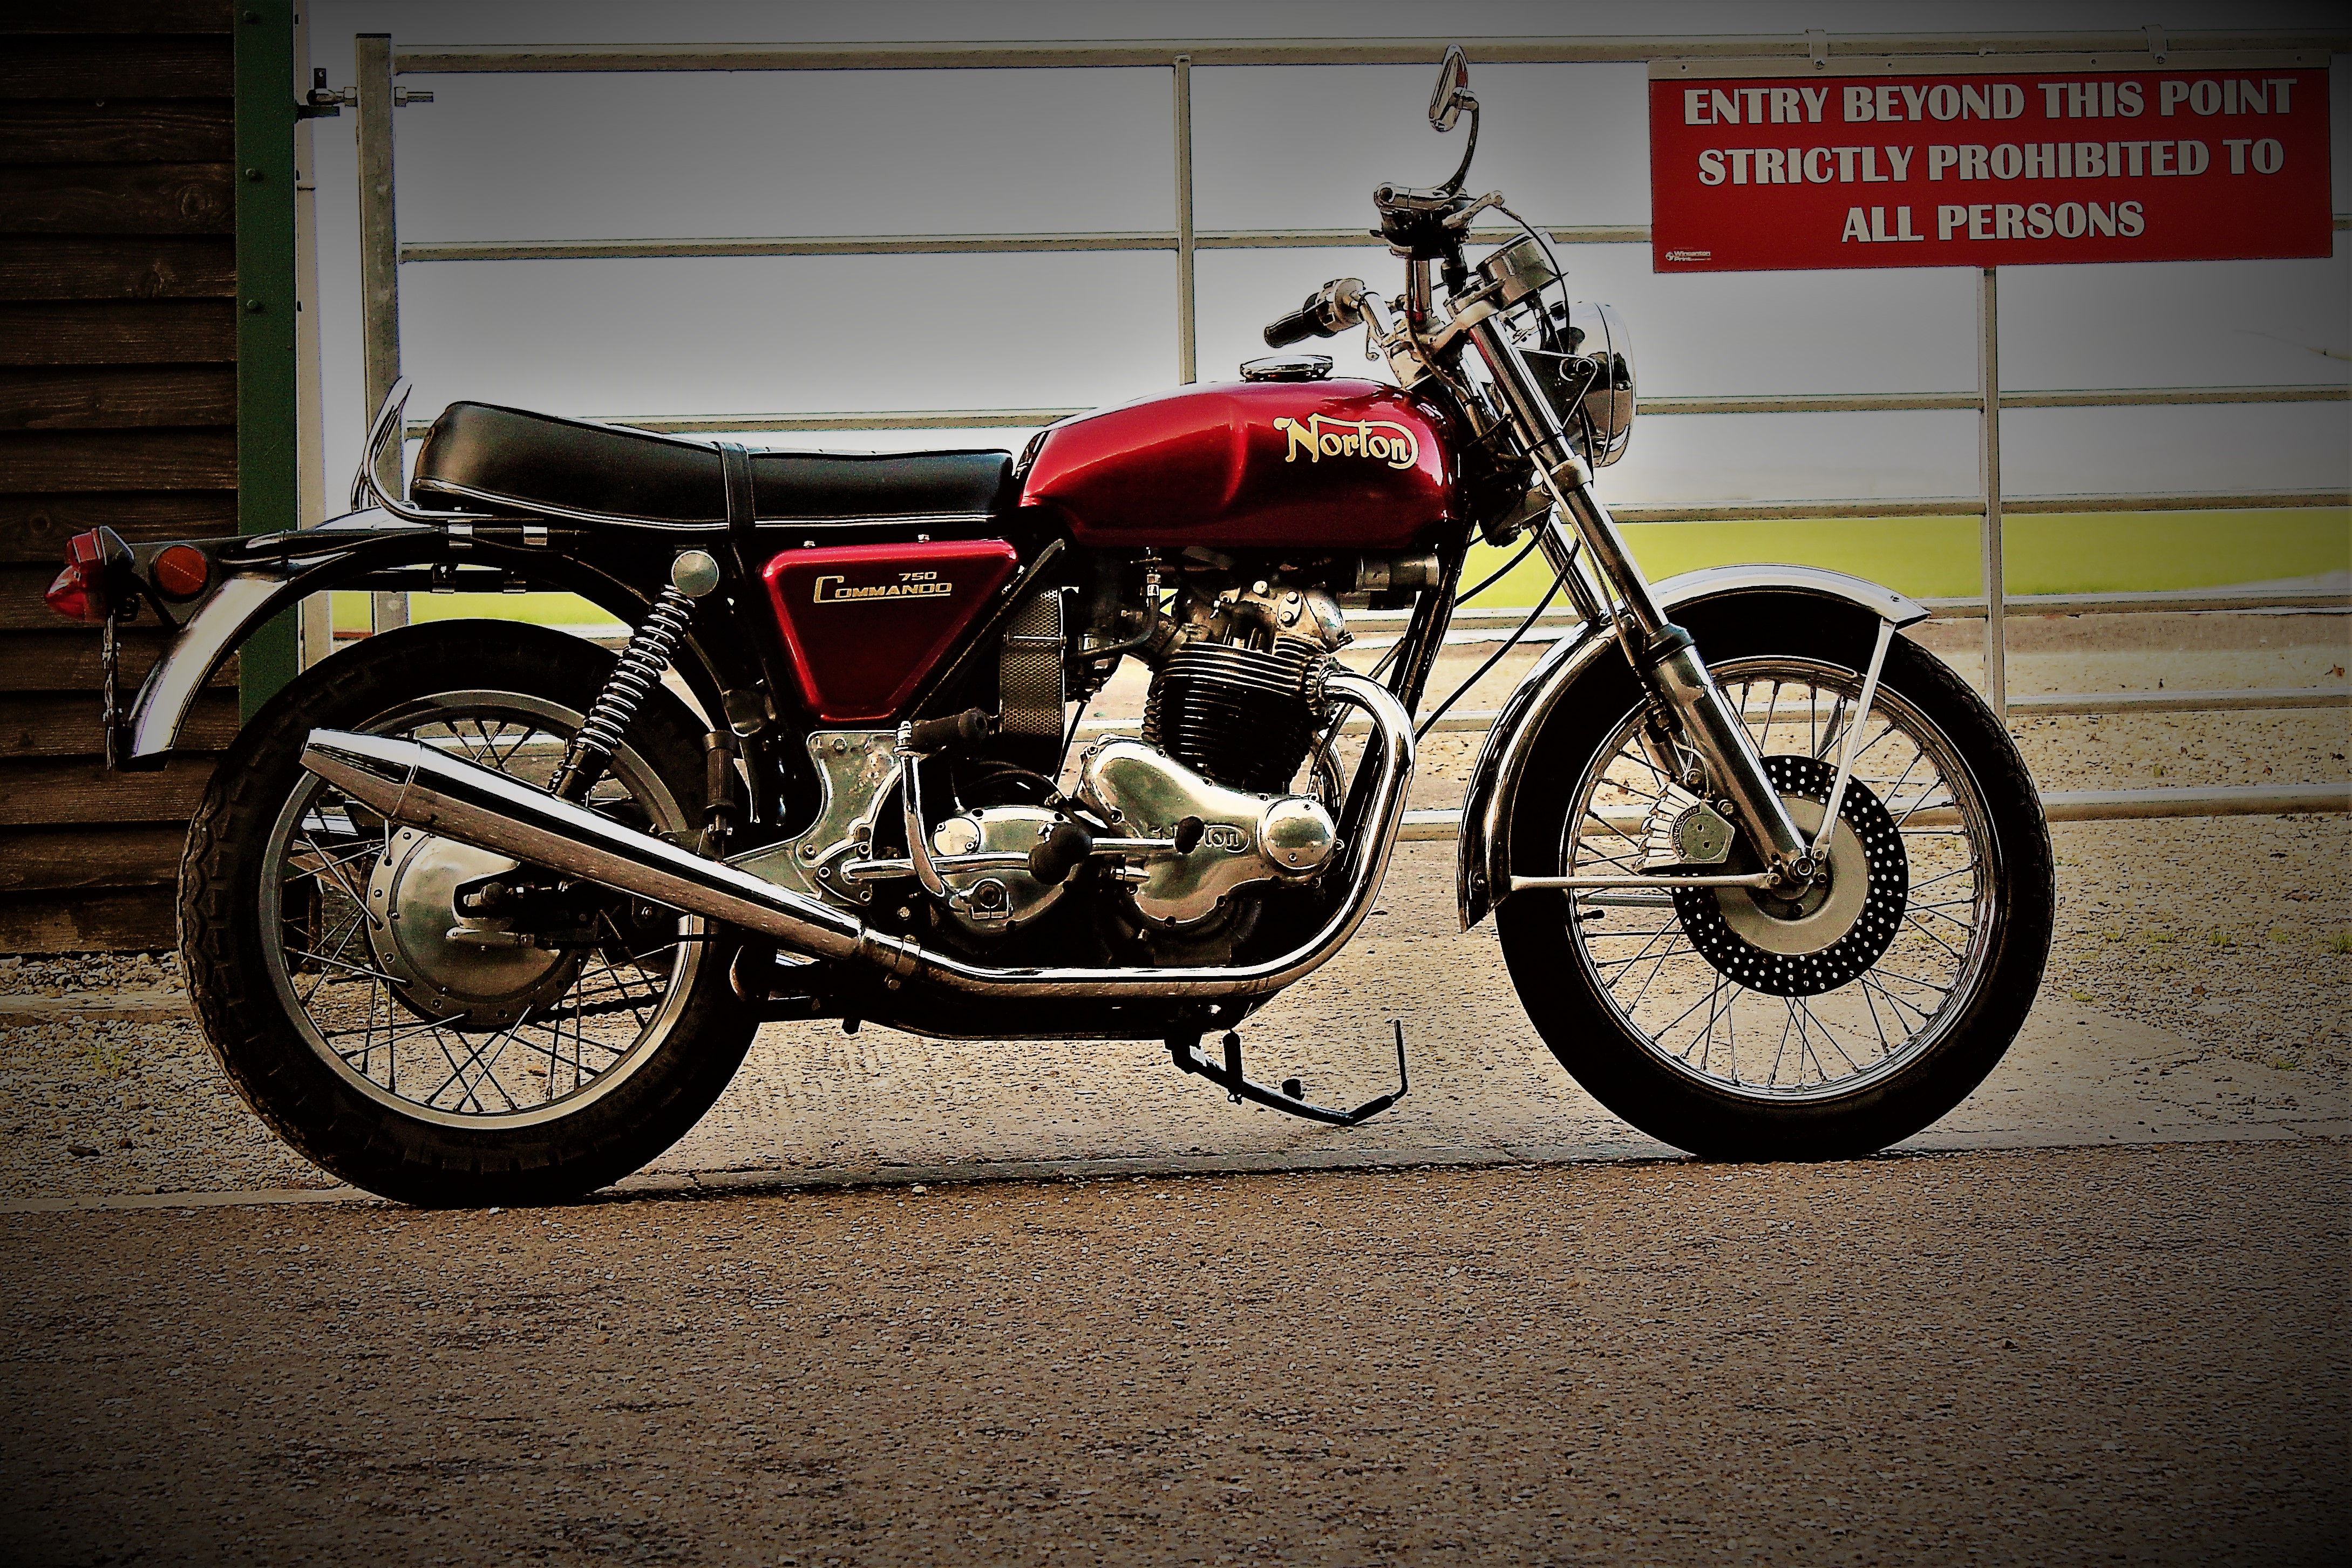
My Norton now Mk 3 saved…
My Norton now Mk 3 saved from going to the breakers, not original but made to fit me and my needs.
Second picture the Velocette (winter hack) less alloy to corrode and nice and oily. Also modded to suit me with folding Norton footrest and modded Norton seat base Both bikes have Jota bars to get the angle right to help with the arthritis also fold so the car can get in the garage.
- Log in to post comments
My bike is a 750 but has a…
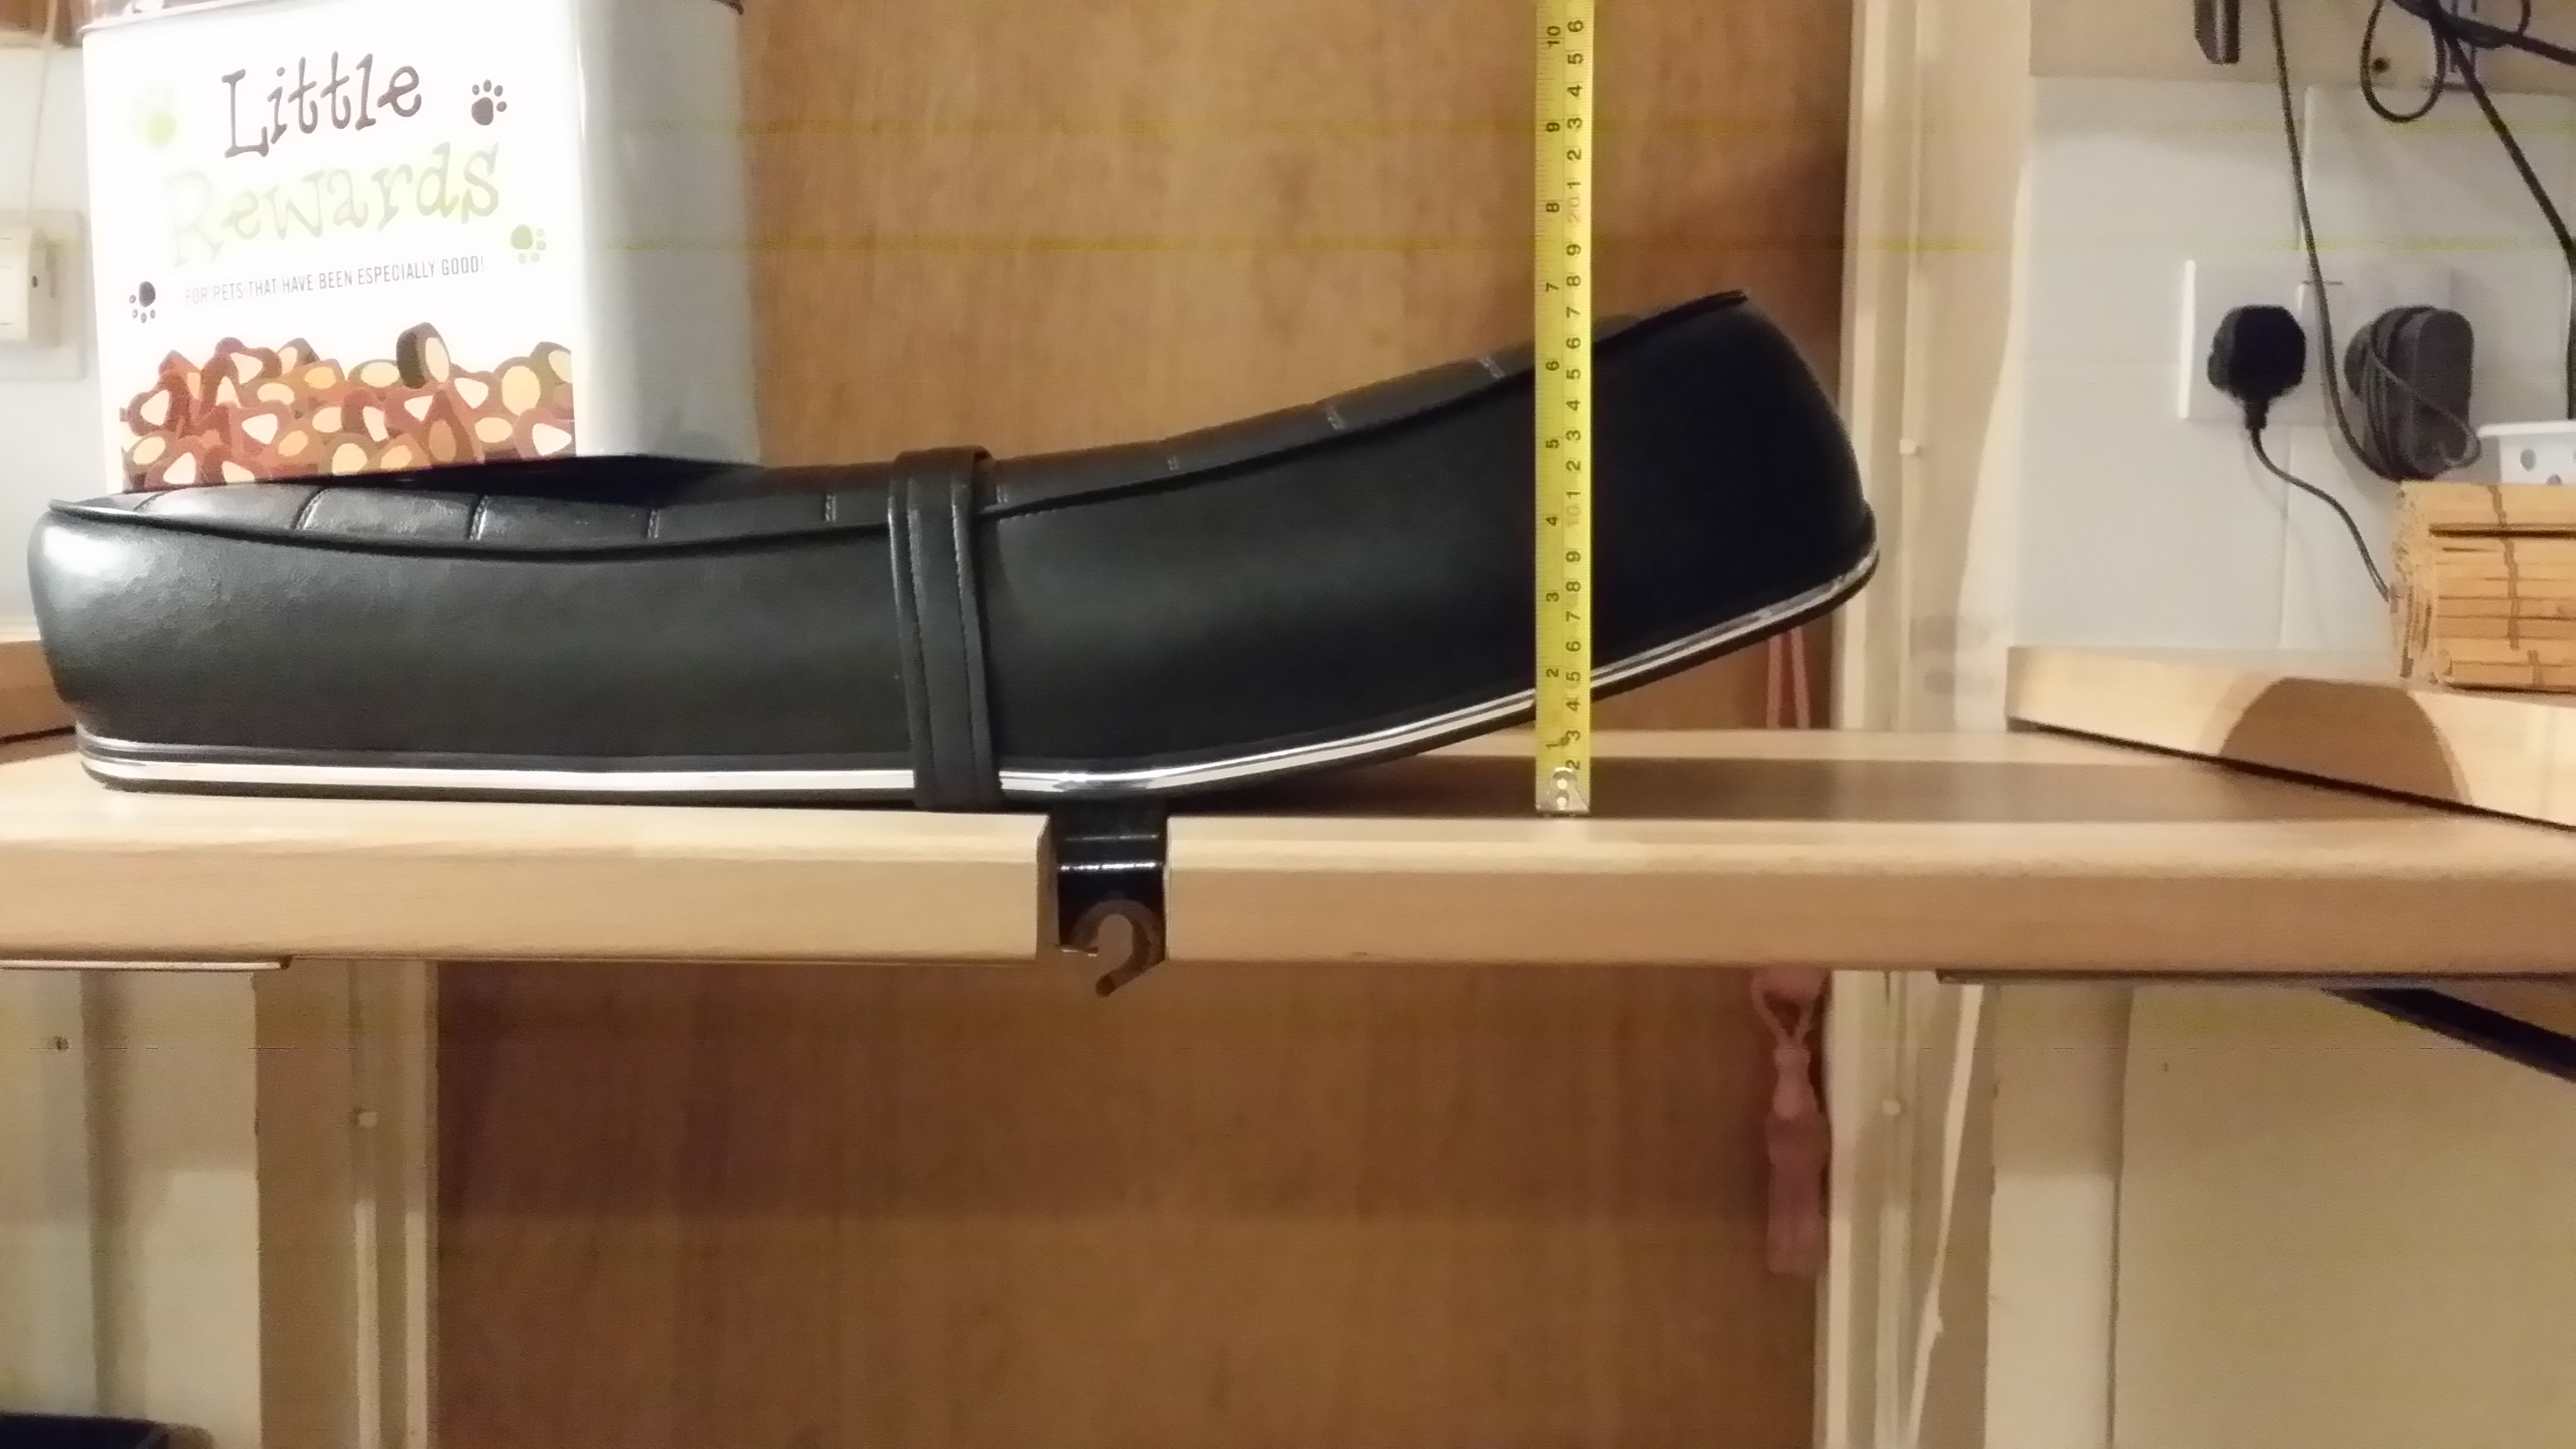
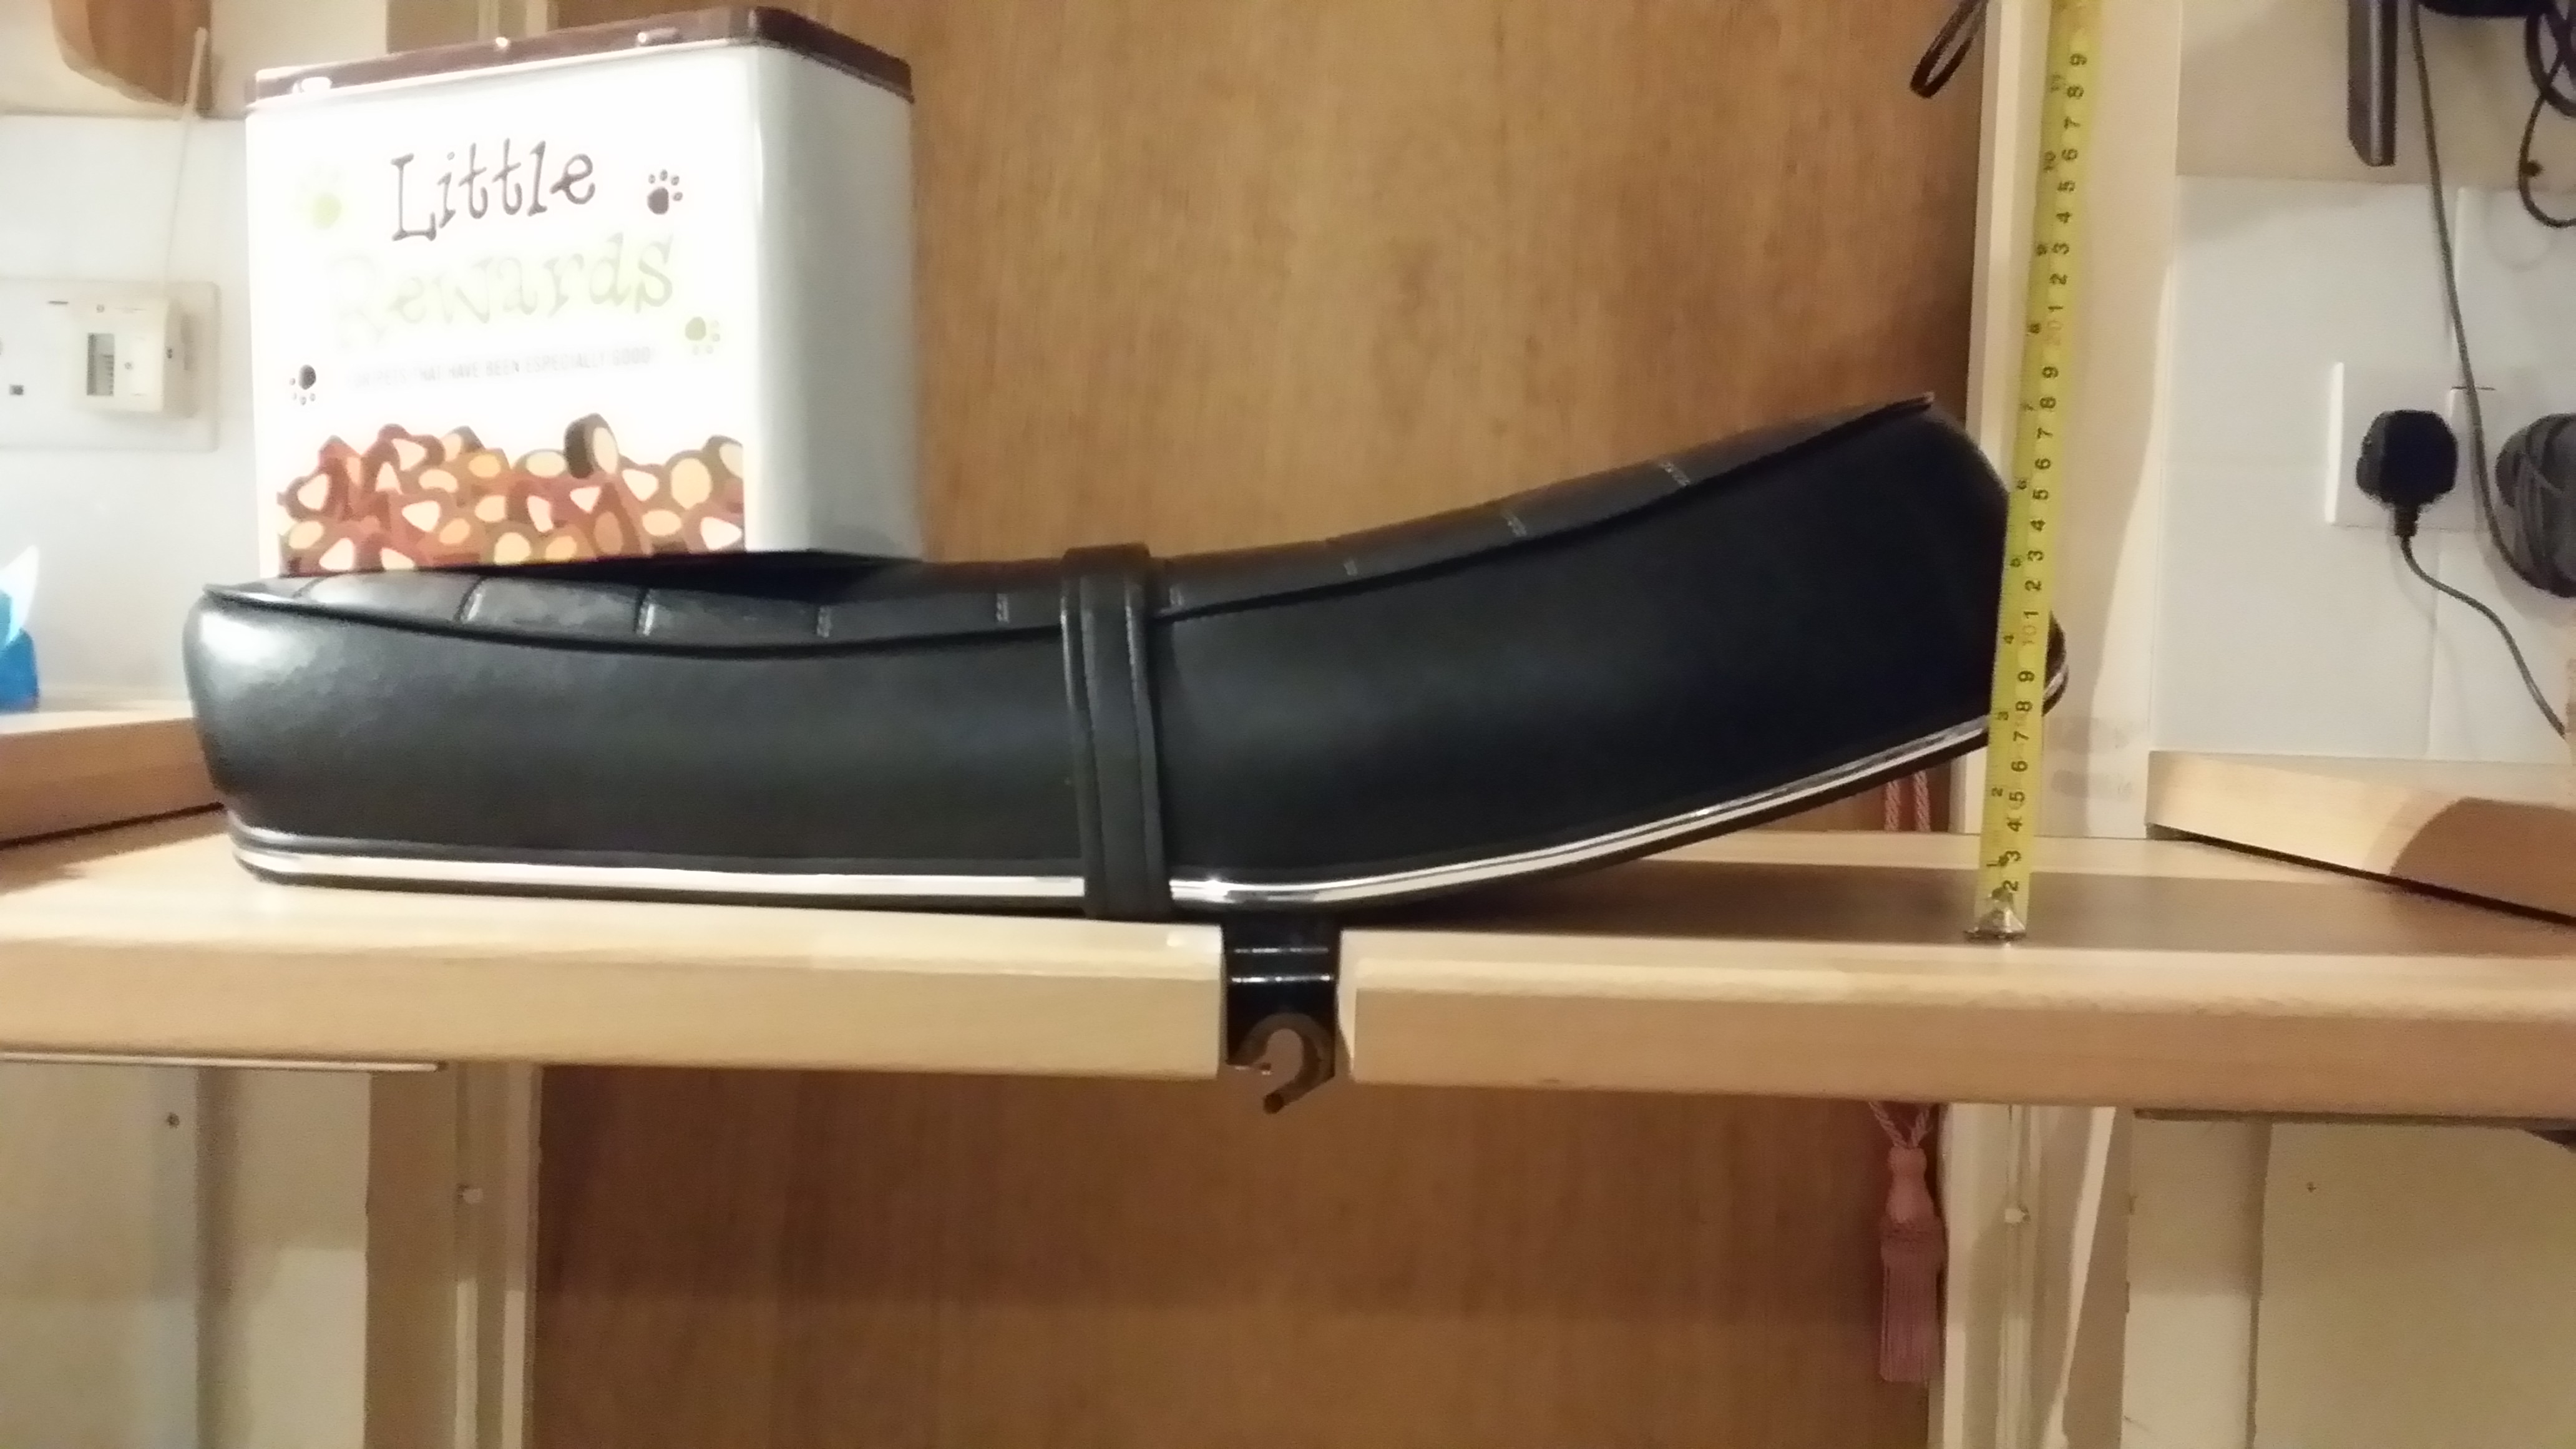
My bike is a 750 but has a seat from Andover which is marked as 850 roadster 'S' type. Was fitted before my ownership but looks right i think? My phone is dead so cant photo at moment but i have laid seat on flat surface with seat mounts through a gap and taken some measurements which may help?approx 15cm behind mount the height to bottom of seat(outer edge not base) is 4cm. will get some photos later. i dont have anything to measure the angle but hopefully that is some use?
- Log in to post comments
Don't know how much help…
Don't know how much help they will be but a couple of photos of seat as detailed in prev post.
- Log in to post comments
Seat shape
Thank you chaps for all of your input. The pics of tape measure against seat are invaluable to anybody in my position. Thanks again to all.
- Log in to post comments
Hostilities resume
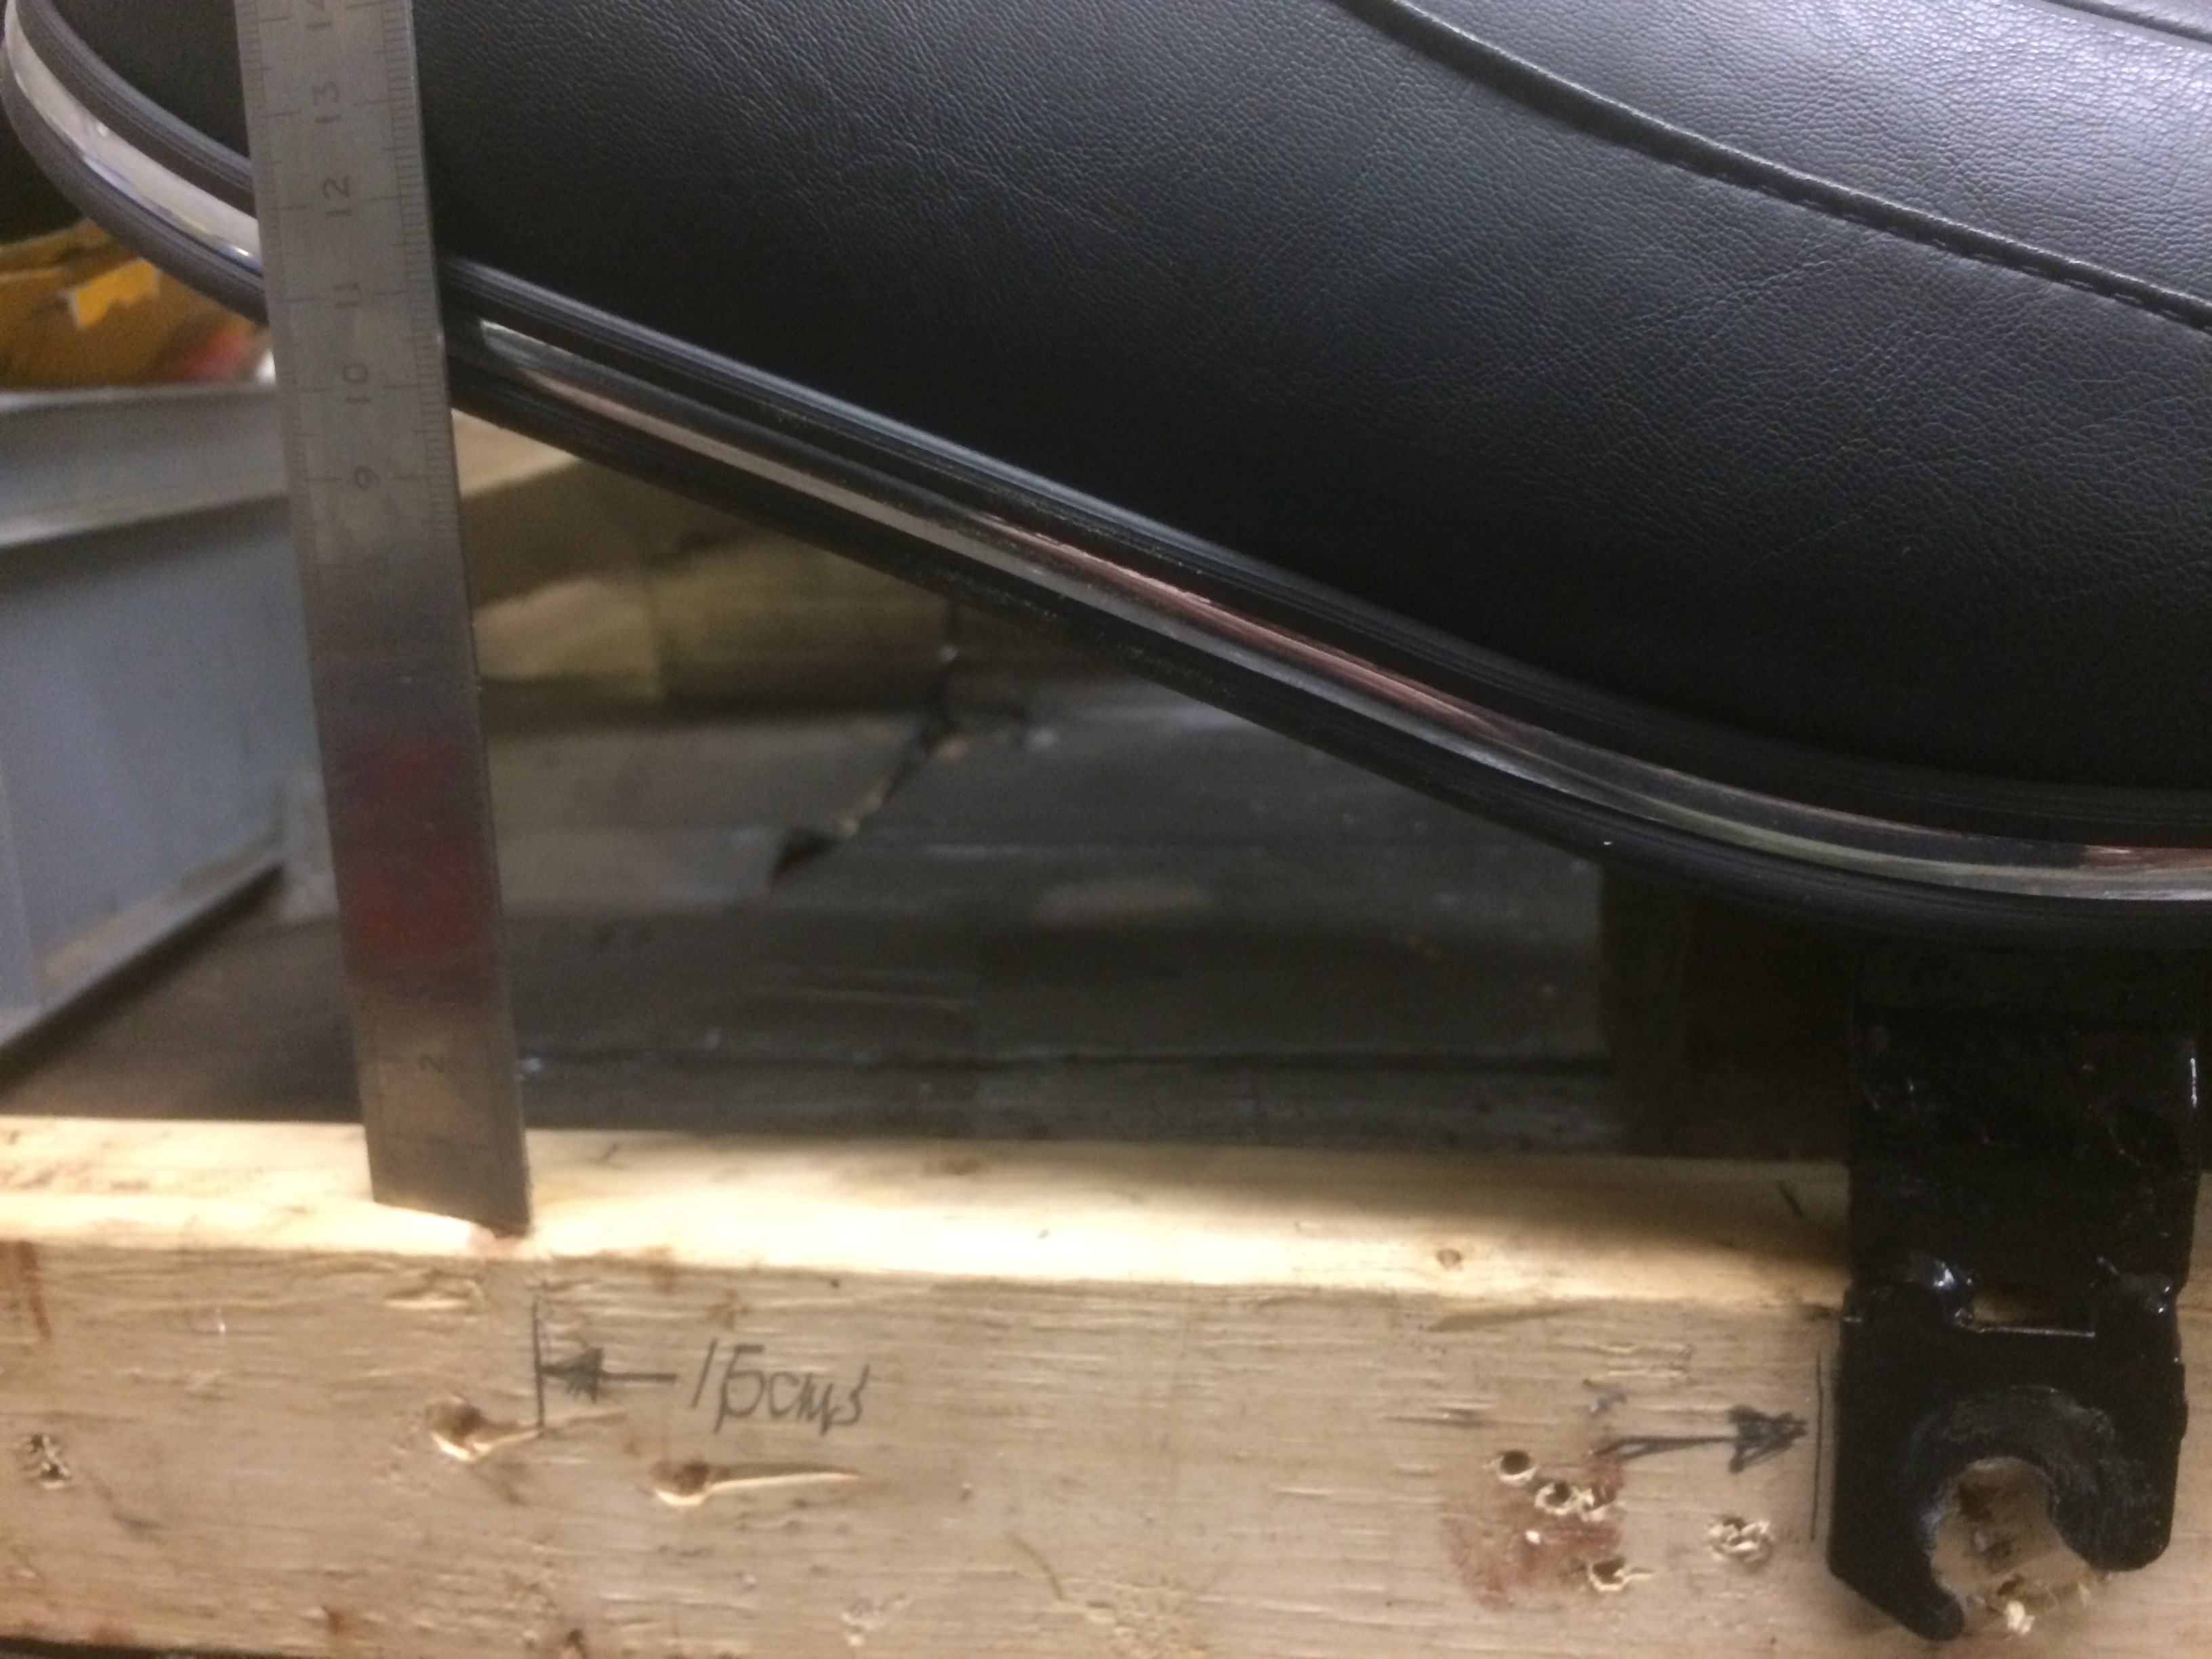
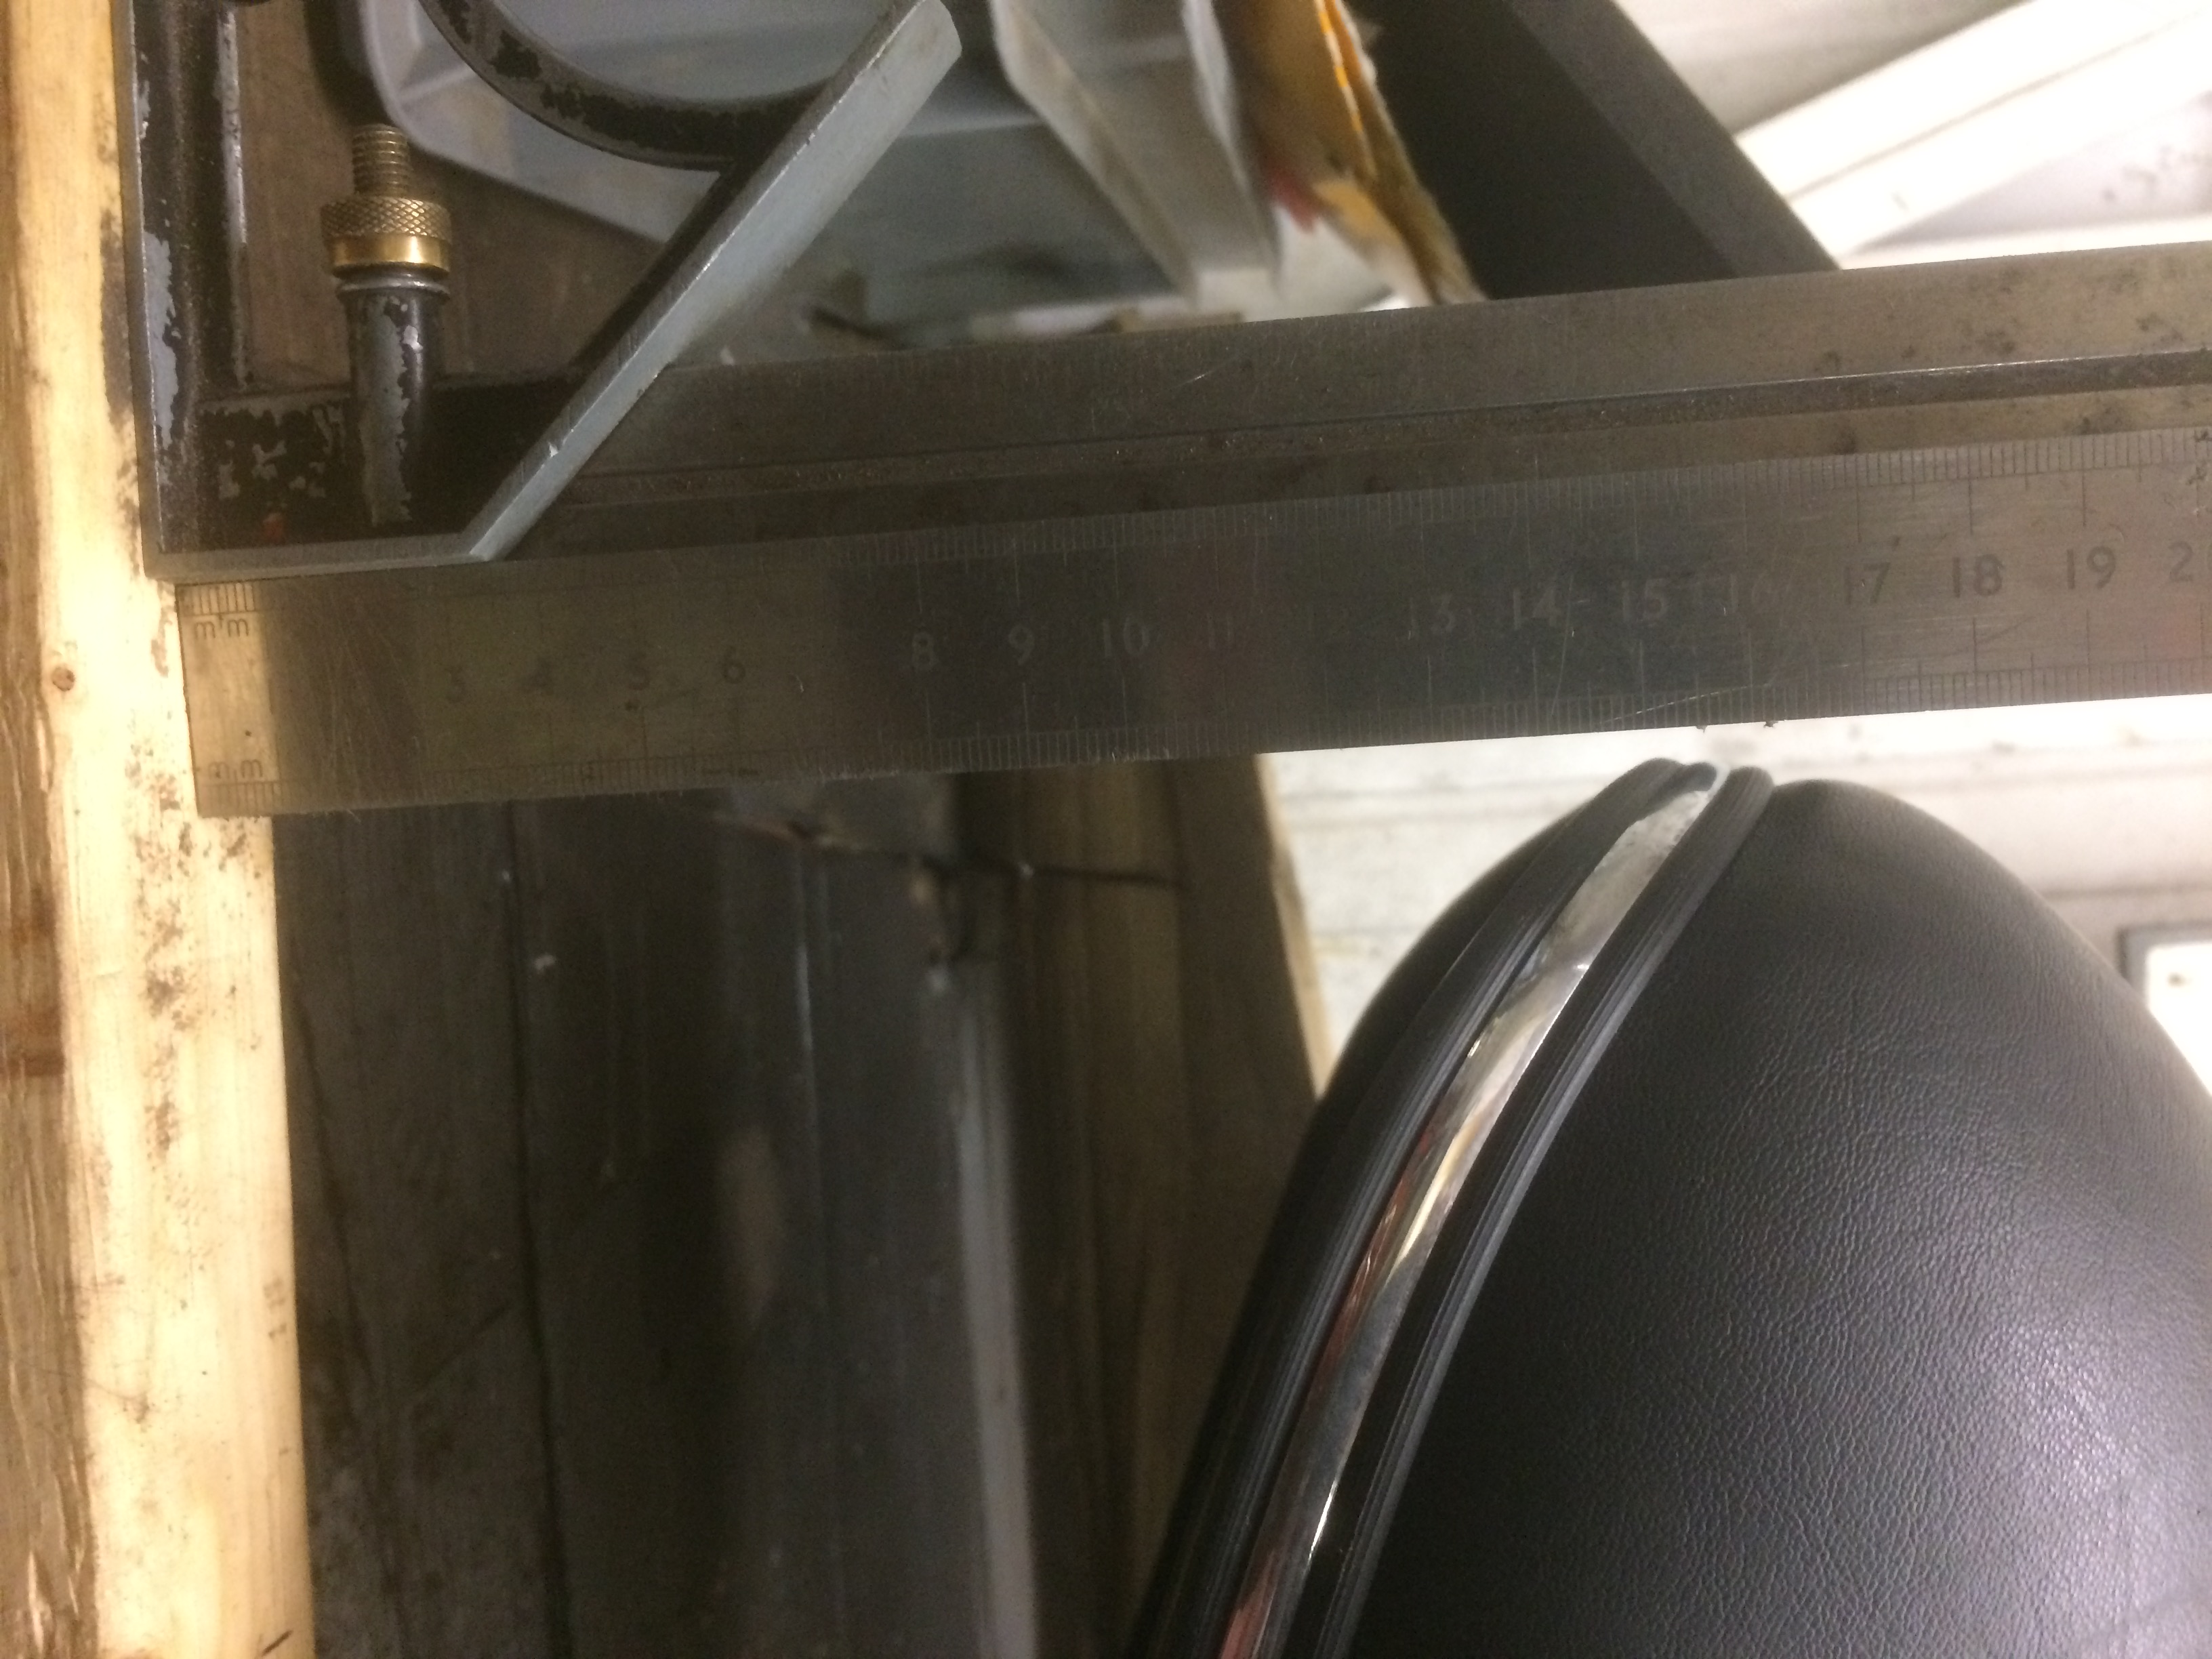
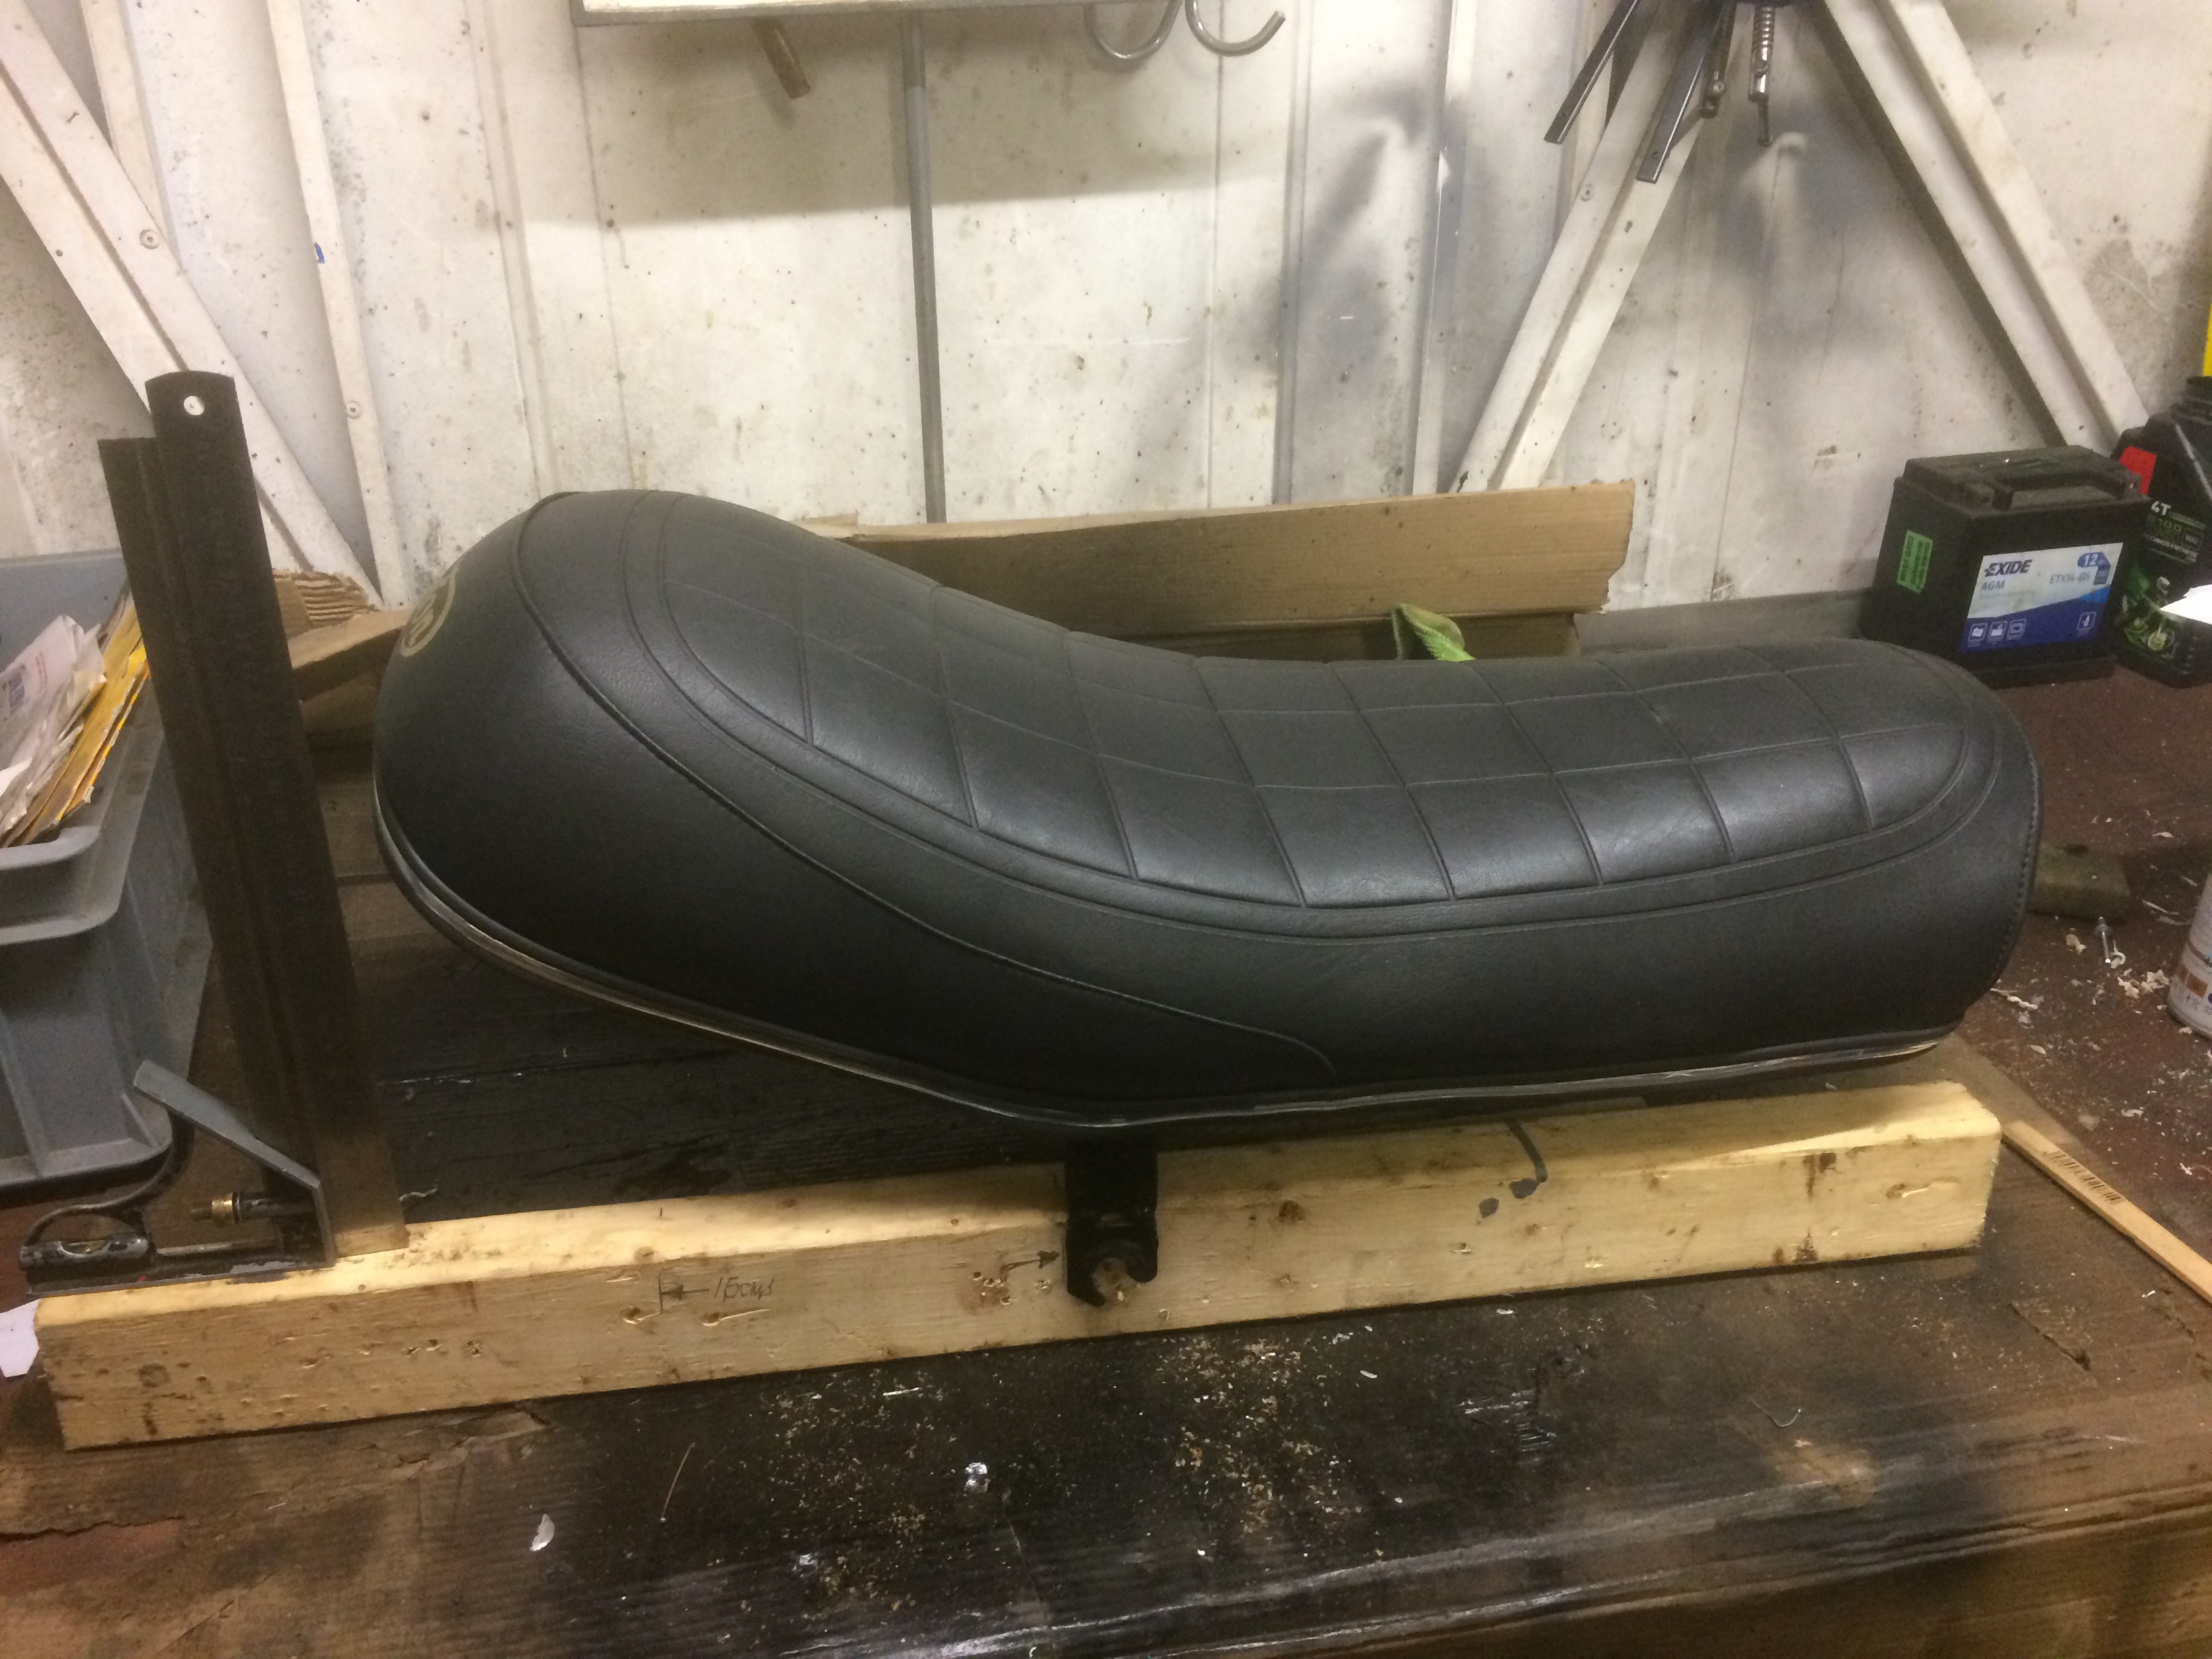
It's been too cold to go out in the garage the last couple of weeks, but I was out there today. I crudely set up my seat on the bench on some blocks to check the datum points you identified Oliver. I measured your 15cm from the rear edge of the seat mounting and recorded approximately 5.8cm to the bottom edge of the seat at that point. At the back edge of the seat I could see perhaps 11.5cm. So I am about 2cm adrift at the back of the seat which frankly surprises me - I thought it might be twice that. (Note in both measurements that my seat was a consistant 4cm above the length of wood seen in the pic, which I have allowed for.)
Seeing as the error is so small I think I will go back to plan A and just get on with repairing it. Since my last entry on here I actually ordered a new replacement from BritBikes at a bargain price of £129. They promptly sent me the wrong seat. I have since sent it back, but I am now advised that they are out of stock! Last night I did a trawl on t'internet and discover that you dont get much change out of £165 (inc VAT) from anybody these days and some over £200. I think a top end seat cover for £50 will do me nicely and I'll have it stuffed by my local seat building expert to my personal specifications.
This latter is a real advantage as you may notice my mounting brackets are about an inch longer that standard? This is to get the seat a little higher which, together with lowering the footrests have made life much more comfortable for me to ride.
My next thoughts are actually about investigating an Interstate seat, which I understand are wider, which would be another step towards comfort in my old age?
- Log in to post comments
roadster seat angle
just had an angle finder on my seat it measures 161 degree
hope that helps
- Log in to post comments


I see quite a few photos of commandos where the seat looks banana shaped! Seems a bit of a common problem. You obviously have better repair skills than me and probably enjoy it but just wanted to check you knew you can get a brand new seat from andover norton?