
I took some pics of the details from my Jubilee Deluxe:
Petrol tank rear mount:
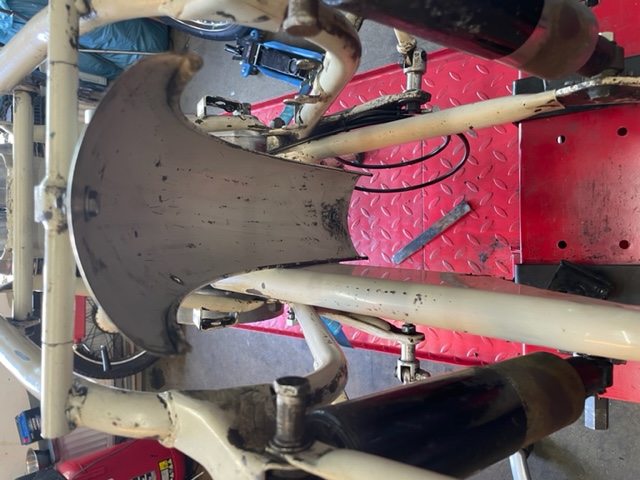
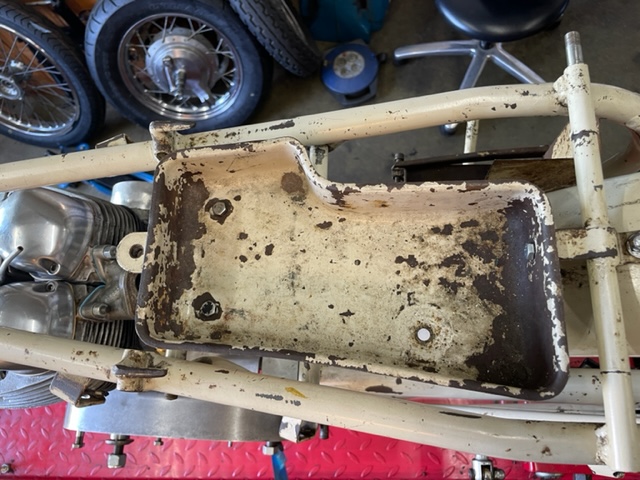
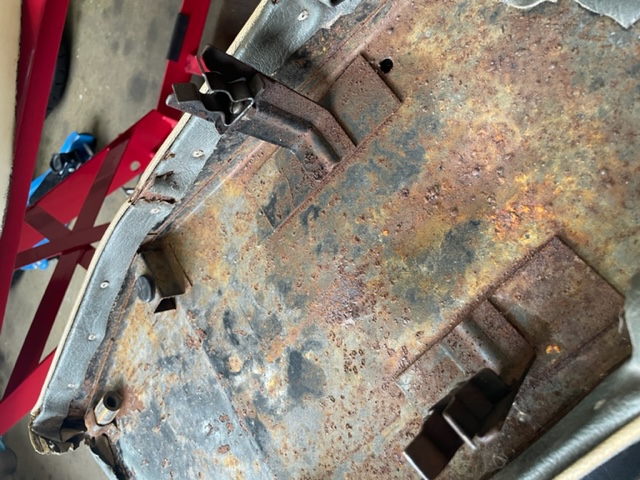
Rear mudguard. The short one and splash cover.
Also visible the studs for the rear seat mountings with clips
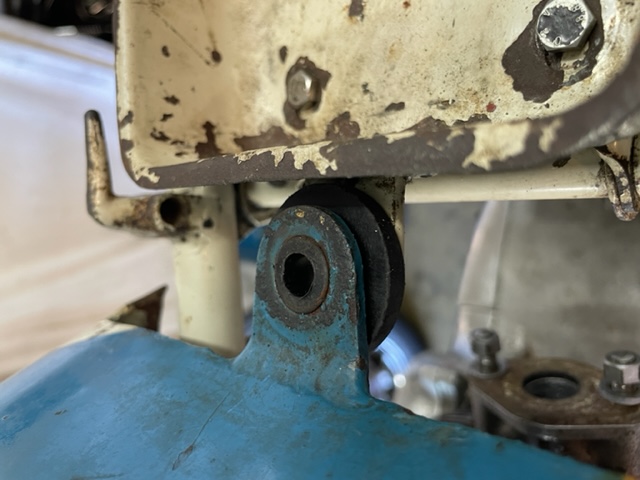
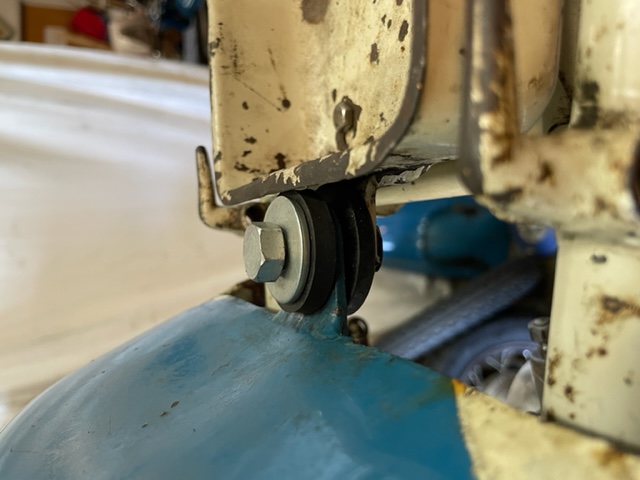
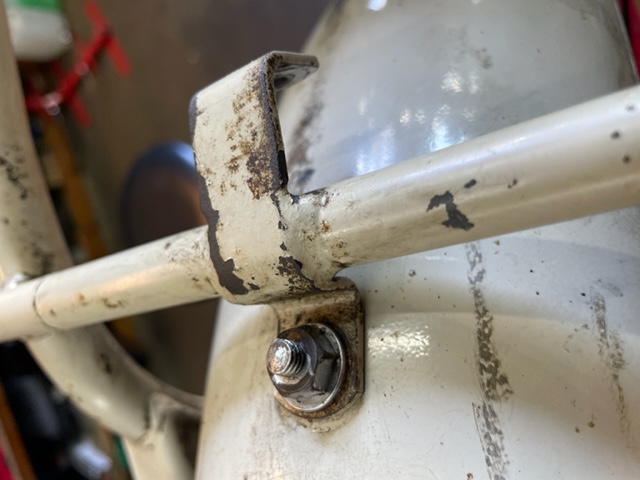
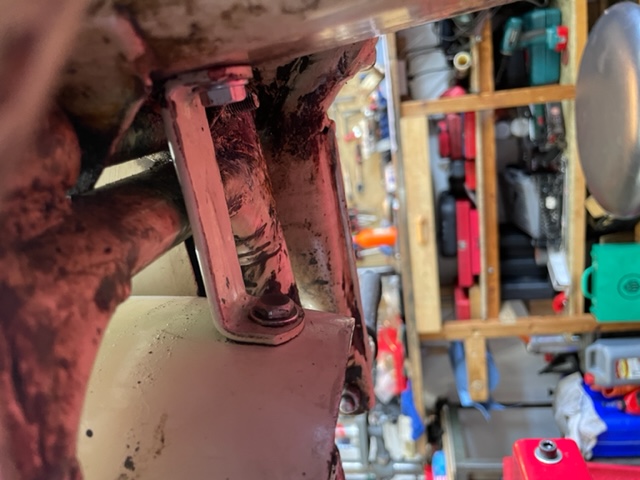
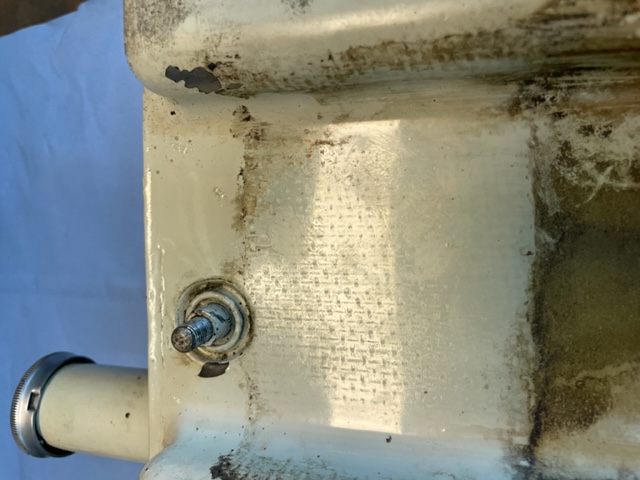
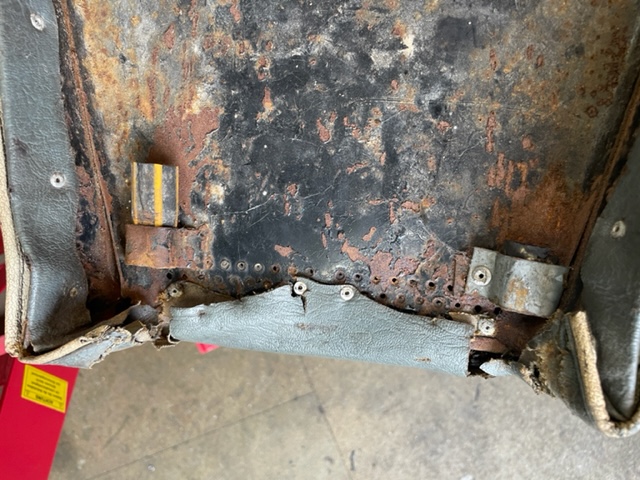
Upper rear mudguard mount:
Lower mount:
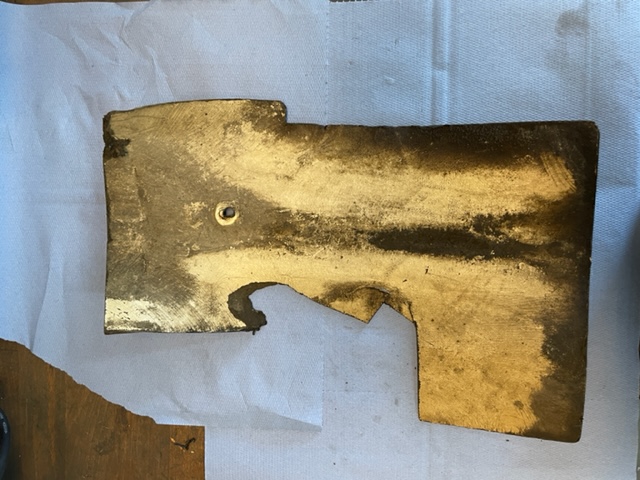
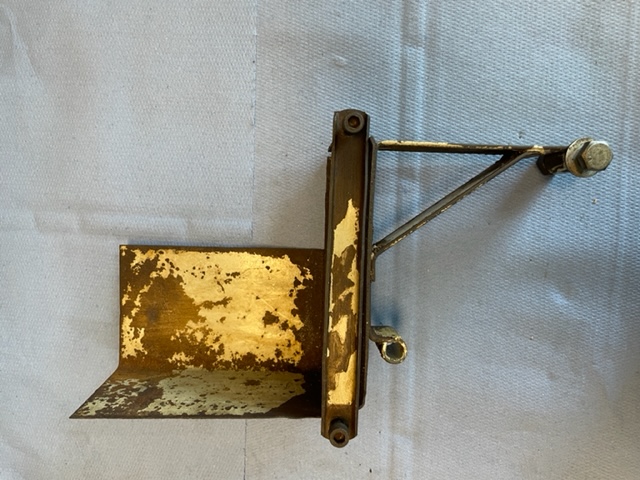
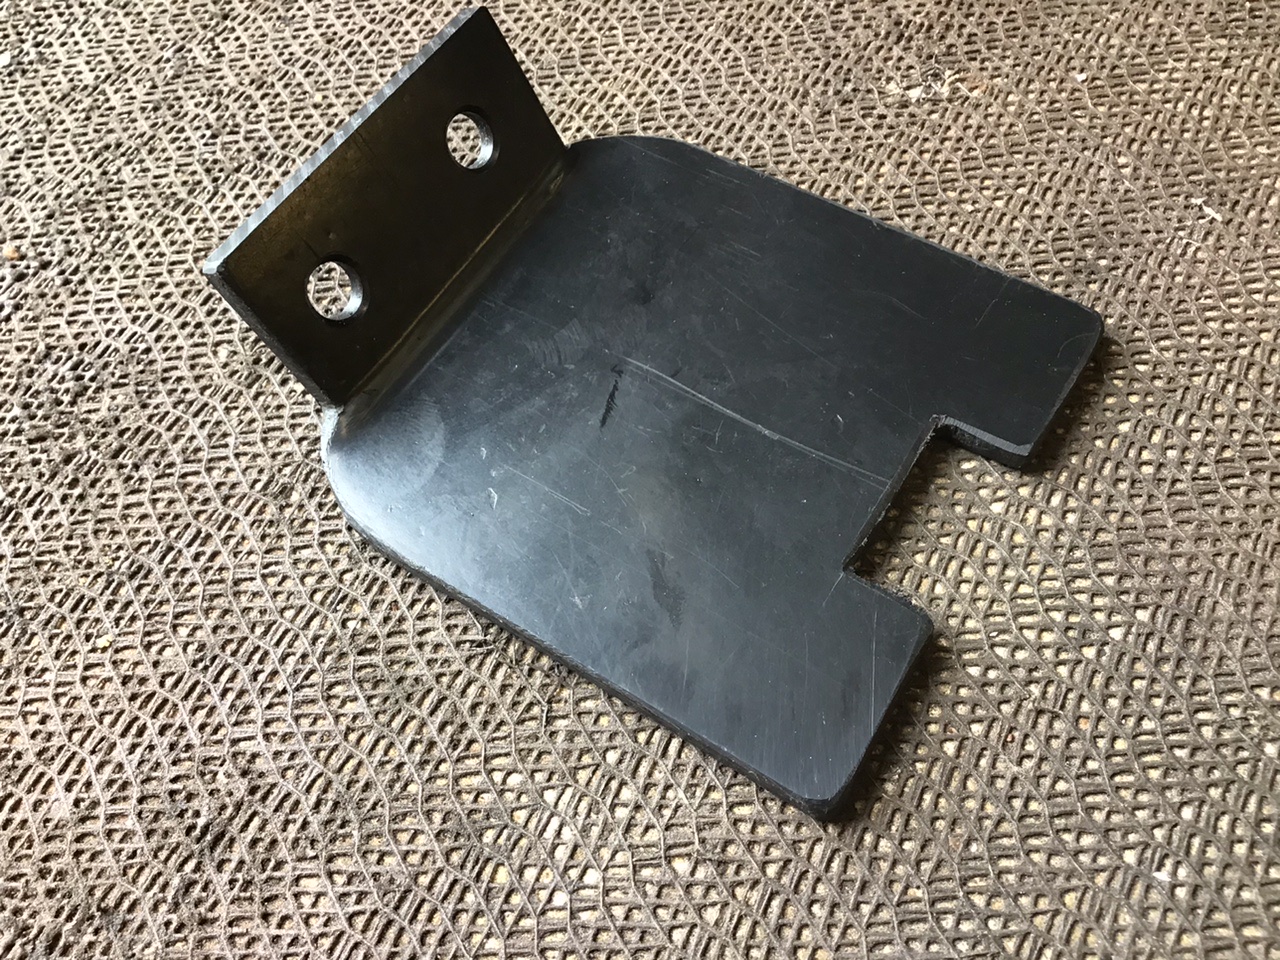
Splash cover as found in the parts box, no clue if it´s original or how it is mounted:
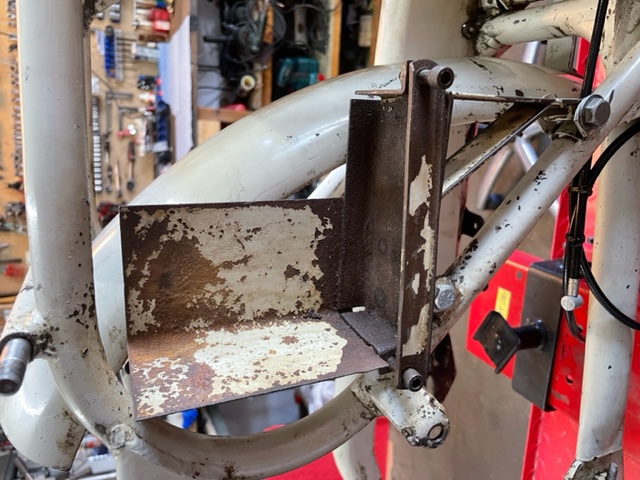
Tool box mounts:
Front:

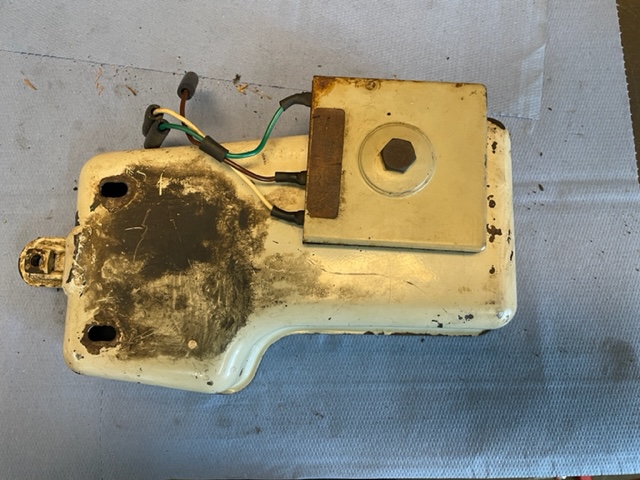
Battery mounting:
Rectifier original mounting position:
I guess it is fixed under the tool tray, could not find any other plausible location:
Deluxe oil tank with mountings
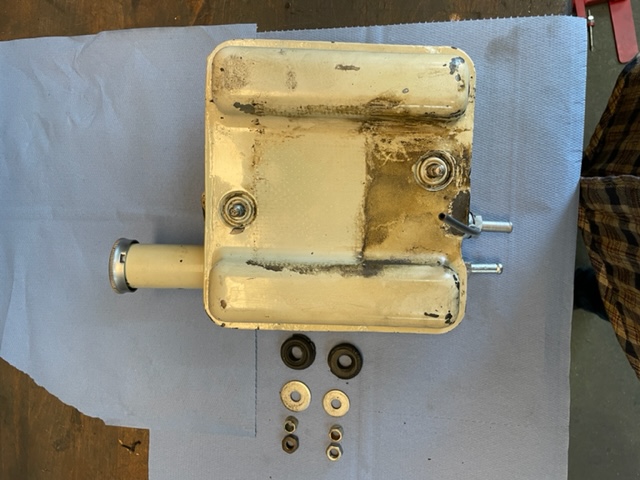
There goes a rubber pad between the centre frame section and the oil tank No 21975,
Pos.G90 in the 1959 parts list showing the frame parts. (Missing in my case)
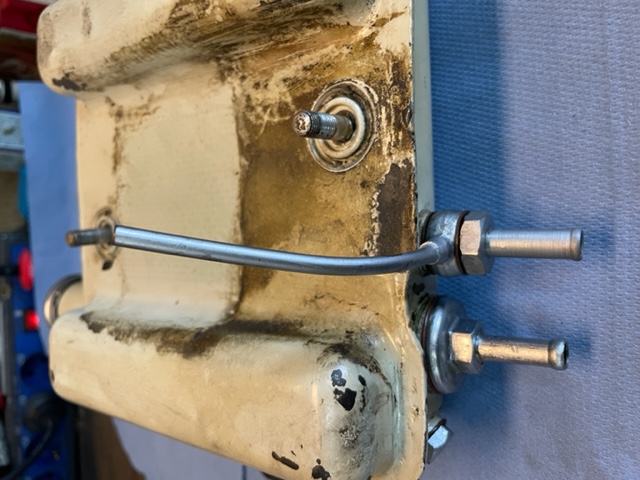
You can see the imprints of that pad on the front side of my oil tank:
Other details as demanded by Peter Holland will follow.
Hope it helps!
Splash covers
- Log in to post comments
Ref the fibreboard…
Ref the fibreboard splashguards. It would seem possible to make new ones from thin alloy sheet or mould with fibreglass matt and resin. A similar thing was fitted to the DL Dommies and I have made a replacement out of rubber from an innertube ,, could have used an old car mudflap or similar material like a car undertray (seen regularly by the roadside!).
- Log in to post comments
I made a new lower splash…
I made a new lower splash guard from 5mm plastic, bent the fixing hole ends with local heat - beauty of it is it won’t rot away! Luckily I had the original as a pattern
- Log in to post comments
more details
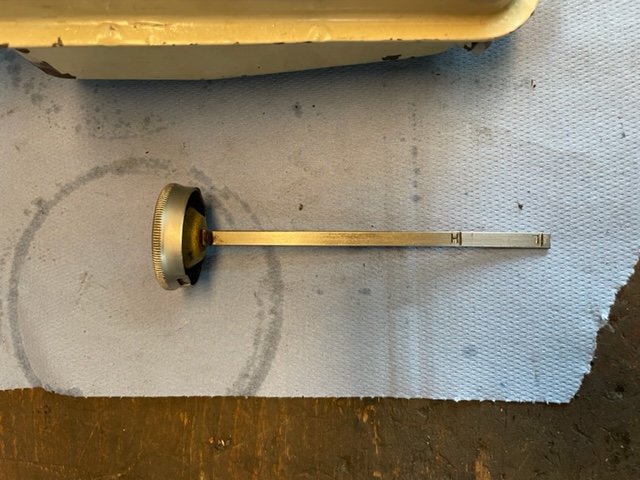
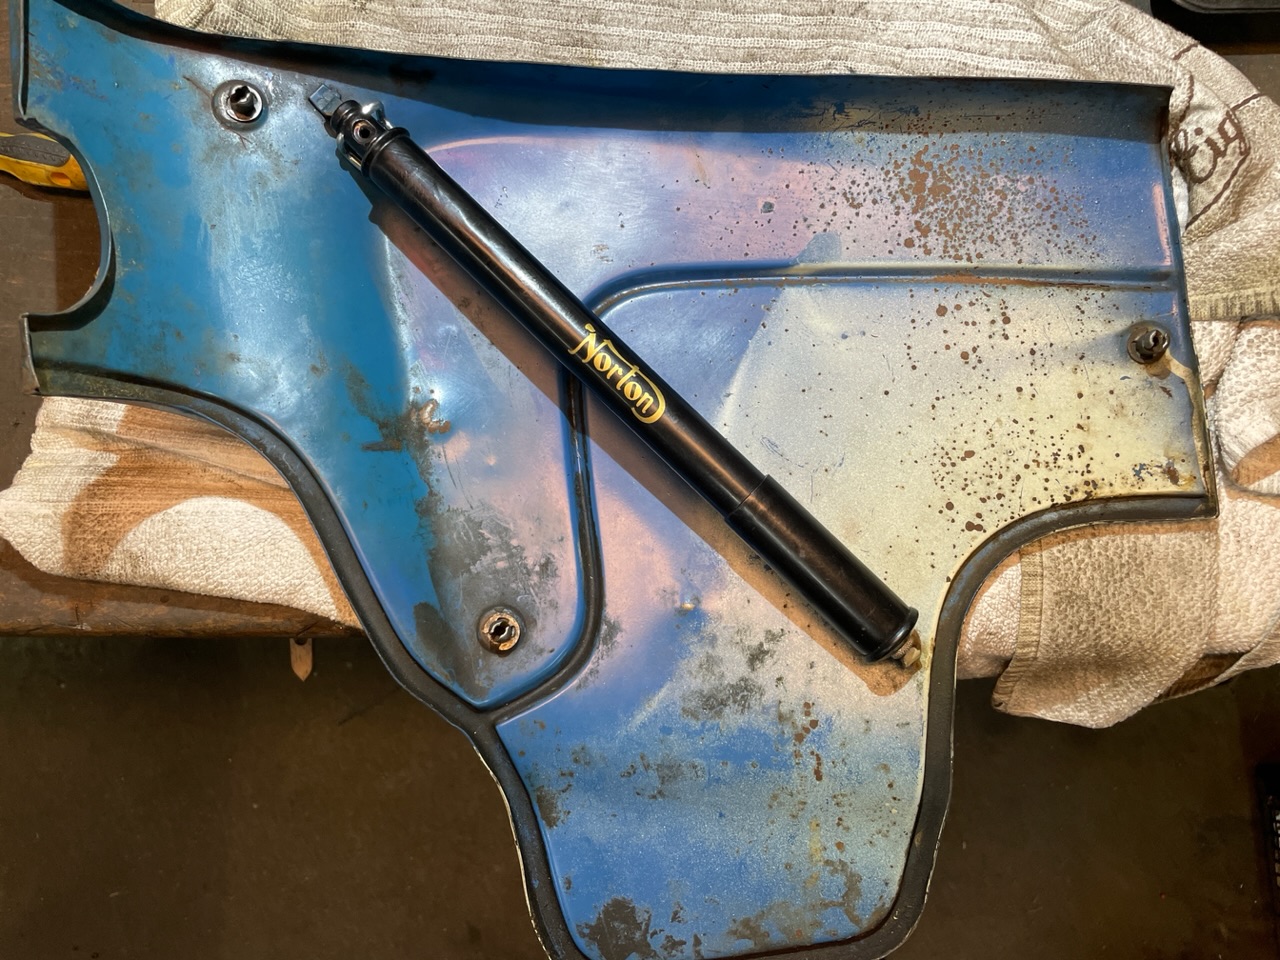
Oil tank dip stick
Location of frame number on the right side frame loop in fro nt of the footrest hanger.
Bike was originally imported to Germany when new so an additional identifiaction plate was riveted below the frame number:

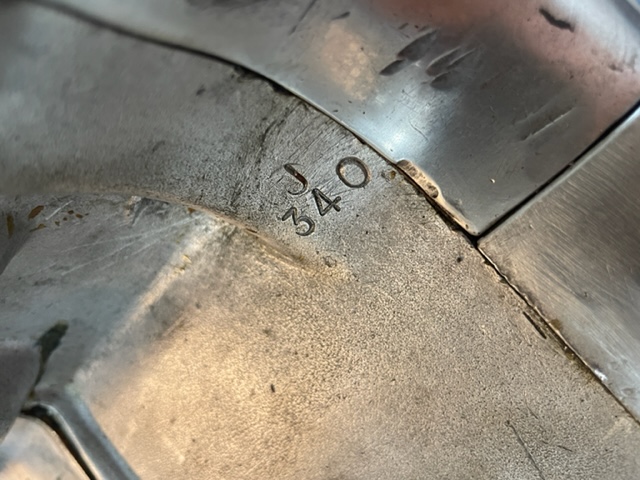
Consecutive job number on the engine:
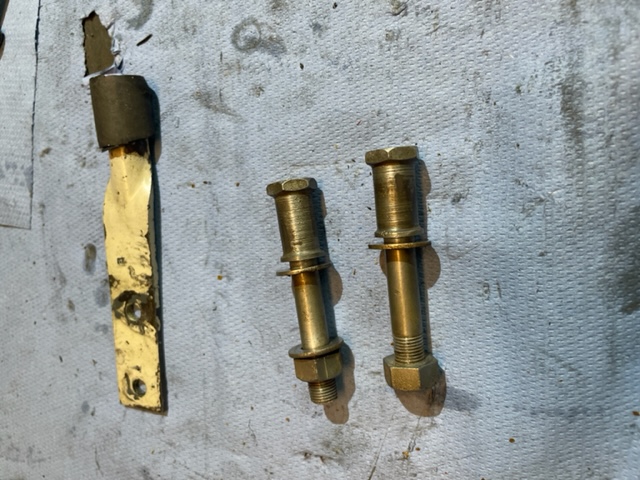
rear seat mounts:
Front mounts: professionally repaired with a piece of a garden hose!
upper shock bolts with extension where the rear seat clips go on and the centre stand stop
Still a mystery to me : where is the splash guard mounted?
Mine is brittle and can´t be bend anymore.
- Log in to post comments
Great Photos
Ulrich, thank you. You have a remarkably good specimen of a very early Jubilee Deluxe. I struggled to dismantle a very corroded Jubilee Deluxe frame and eventually gave up and added it to the recycling bin. The rear suspension/seat mount bolts were absolutely solid in the top suspension bush. And of course the bush rotated with the bolt.
I can confirm that the square rectifier was attached under the tool tray in my kit of parts. Two wrongs don't make a right, but I haven't heard any other suggestions for the original mount for the square rectifier.
Thank you for taking time to post the answer to queries that arise regularly. Very few examples as good as yours. And in a state to be photographed.
Peter
- Log in to post comments
Rectifier...
The square rectifier here is best thrown away! Replace with an encapsulated unit (I sell) or even a traditional black Lucas one if you have a good one. Or of course go to 12V with a regulator/rectifier and of course electronic ignition. Retain the two original 6V Wipac ignition coils if you have them. The Wipac alternator will go to 12V. Further full details on aoservices.co.uk
- Log in to post comments


There are two splash covers, made from a tough version of cardboard, which have the look of the one you show (your picture 6).
One is at the bottom & forward of the 'U' section channel. It is held in place by bolts through the two holes at the bottom of the 'U' channel - just out of shot on bottom right of your picture 5. These bolts also hold the centre stand stop.
The other splash cover is larger, placed in front of the half mudguard under the seat, and its job is to prevent mud & stuff being thrown forward. I have one, but have yet to dismantle the bike its on. Logically, it fits around the chainguard and curves up around (& under) the tool tray.
Yours looks like the right colour & material - but it may have been 'modified'?