
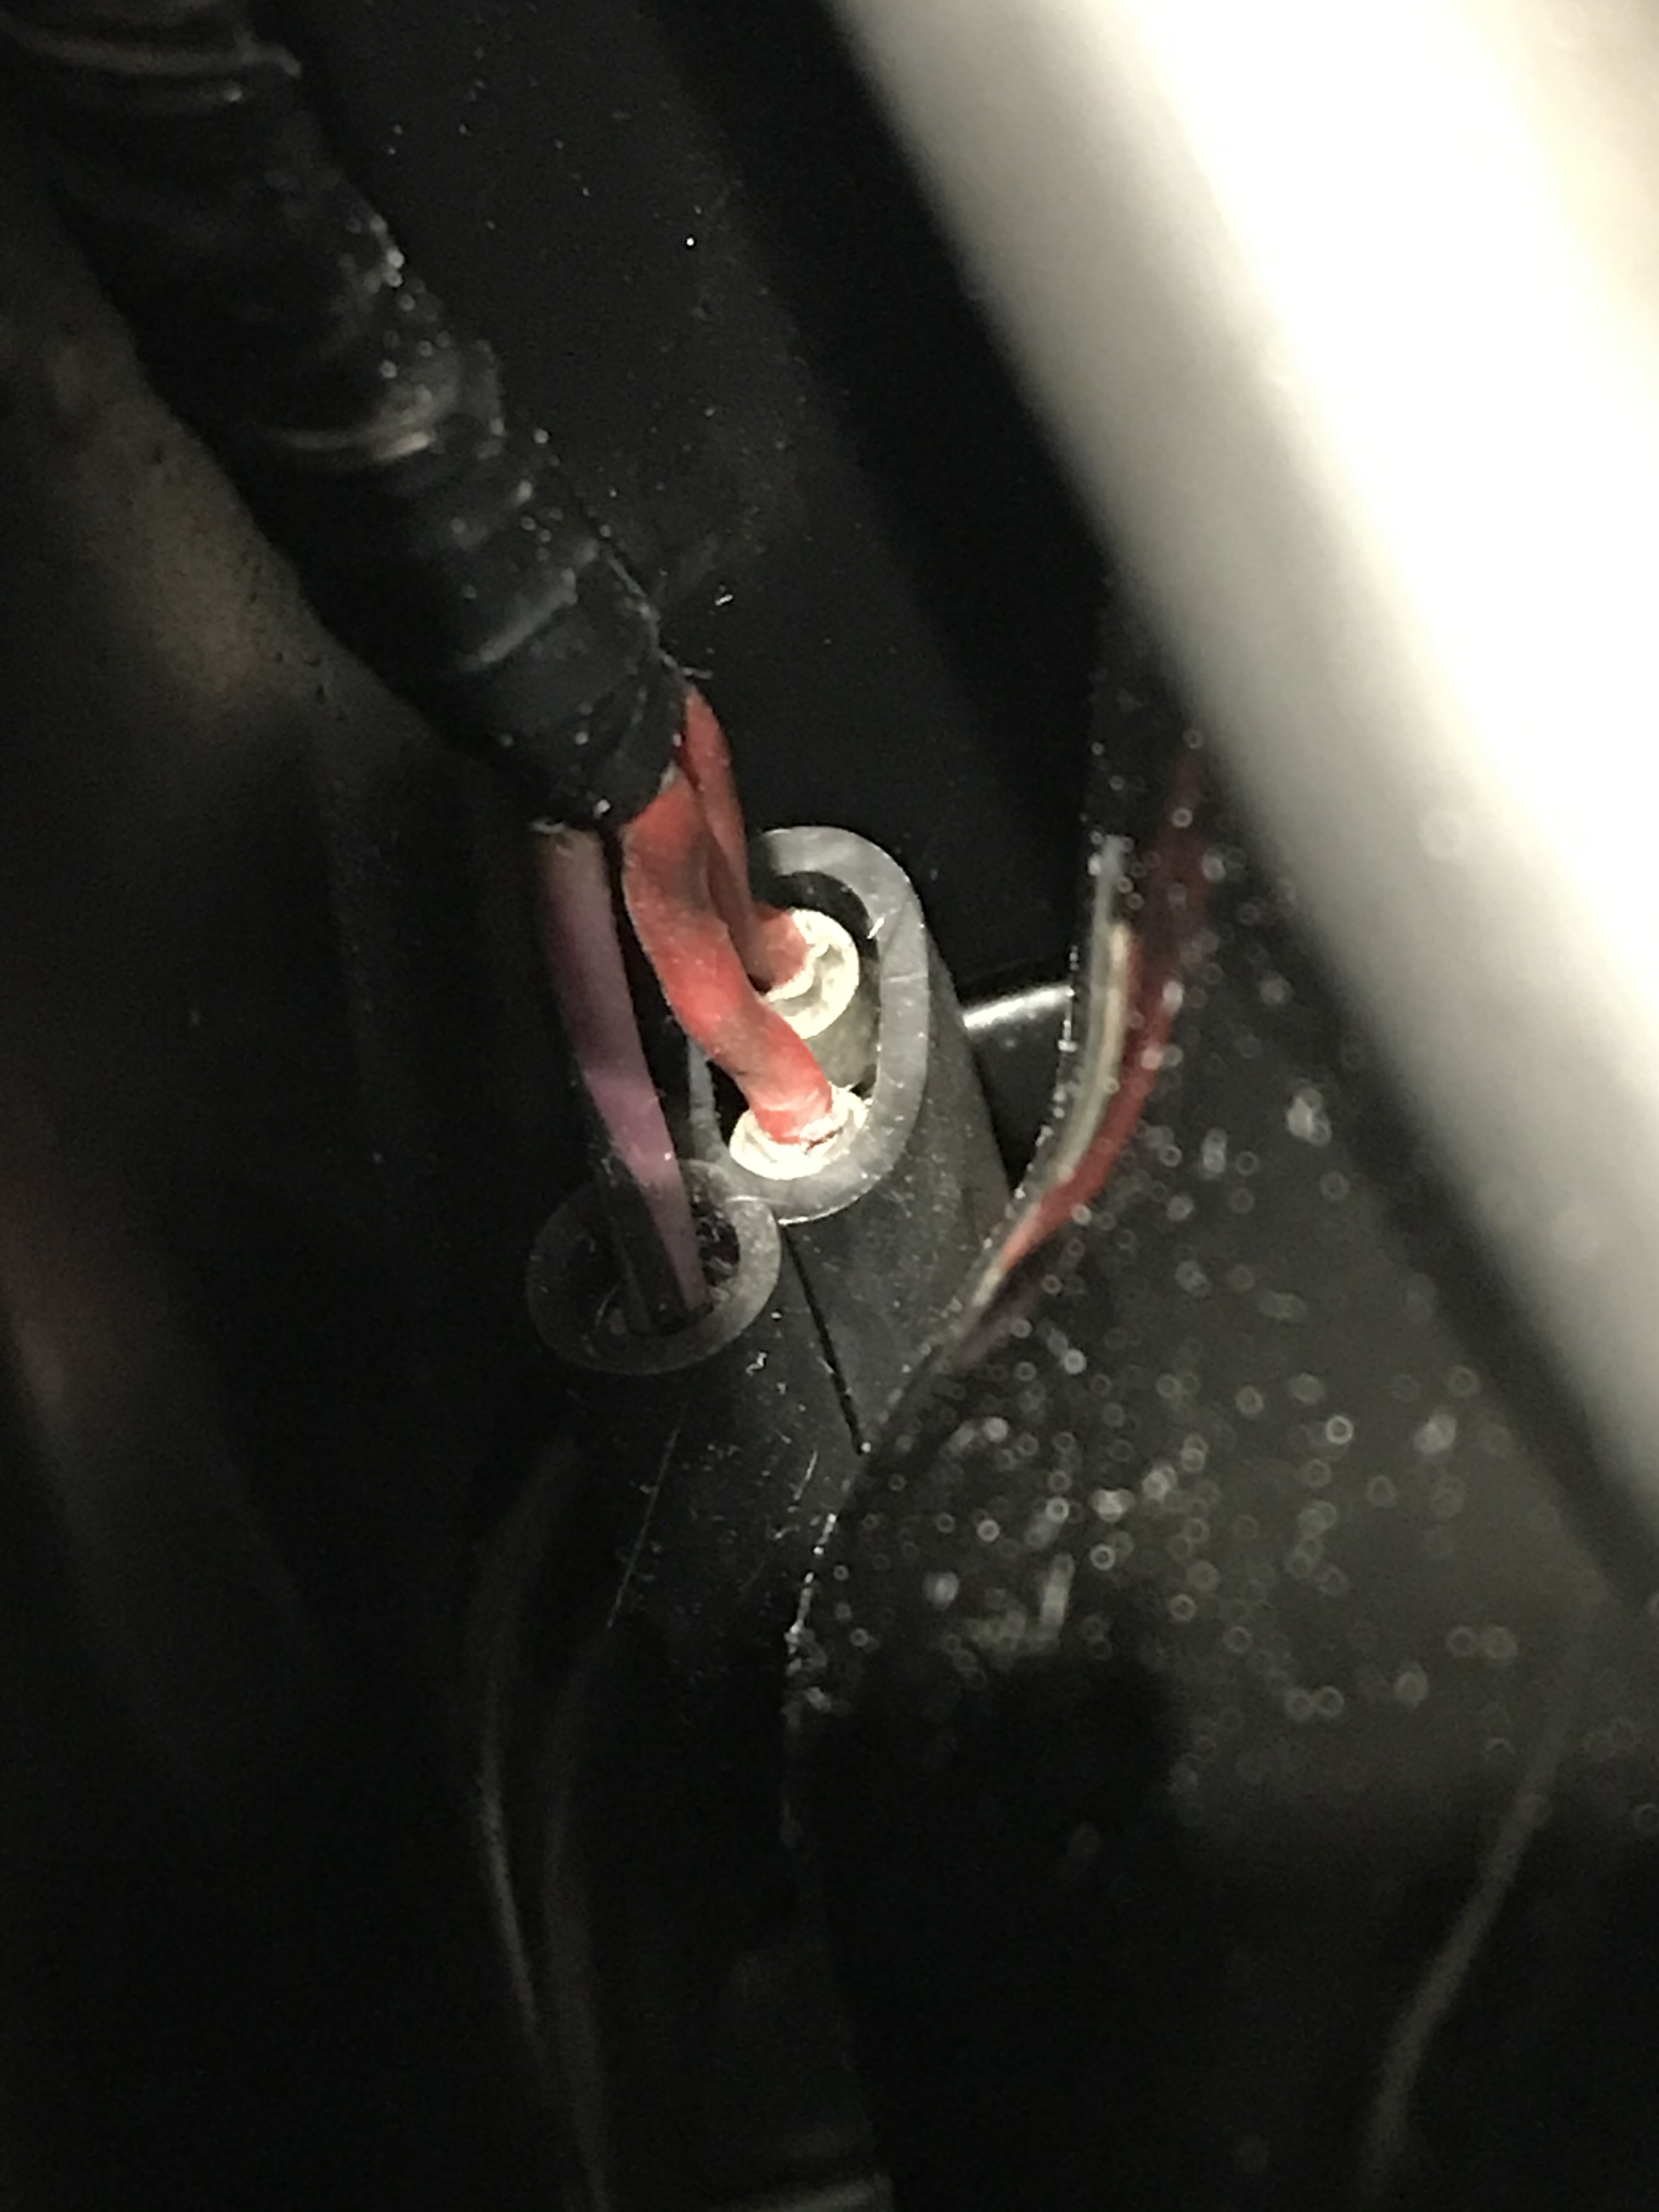
Just putting a new main wiring loom in on my Mk 3 - the picture is of the horn cables (Black/Purple cable plus one of the red earths) and other earths. Has the supplier put the wrong connector on the other earths as it seems they should be connected to the stud on the frame? Any advice and/or a picture would be appreciated. Thanks
The bullets take the earth…
- Log in to post comments
Use dedicated earth wire?
I reckon the best way is to run a dedicated earth wire to the extremities - tail and headlamp at least. Use an Earth Block close to the battery (Screws onto the tool t ray perhaps)and connected to it with a 10 Amp, or heavier wire, then run cables to all of the vulnerable points of your choice. Almost all vehicles suffer from poor earthing at some time or other.
If you see a car with its flashers going and one dims as the other goes on - it's trying to get its earth through the chassis or mounting screws.
- Log in to post comments
On a MK3 its best just to…
On a MK3 its best just to rely on the starter earth to the battery and run the other earths to the engine side of the starter earth via the head as per the T160 Service Bulletin. Norton should have made the same Service Bulletin as if the starter earth gets disconnected or corroded the thin earth wire gets the full amps and goodbye harness.
https://granttiller.com/bad-earth
- Log in to post comments
Thanks for the replies
Especially for the Grant Tiller link, makes complete sense as per the T160.
- Log in to post comments
Where did you get the wiring…
Where did you get the wiring harness from? These cloth cover things are far too stiff to position around the frame correctly. The originals and the ones available from AN have the correct PVC loom tape etc.
You will find that the cloth covering has been superglued at the ends where the wires exit the covering so even if you want to neat'n it up you cannot unwind the tape to remove excess/redundant wiring.
Another thing to consider are the crappy little block connectors for the console and handle bar switches. Much better to replace with modern connectors and position them in the headlamp shell
If this cloth harness is like the one i dealt with last year the console connectors are positioned under the tank...along with the other main block connectors it makes the under tank space very crowded. leading to the harness interfering with the throttle cables...
Much better to make a custom harness, get rid of all the extra unneeded block connectors, move the console and switch connectors into the headlamp shell, and have the right length of wire to all the bikes electrical components as looking at the photo, the horn wire is about a foot short!
- Log in to post comments
Hi Simon, The original…
Hi Simon,
The original wiring loom has two red earth wires at that point where as the Lucas branded Wassell reproduction item you have there has the four. Better more than not enough though!
Regards, Al.
- Log in to post comments
Again, thanks for the replies
The loom was supplied by RGM a few years back and only just got around to fitting it. They still sell them.
- Log in to post comments
There are always lots of…
There are always lots of questions about earthing.
If you have any queries, please don’t hesitate to reach out!
- Log in to post comments
Indicators.
Just as an aside, if you want the indicators to work properly, buy a solid state flasher, AND earth every indicator separately. There is enough space in the stems to run another wire.
- Log in to post comments
On running an earth wire…
On running an earth wire through the indicator stem fit the wire first without the bullet and once installed then add the bullet by crimp or solder. Makes it a lot easier getting it through the stem.
- Log in to post comments


The bullets take the earth into the main harness. There are additional short wires to go from the harness to, for example, the battery. Frame is earthed at several points, typically one comes off the connector from those bullets and attaches to the frame near the rectifier. Another connects the footrest plates near the zener, another connects the coil mounting bracket. And, since the engine is rubber mounted, that is earthed at the headsteady. Unlike a car, there's no one big earth strap from the battery to the chassis. On a Mk3 there is a heavy cable direct from the battery earthing the engine at the engine plates - don't leave this off, or your harness will melt.