
Hi all. Has anybody any feedback on the Bright Spark Bright Cap condenser conversion.
My condenser has failed and I am considering this option after wrestling with the lower
maggie bolt on the model 7. Cheers.
Mag removal
- Log in to post comments
Brightspark
Hello Michael, I did a Brightspark conversion on a KF1 magneto last year. Yours will be a KF2 but there will be very little difference to the work required. Many years ago my mag had been overhauled by one of the best in the business, including a rewind, but even he said at the time that the replacement capacitor he fitted (Pre-Brightspark) was still the weak point in the design as regards replacement. Before doing the Brightspark conversion make sure that your mag doesn't need a rewind. If it is very old then get it done. The insulation breaks down over time and symptoms are very similar to capacitor failure.
Having said that, I can honestly say that the conversion was straightforward to do, if a little fiddly at times. Comprehensive illustrated instructions are available to download from the Brightspark website. Read through those and make sure you feel confident to carry out the work. And they also have an online shop with all the parts you could possibly need to complete the job.
- Log in to post comments
I have had good results. I…
I have had good results.
I have done a k1f and mag dyno a few years ago and they have been faultless. The k1f is much easier to do because the original capacitor, that needs disconnecting ( but not removing) is easier to access. The mag dyno type requires the slip ring to be removed and you have to take great care not to damage the HT connection.
- Log in to post comments
Thank you for your replies…
Thank you for your replies Gents.
Much appreciated.
- Log in to post comments


Hi Mike,
You need to get the extended magneto bolt. (Available from the usual suppliers). RGM part number is DE44. Fits underneath the magneto and the hexagon is easily reached from near the points cover. Makes removing the magneto a doddle.
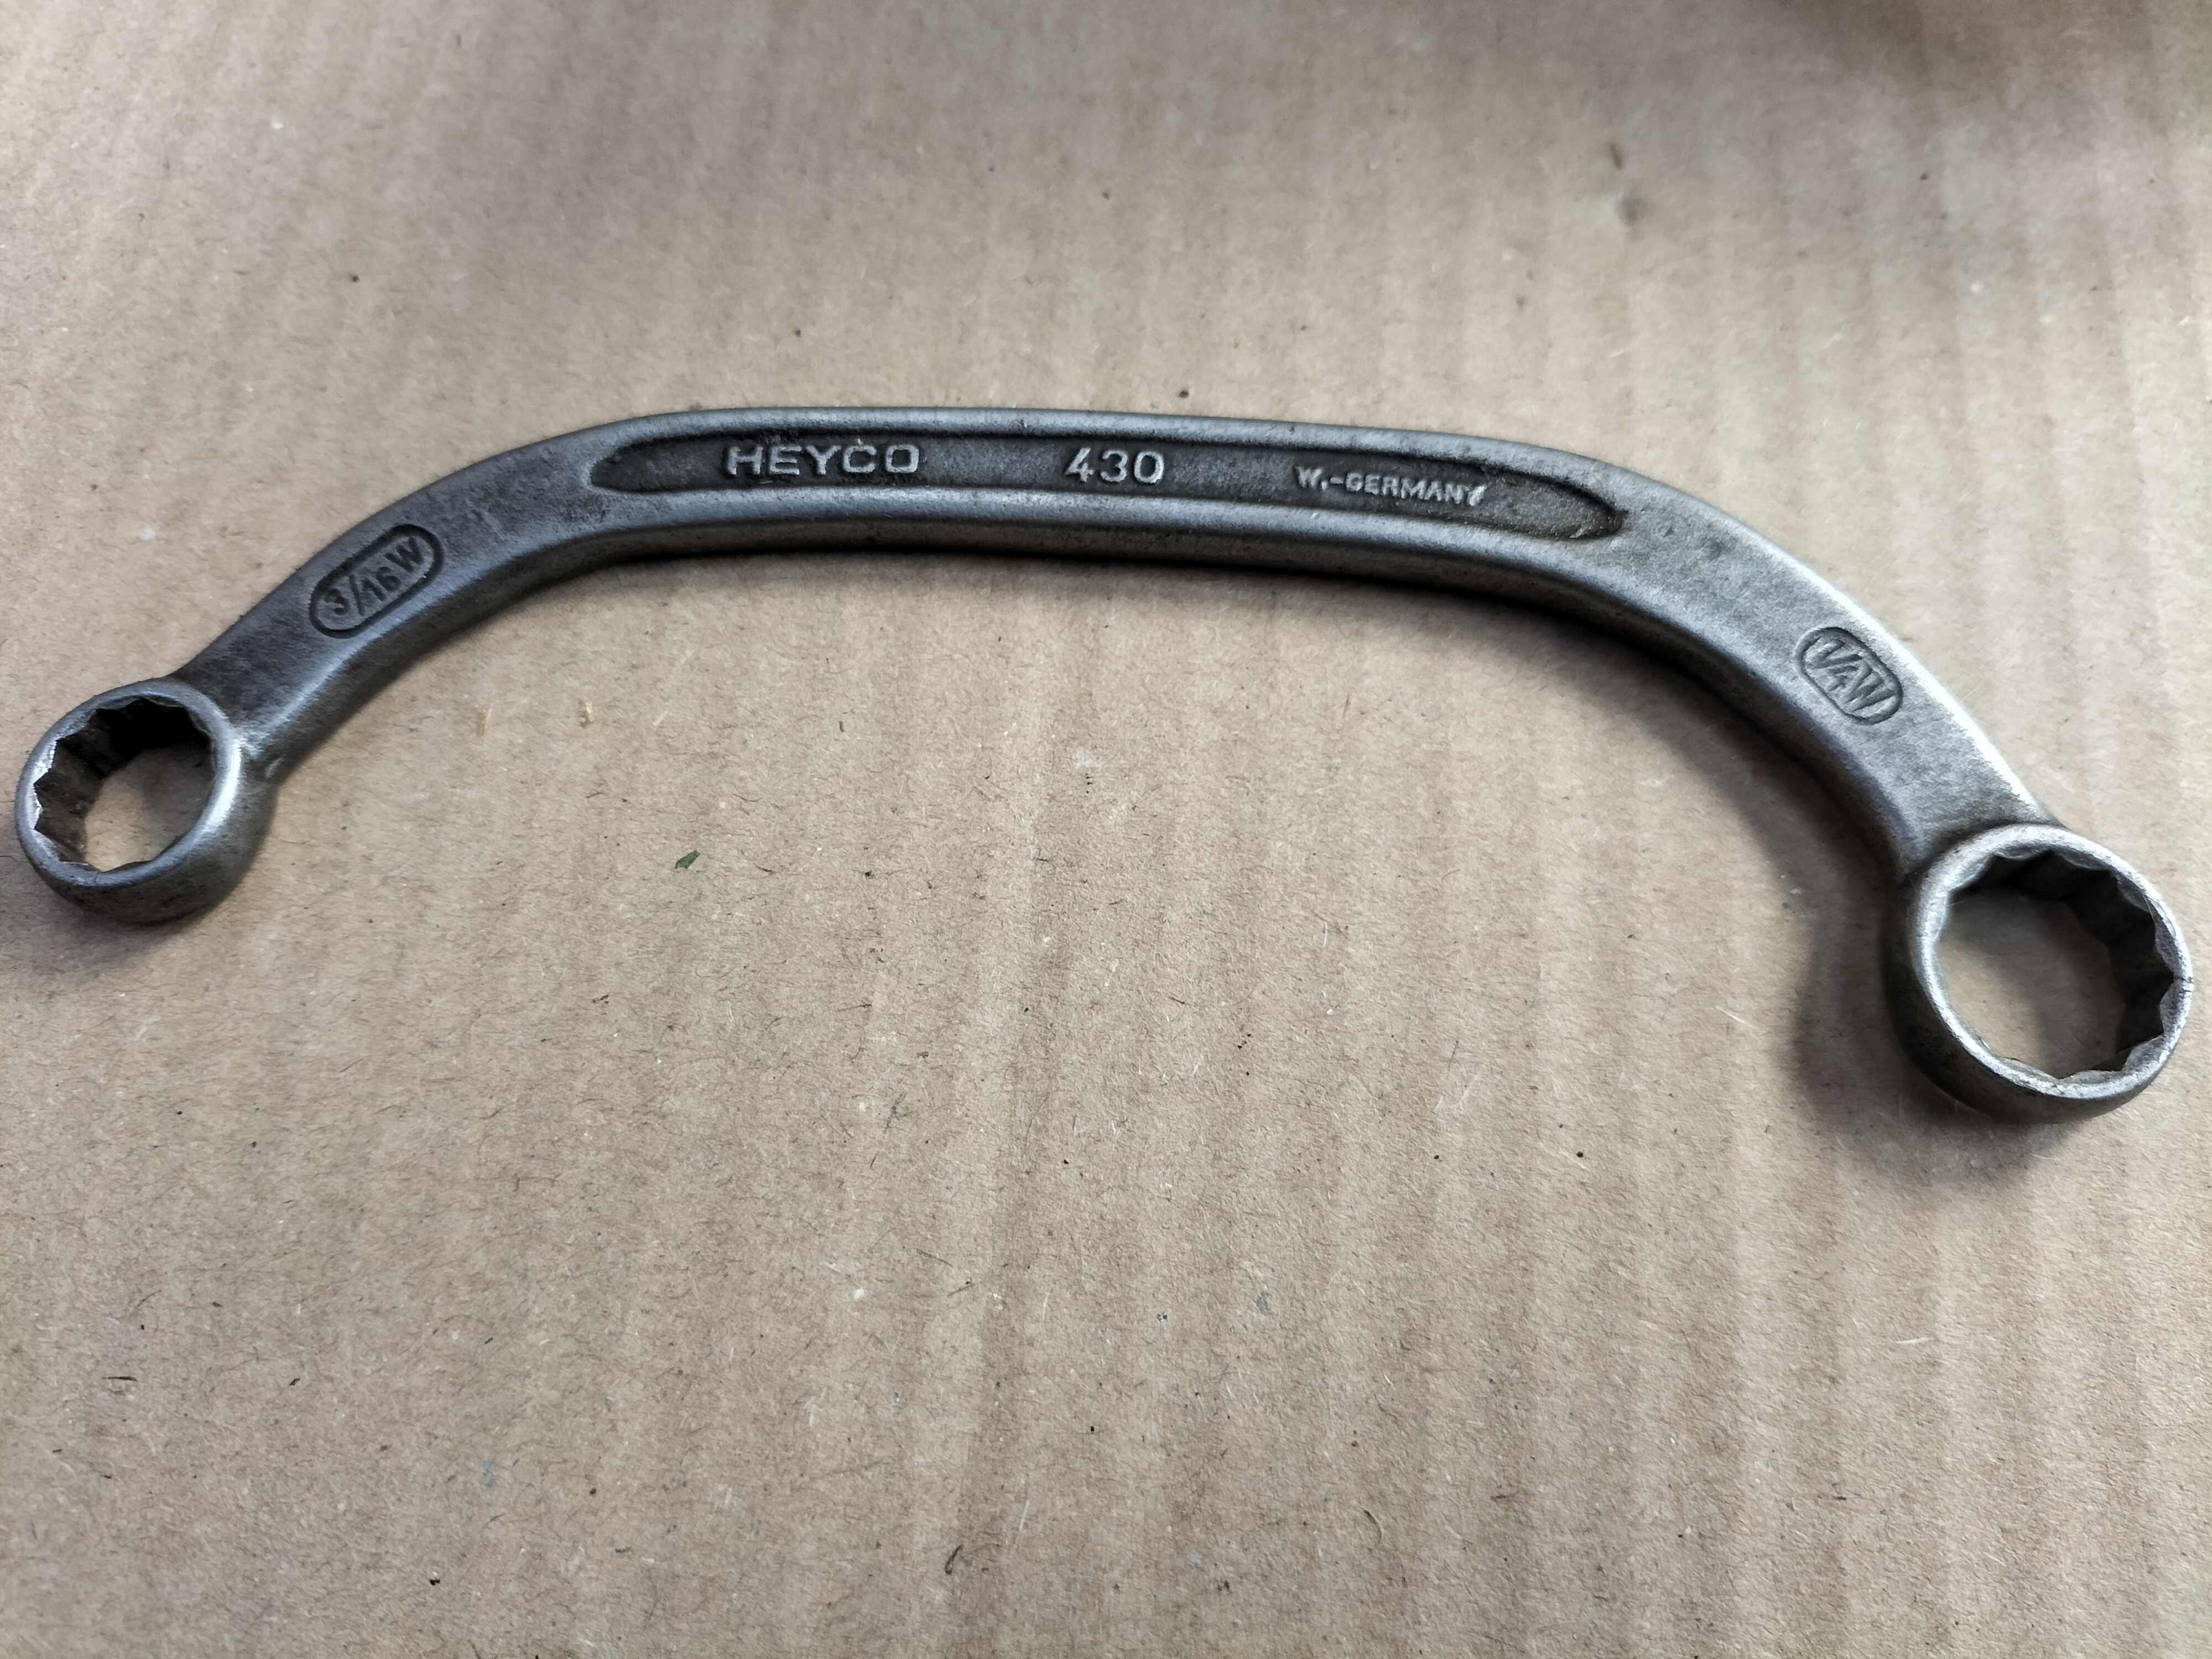
The spanner in the photo also greatly facilitates undoing the bottom nut.