
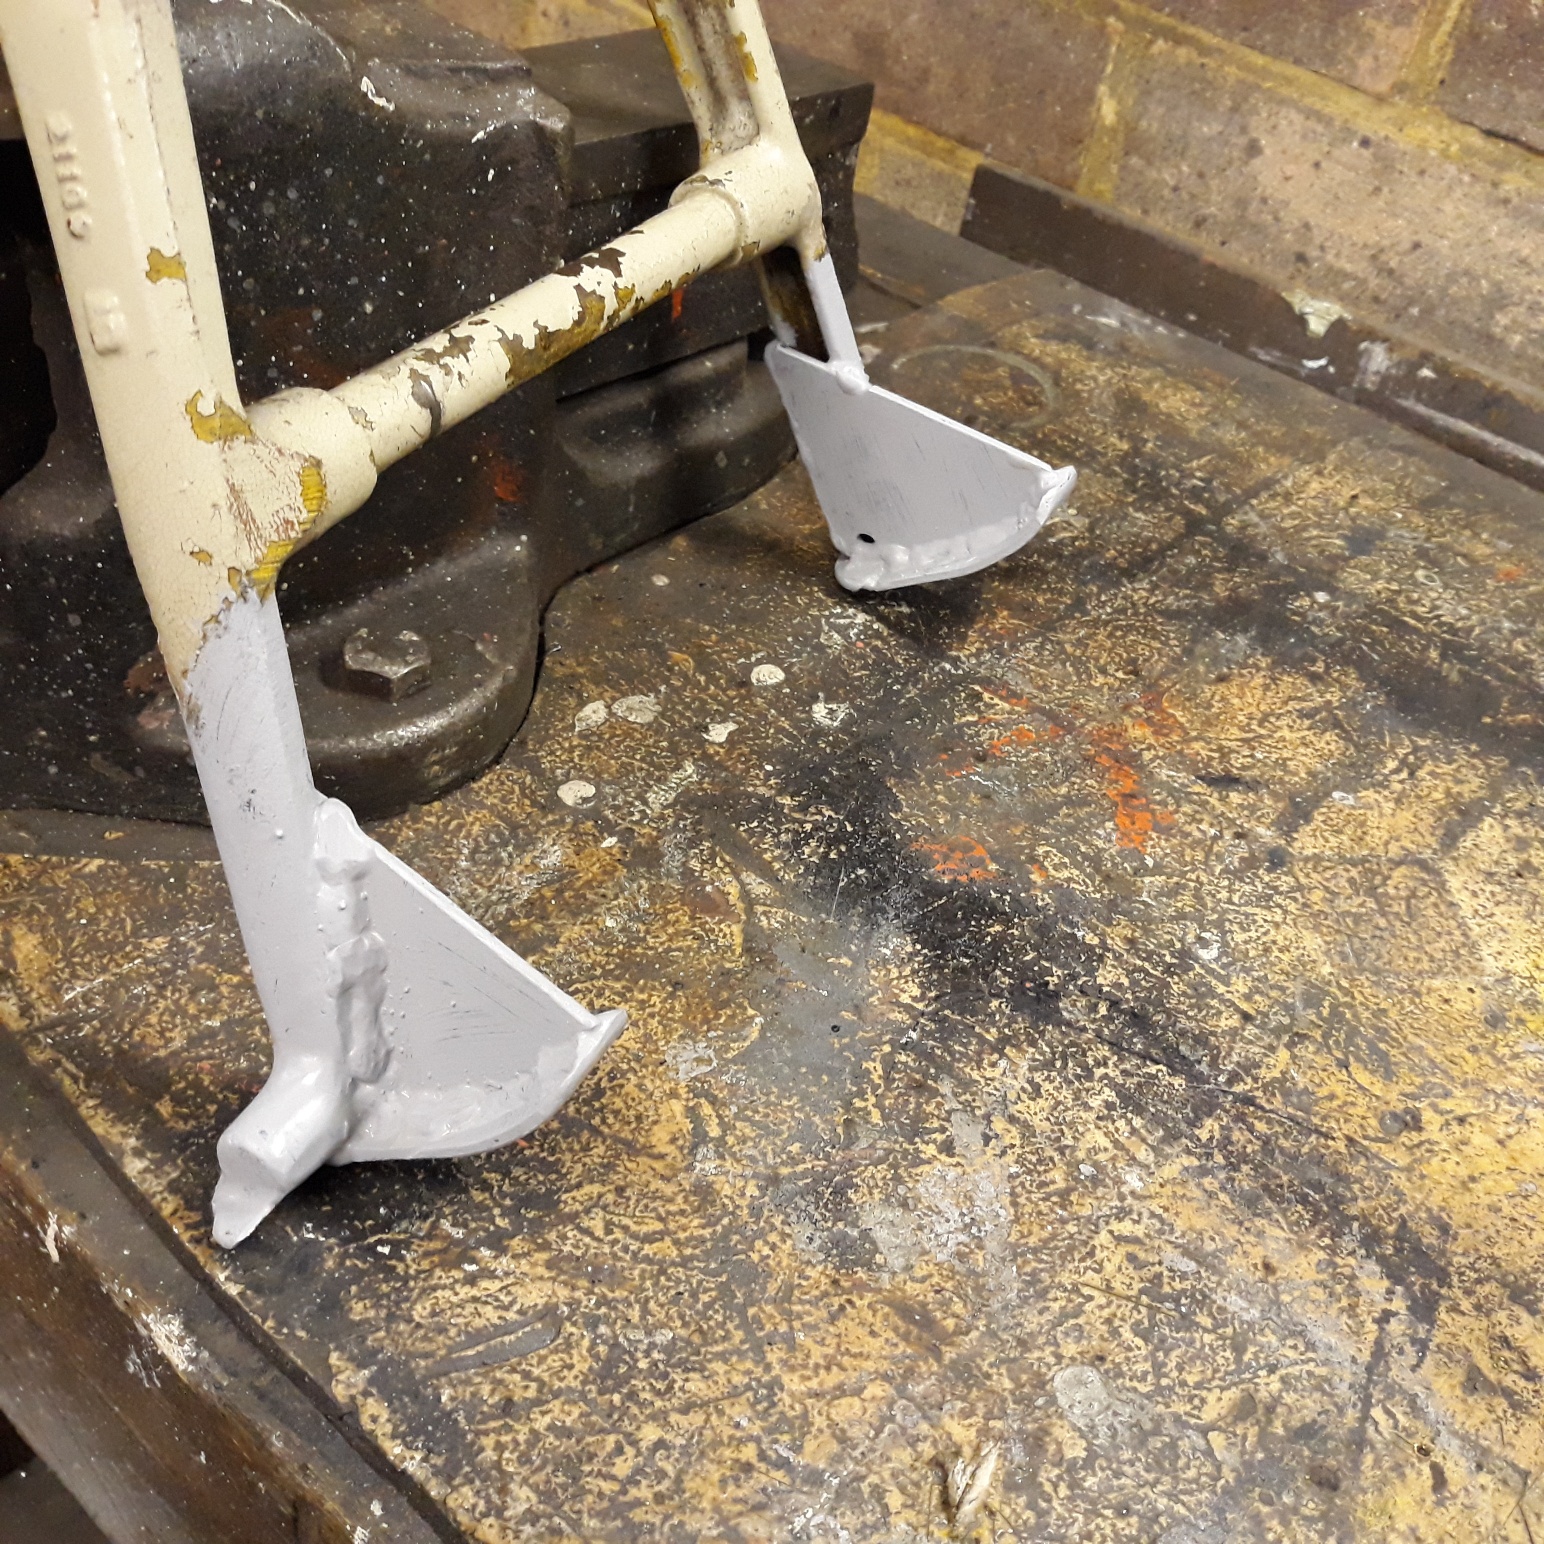
has anyone successfully welded on some curvy pieces onto the bottom legs to make it easier to get the bike onto its stand?...i think its cast steel so should be possible
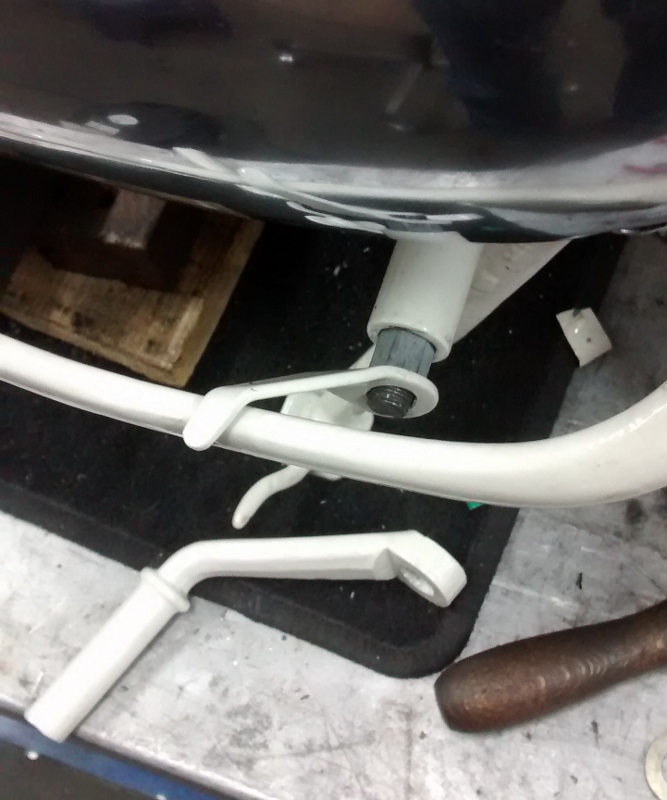
also, the C bracket which takes the return spring needs to swivel on its pivot, which is the lower rear engine mounting....should there be a nut (against the frame) to fully tighten the engine bolt, then the C bracket and then another nut.....when i took mine off, there was just one nut, meaning that the bolt is effectively loose so that the C bracket can swivel, and that can't be good
Centre stand anchor arm nuts
- Log in to post comments
centre stand
thanks Peter, i'll look out those parts and yes i mean adding curved rockers to the feet....its on the to do list today
- Log in to post comments
I mig welded some new feet…
I mig welded some new feet onto the bottom of my stand, but that was because they were worn and the stand didn’t lift the bike. If you add curved rockers you’ll need to be careful that they don’t hit the silencers. I have a badly bent and broken later stand with the long arm to help it on the stand, I intend to braze that onto my early stand. Might try mig welding it first.
- Log in to post comments
Oxy Acetylene
Adrian,
I successfully welded my ES2 Centre Stand with oxy acetylene.
Used steel filler wire.
DON'T CHILL THE JOB with water. Let it return to normal temperature in the air.
- Log in to post comments
centre stand
i MIG welded it today and did read up that pre-heating and slow cool-down are good....gave a few blows with a heavy hammer and welds seem ok,... time will tell, now much easier to get it onto its stand, with the handle as well....
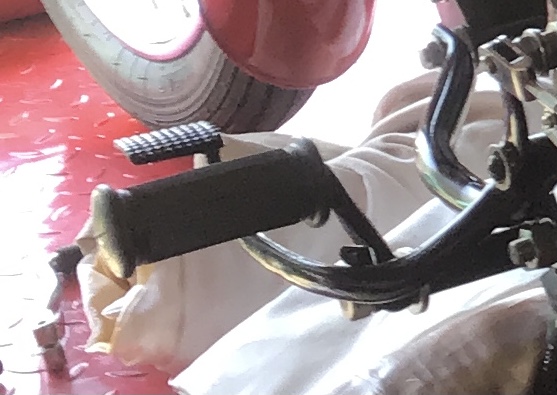
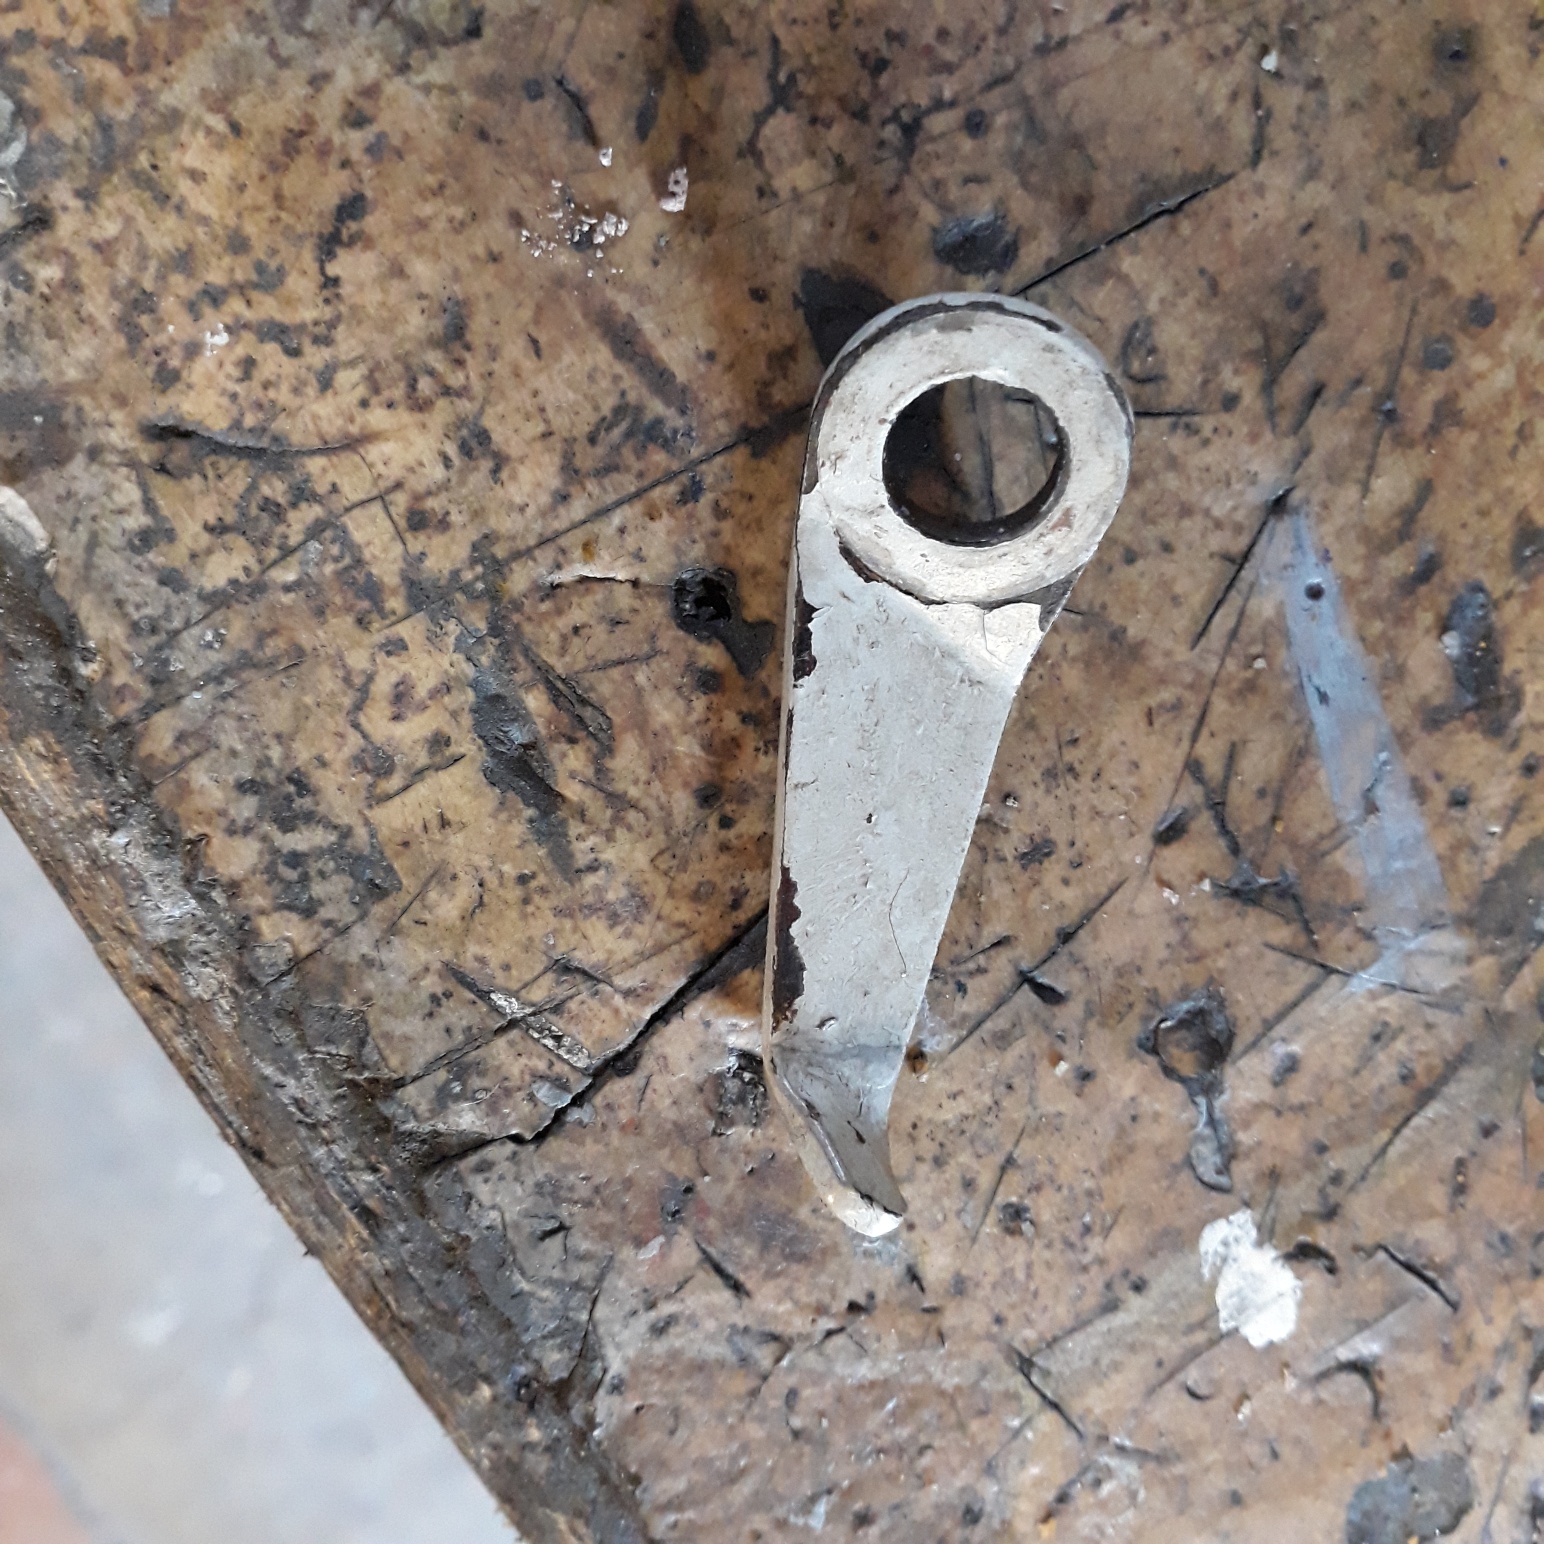
re, last picture...this was nestling alongside the left hand footrest: what is it?
- Log in to post comments
Re query part.
The last photo is the 'catcher' for the brake pedal. I assume it is a safety feature to catch the brake pedal if the linkage to the back wheel comes apart and it stops the pedal hitting the ground and flipping the bike into the air! The 'catcher' should allow the brake pedal to be fully depressed in normal use but with enough gap to catch the pedal if it fails well before it hits the ground.
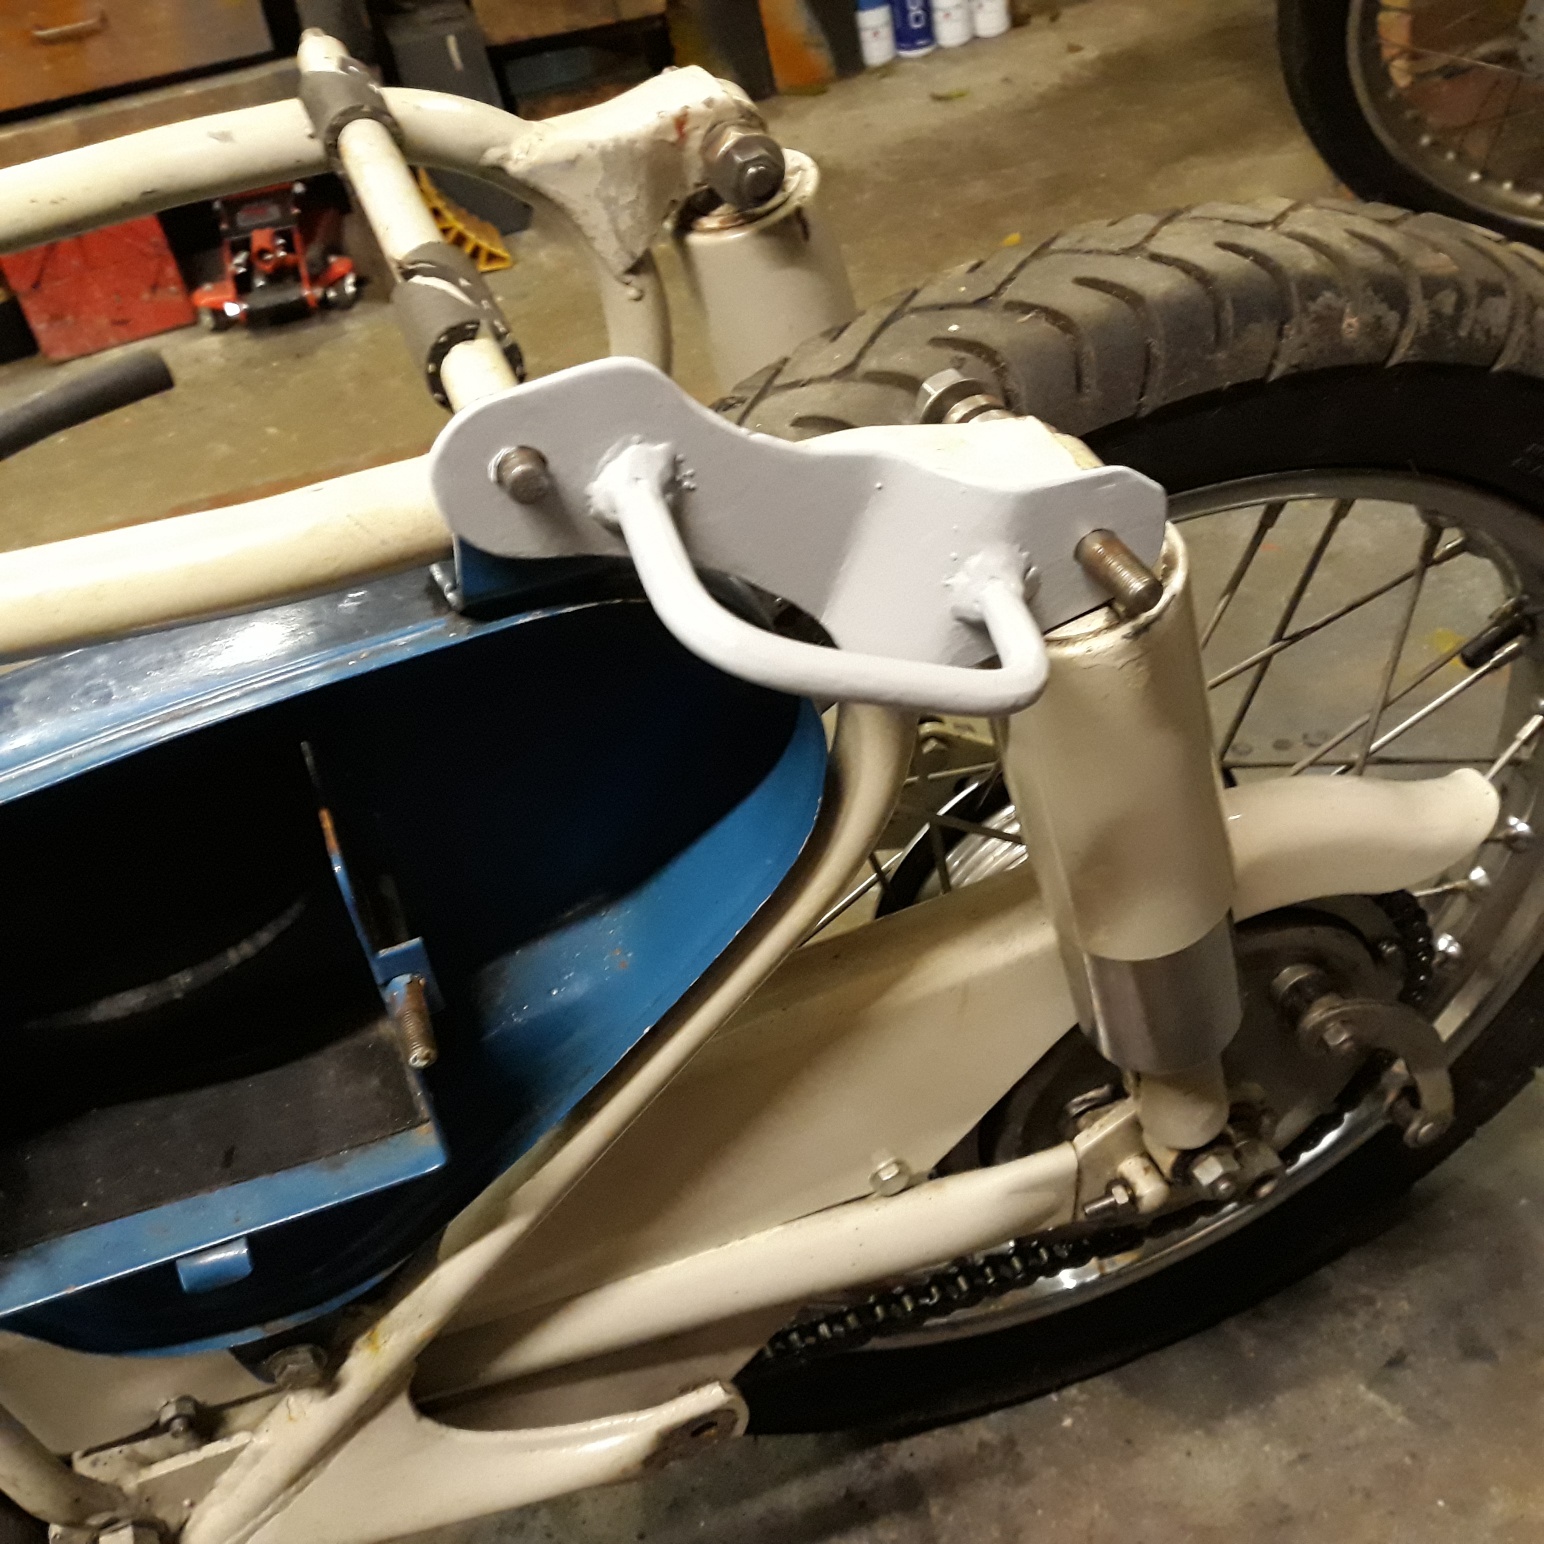
For what it is worth, my lift handle is bolted to the two threaded bars shown in your photo. I measured the distance between the two threaded bars and sourced a cast iron door handle from eBay for a few pounds (less than a fiver), drilled holes to fit over the threads and used the original nuts to hold the handle on. I have longer bolts on the shock mounts because they also hold on the mudguard stays (non-original, aluminium mud guards). The original shock bolts may not be long enough for this mod. I also wrapped the lift handle with a black squash racquet grip for comfort.
Dennis
- Log in to post comments
Ummm - sorry Dennis (I could…
Ummm - sorry Dennis (I could be wrong of course) but I thought that “bracket” was as an upper stop for the brake pedal (see photo) - I thought it could be used to give an adjustable pedal height - there’s not enough “lip” on it to stop the pedal dropping I think - I’m welcome to be shown wrong though!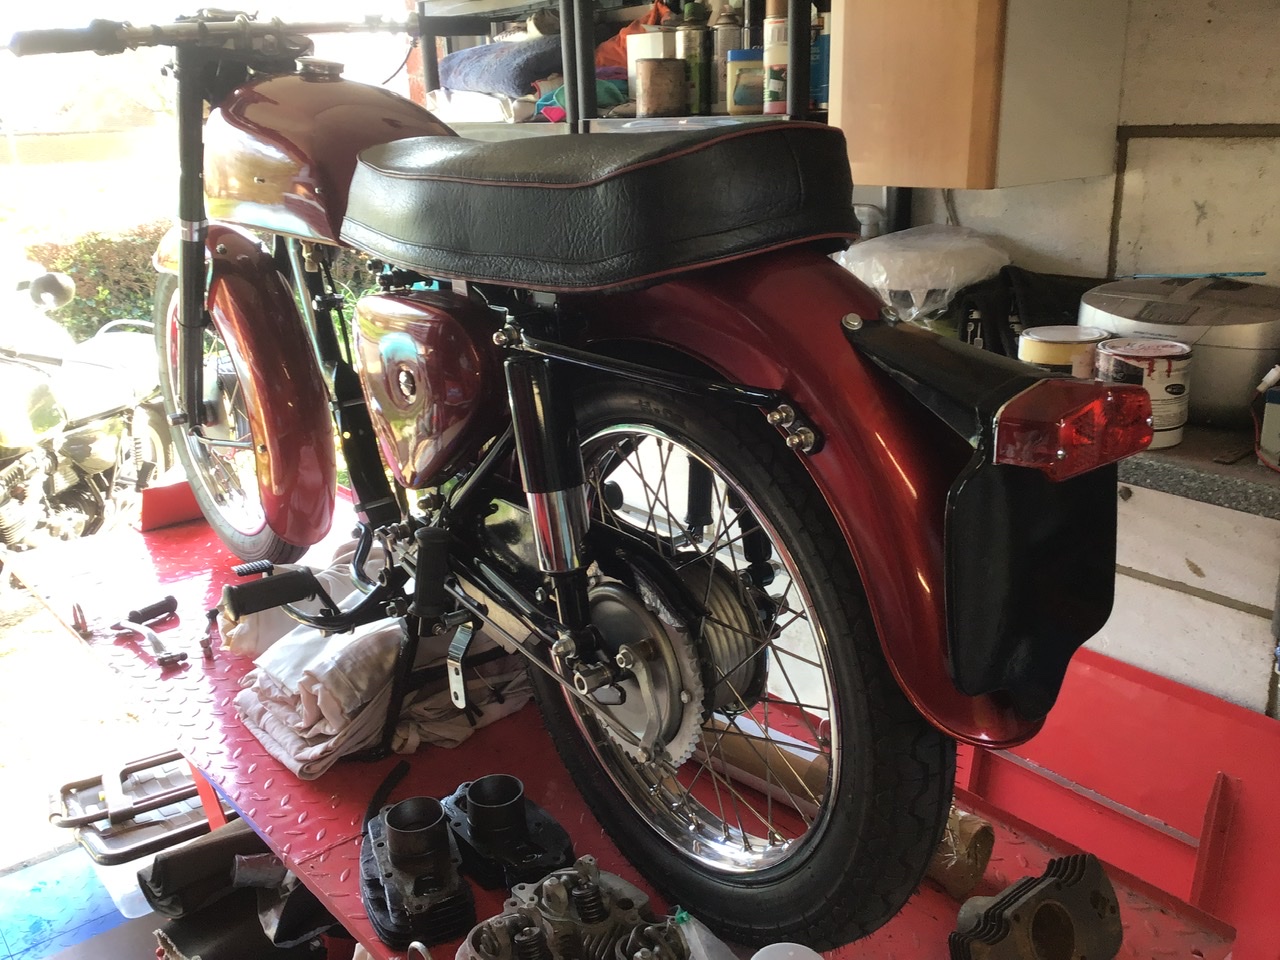
- Log in to post comments
Adrian, i think you need to…
Adrian,
i think you need to work on the colour match ;-) !! What does it look like when the stand is up and more importantly does it work?!
cheers
dan
- Log in to post comments
Brake bracket
Hi. Adrian, and all of you
The original bracket is a thin curved stamping that has almost a semi-circular end to hold the pedal, it also can be tilted to adjust the level of the pedal.
Wishing you all a HAPPY CHRISTMAS and NEW YEAR.
Peter
- Log in to post comments
Peter, i'm not sure i…
Peter, i'm not sure i understand you....how does it hold the pedal or adjust it?
Dan, yes it does work well...now much easier to get on the stand....the only thing that might cause problems is the extra weight may make it droop
- Log in to post comments
Adrian - does this help?…
Adrian - does this help? Between the footrest & brake pedal you can see the curved end of the bracket/stop - it’s mounted on the foot peg bar
- Log in to post comments
brake pedal stop
I certainly fitted mine as Bruce did, otherwise the brake pedal is at some inconvenient posiion relative to your foot when you need it.
- Log in to post comments
Brake pedal stop
Hello Adrian,
I found a picture of the brake pedal stop when I reassembled my Navigator:
- Log in to post comments
Ah, thanks Ulrich - I tried…
Ah, thanks Ulrich - I tried mine that way but once tightened there wasn’t enough “lip” to hold the pedal - I’ll have to “tweak” it a bit as it looks a much better location for a stop!
- Log in to post comments
Looks like I was wrong...
Looks like I was wrong. I will try fitting the bracket as a pedal stop. However, a 'pedal catcher' might be a good idea. If the brake adjuster wing nut comes undone the pedal will drop and dig into the ground with who knows what effect! I am a belt and braces man so I have put a nyloc nut after the brake rod wing nut to stop it coming off unannounced :-)
Every day is a learning day with a Norton.
Happy New Year.
Dennis
- Log in to post comments
I have...
... a locknut on the rear brake roid to avoid the adjuster coming loose (although it shouldn't as the indent should keep it in place).
I made an adjustable pedal stop for the FB which has a similar setup to yours as I like the controls to fall readily to hand and foot.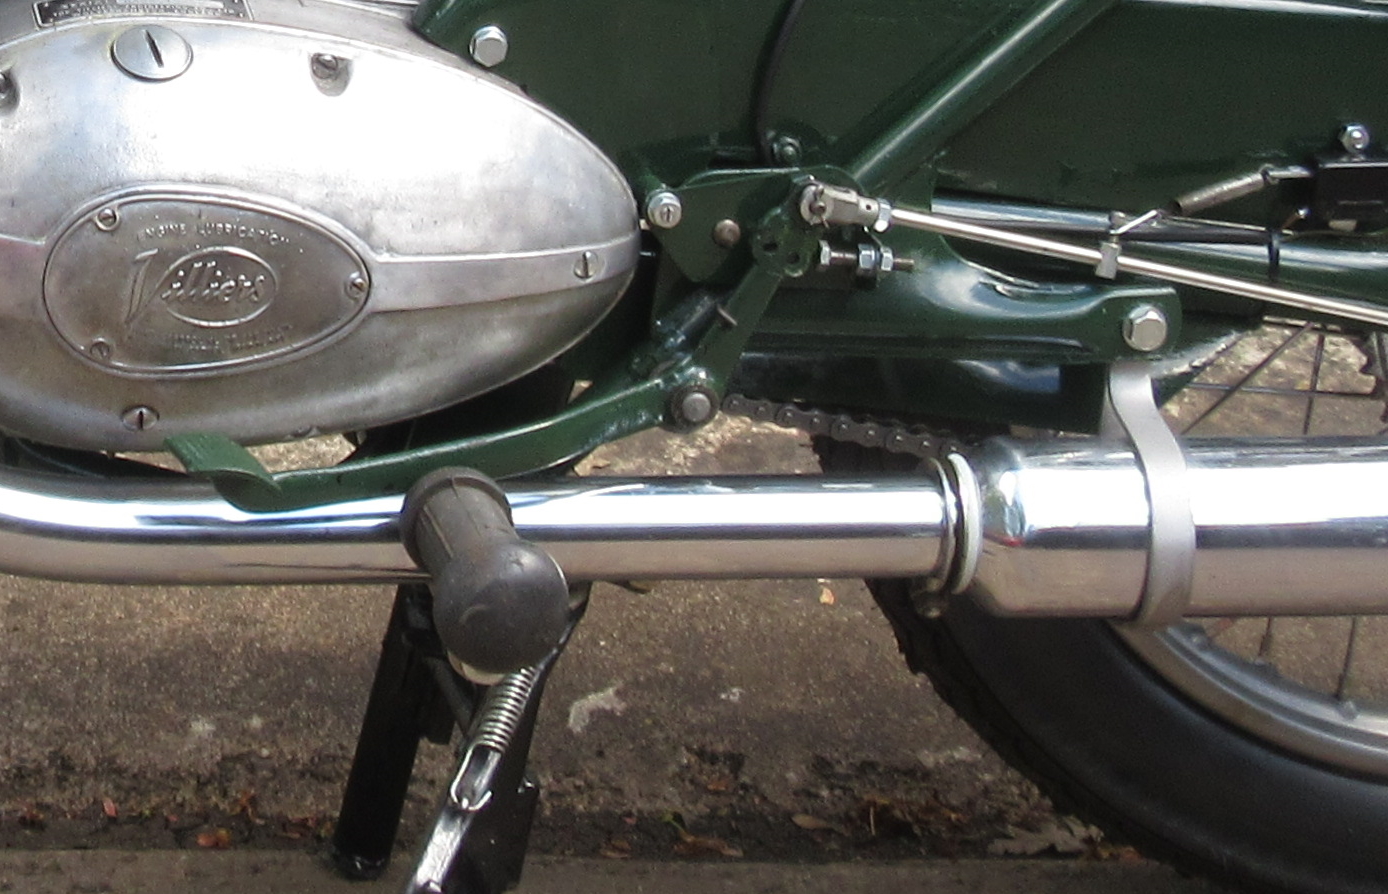
- Log in to post comments


Hi Adrian,
If you have an early lightweight the lower rear engine mounting stud has a 3/8 cycle tread nut at one end, and a nut Part No. 21166 at the other end for the curved arm (C-bracket) to pivot on.
If you have a late lightweight the lower rear engine mounting stud has two nuts 24621 at each end. The curved arm (C-bracket) pivots on the right hand nut.
You can find both these nuts and photos of them on the NOC Shop listed under Lightweight spares miscellaneous. Or just put the part numbers in the NOC Shop search facility.
I have successfully brazed curvy piece (cut off a broken Electra stand) to a regular lightweight centre stand. Harder to find people with the gas welders willing to braze these days.
Or do you mean adding little curved rocker feet at the bottom of the legs?
Might be worth an email to NOC Spares to see when stand part No. 24862 will be available.
Peter