
My daughter bought me a set of stainless oval plates and screws set for Christmas thought i would fit them.
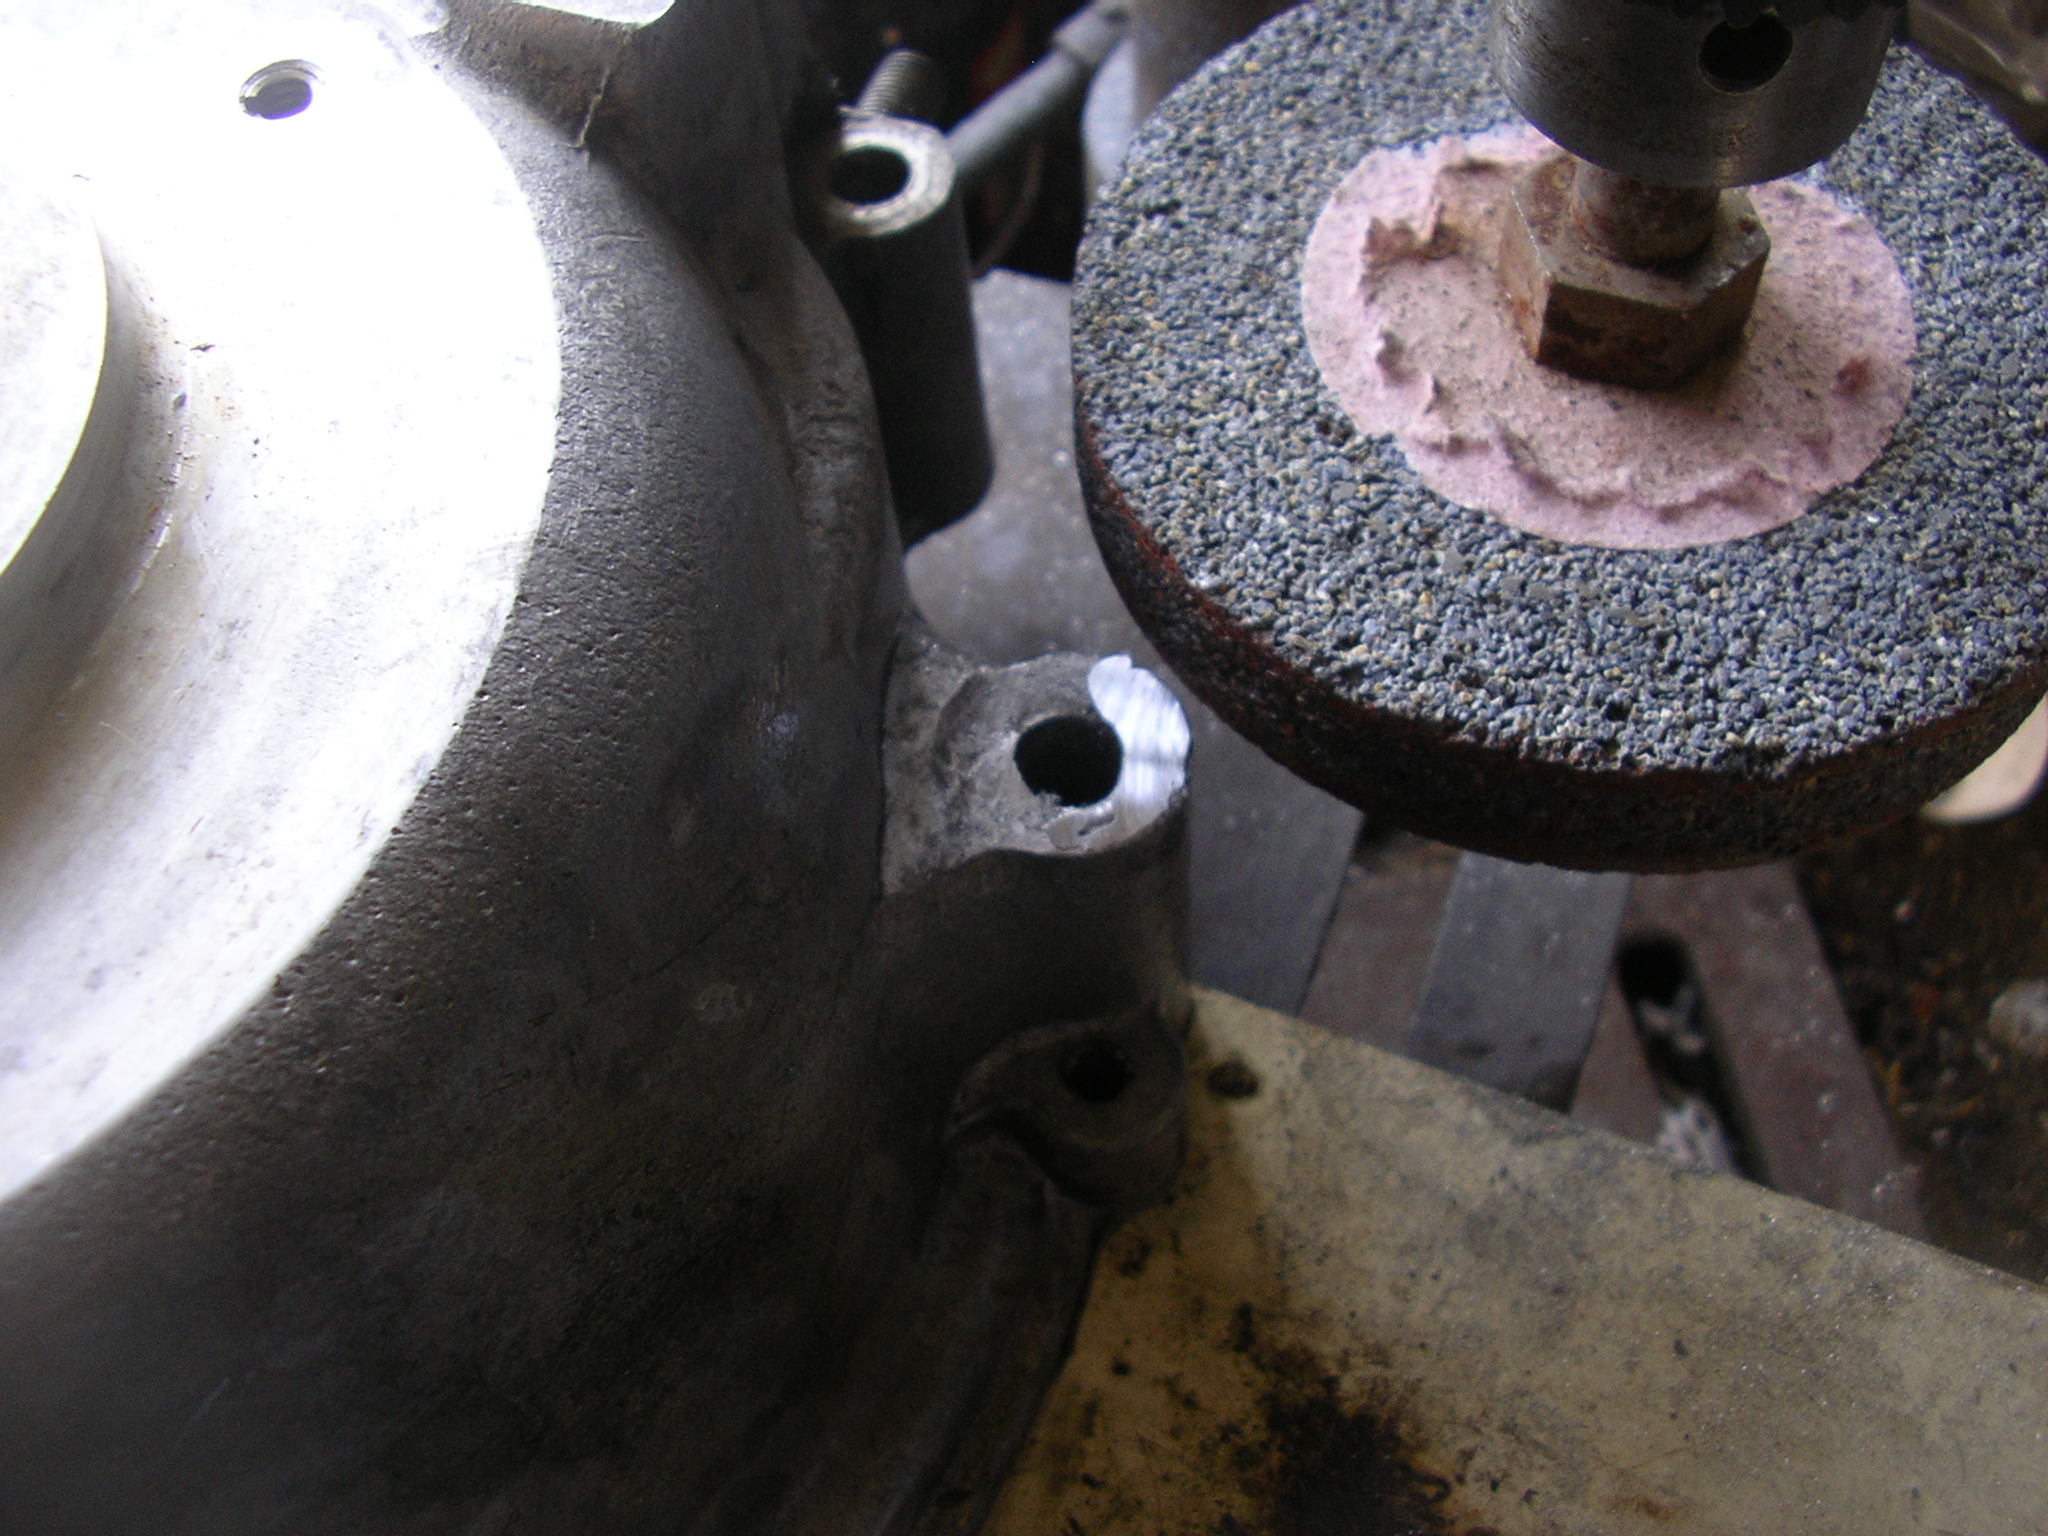
But a previous owner must have stripped about half the holes, tapped them 5/16 BSW, opened the plate holes. Considering my options: Don’t think i can helicoil back to 1/4 from that size. Maybe get stepped studs made, normal studs in good holes and fit 1/4 nuts. Not sure if i can drill deeper and retap to 1/4, don’t really know how deep i can go without running into something.
Any other ideas please, don’t want to remove the head
thanks
I bought some stainless whit…
- Log in to post comments
Cheers Robert
Thanks for offering help not sure i quite understand what you are suggesting
cheers
pete
- Log in to post comments
Item 140732849851 2x5…
Item 140732849851 2x5 packs (10 bolts) total free post £14.84 1" long , but will have the bigger than std Norton hexagon .? Grind off the lettering . Use a longer bolt to check out the thread depth ? If you look around you may do better. May find some reduced hex set screws ( Fully threaded bolts)
- Log in to post comments
Neater still 5/16 whit…
Neater still 5/16 whit stainless Allen screws . Must be threaded all the way. Cheaper too!.
- Log in to post comments
Thread
Hello Robert
just took exhaust rocker cover off at 5/16 the bolt would foul the body of the rocker if too long, think i just need to put it back together and live with it for now. If i ever needed to take the head off i think some Timesert inserts would get me to 1/4 UNC which is a close match to whit. Thanks
- Log in to post comments
Silly idea?
Is this an area where a (1/4 or 5/16 stepped) studs the full length for the hole is needed, clean thread in hole and locktite the stud in and then use hex nuts to hold the plate in place-yes it might look naff but it would work, as you would stop taking the steel bolt in an out of the ally head. (I have always thought the same with bolts holding exhaust clamps in, use studs and let the nuts take the wear not the thread into the alloy)?
- Log in to post comments
Hi Peter, i don't know what…
Hi Peter,
i don't know what equipment you have or your engineering skills but I would be tempted to check how deep you could re-drill then drill and tap the affected hoes out to 1/8" BSP (0.383" o/d x 0.337" core)
Then I would turn 1/8" BSP plugs in aluminium drilled and tapped 1/4" BSCy, screw and Loctite them in and you are back to standard. With careful manufacture you could have them slightly under the outer face to save dressing off.
I think that I have some spare eliptical plates to replace yours that have been drilled out if you want them.
Regards
Dick
- Log in to post comments
How often do you remove them…
How often do you remove them? I do have to remove the screws from the rear one if I take the rear main head bolt right out. Anyway..can you not get reduced head size 5/16 screws from someone like Nooky's nuts?
- Log in to post comments
If you find someone to make…
If you find someone to make the studs I could do with something similar to mount my new alternator onto the orriginal alloy housing. Bits of tin not ideal. Did suggest it to my fav Norton stockist but it fell on deaf ears.
- Log in to post comments
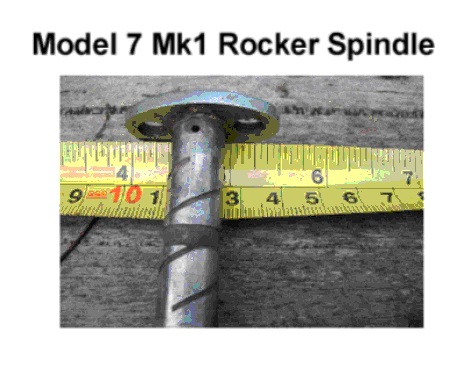
Model 7 Mk 1 & Mk 2 engines
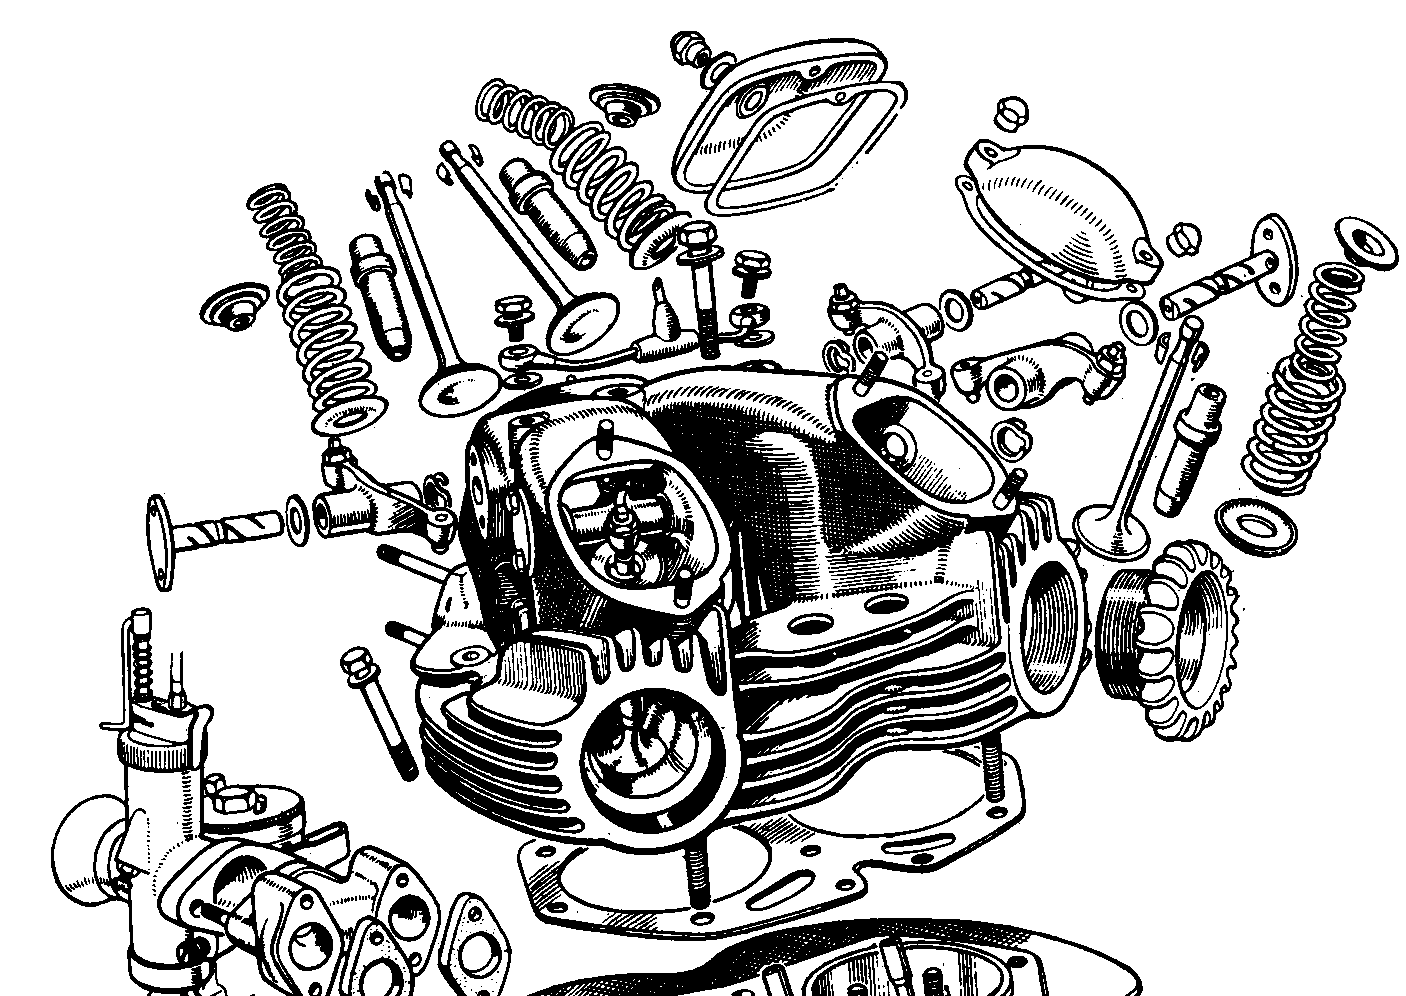
The first proper production Model 7 engines, built from March 1949, onwards had tapped rocker end plates with 5/16" holes. These plates were brazed to the rocker spindles to form a combined item. See photo. The plates were held in place by standard 1/4" bolts/pins that self-centred due to the spindles. No need for oval plates with tangs to hold the spindles in position. To extract the rockers 5/16" bolts were inserted in place of the 1/4" bolts and these turned against the mouths of the 1/4" bolt holes.
These single piece spindle/plates were quicky superseded by the two part end plates. It was found that when new, the extraction procedure went fine but eventuallyburnt oil jammed the spindle in the head and then the plates distorted due to heavy hands. Once bent they were almost imposible to flatten and leaked from then on.
I wonder if Pete's plates are based on these Mk 1/Mk2 engine versions?
- Log in to post comments
Maybe you could fill it up…
Maybe you could fill it up the hole with Lumiweld using a Rotherberger torch at about 300C and retap it to 1/4 Whit.
The 2BA holes in my timing cover for the tacho drive have been retapped to 0BA. I was thinking of trying this to get them back down to 2BA.
Has anybody tried anything similar?
- Log in to post comments
Lumiweld v Stainless Steel
These two materials do not get on with each other very well. The Lumiweld kit generally contains both a Stainless brush and spiked rod.
An easy solution to this issue is to use thick copper washers under the 1/4" bolt heads. The slot in the spindle end will help to keep the plate in position. You can purchase a bag of these specifically for this purpose. Many Commando and Dominator owners do this to help stop the coarse bolt threads from leaking. The A/Norton part number is 06 3129.
- Log in to post comments
Hi Phil I didn't fully…
Hi Phil
I didn't fully understand you comment on Lumiweld and SS. Is it an electrolytic corrosion problem, and does it affect zinc, brass and MS too? I was mostly worried about the lumiweld being too soft
Steve
- Log in to post comments
Stainless Solutions
Stainless Steel has properties which work in its favour but unfortunately a few that do not. Add Stainless chunks to a fork leg of a well-used Norton and a few years down the line the reaction between the alloy and SS will have caused all kinds of nasties.
In the world of Lumiweld, the rod material will just not adhere to SS at the normal Lumiweld brazing temperatures. Hence the use of a SS brush and pick to clean alloy parts and surfaces. When Lumiwelding holes or difficult joints, SS sheets are recommended as backing supports to limit run--off or sagging of the rod material.
My attempts to use Lumiweld on Zinc and Mazac have generally resulted in meltdown. However, on other mainly alloy parts such as broken cylinder fins, levers, crankcase stripped threads and brake shoes I have enjoyed much better success. See attached.
- Log in to post comments
If you do use nuts on studs…
If you do use nuts on studs as Alan suggests, make sure you will still be able to remove the rear cylinder head bolts...unless you are happy to leave them flapping about next time you take the head off. If that's OK, why not used domed nuts?
- Log in to post comments
Thanks all
Because the screws (although some are 1/4 and some are 5/16) still tighten ok i am going to live with it for now, plenty of other stuff to get on with. When i do it will probably tap remaining ones 5/16 and use stepped studs with dome nuts. Will take the rockers out so i can get the 5/16 tap right through cheers
- Log in to post comments
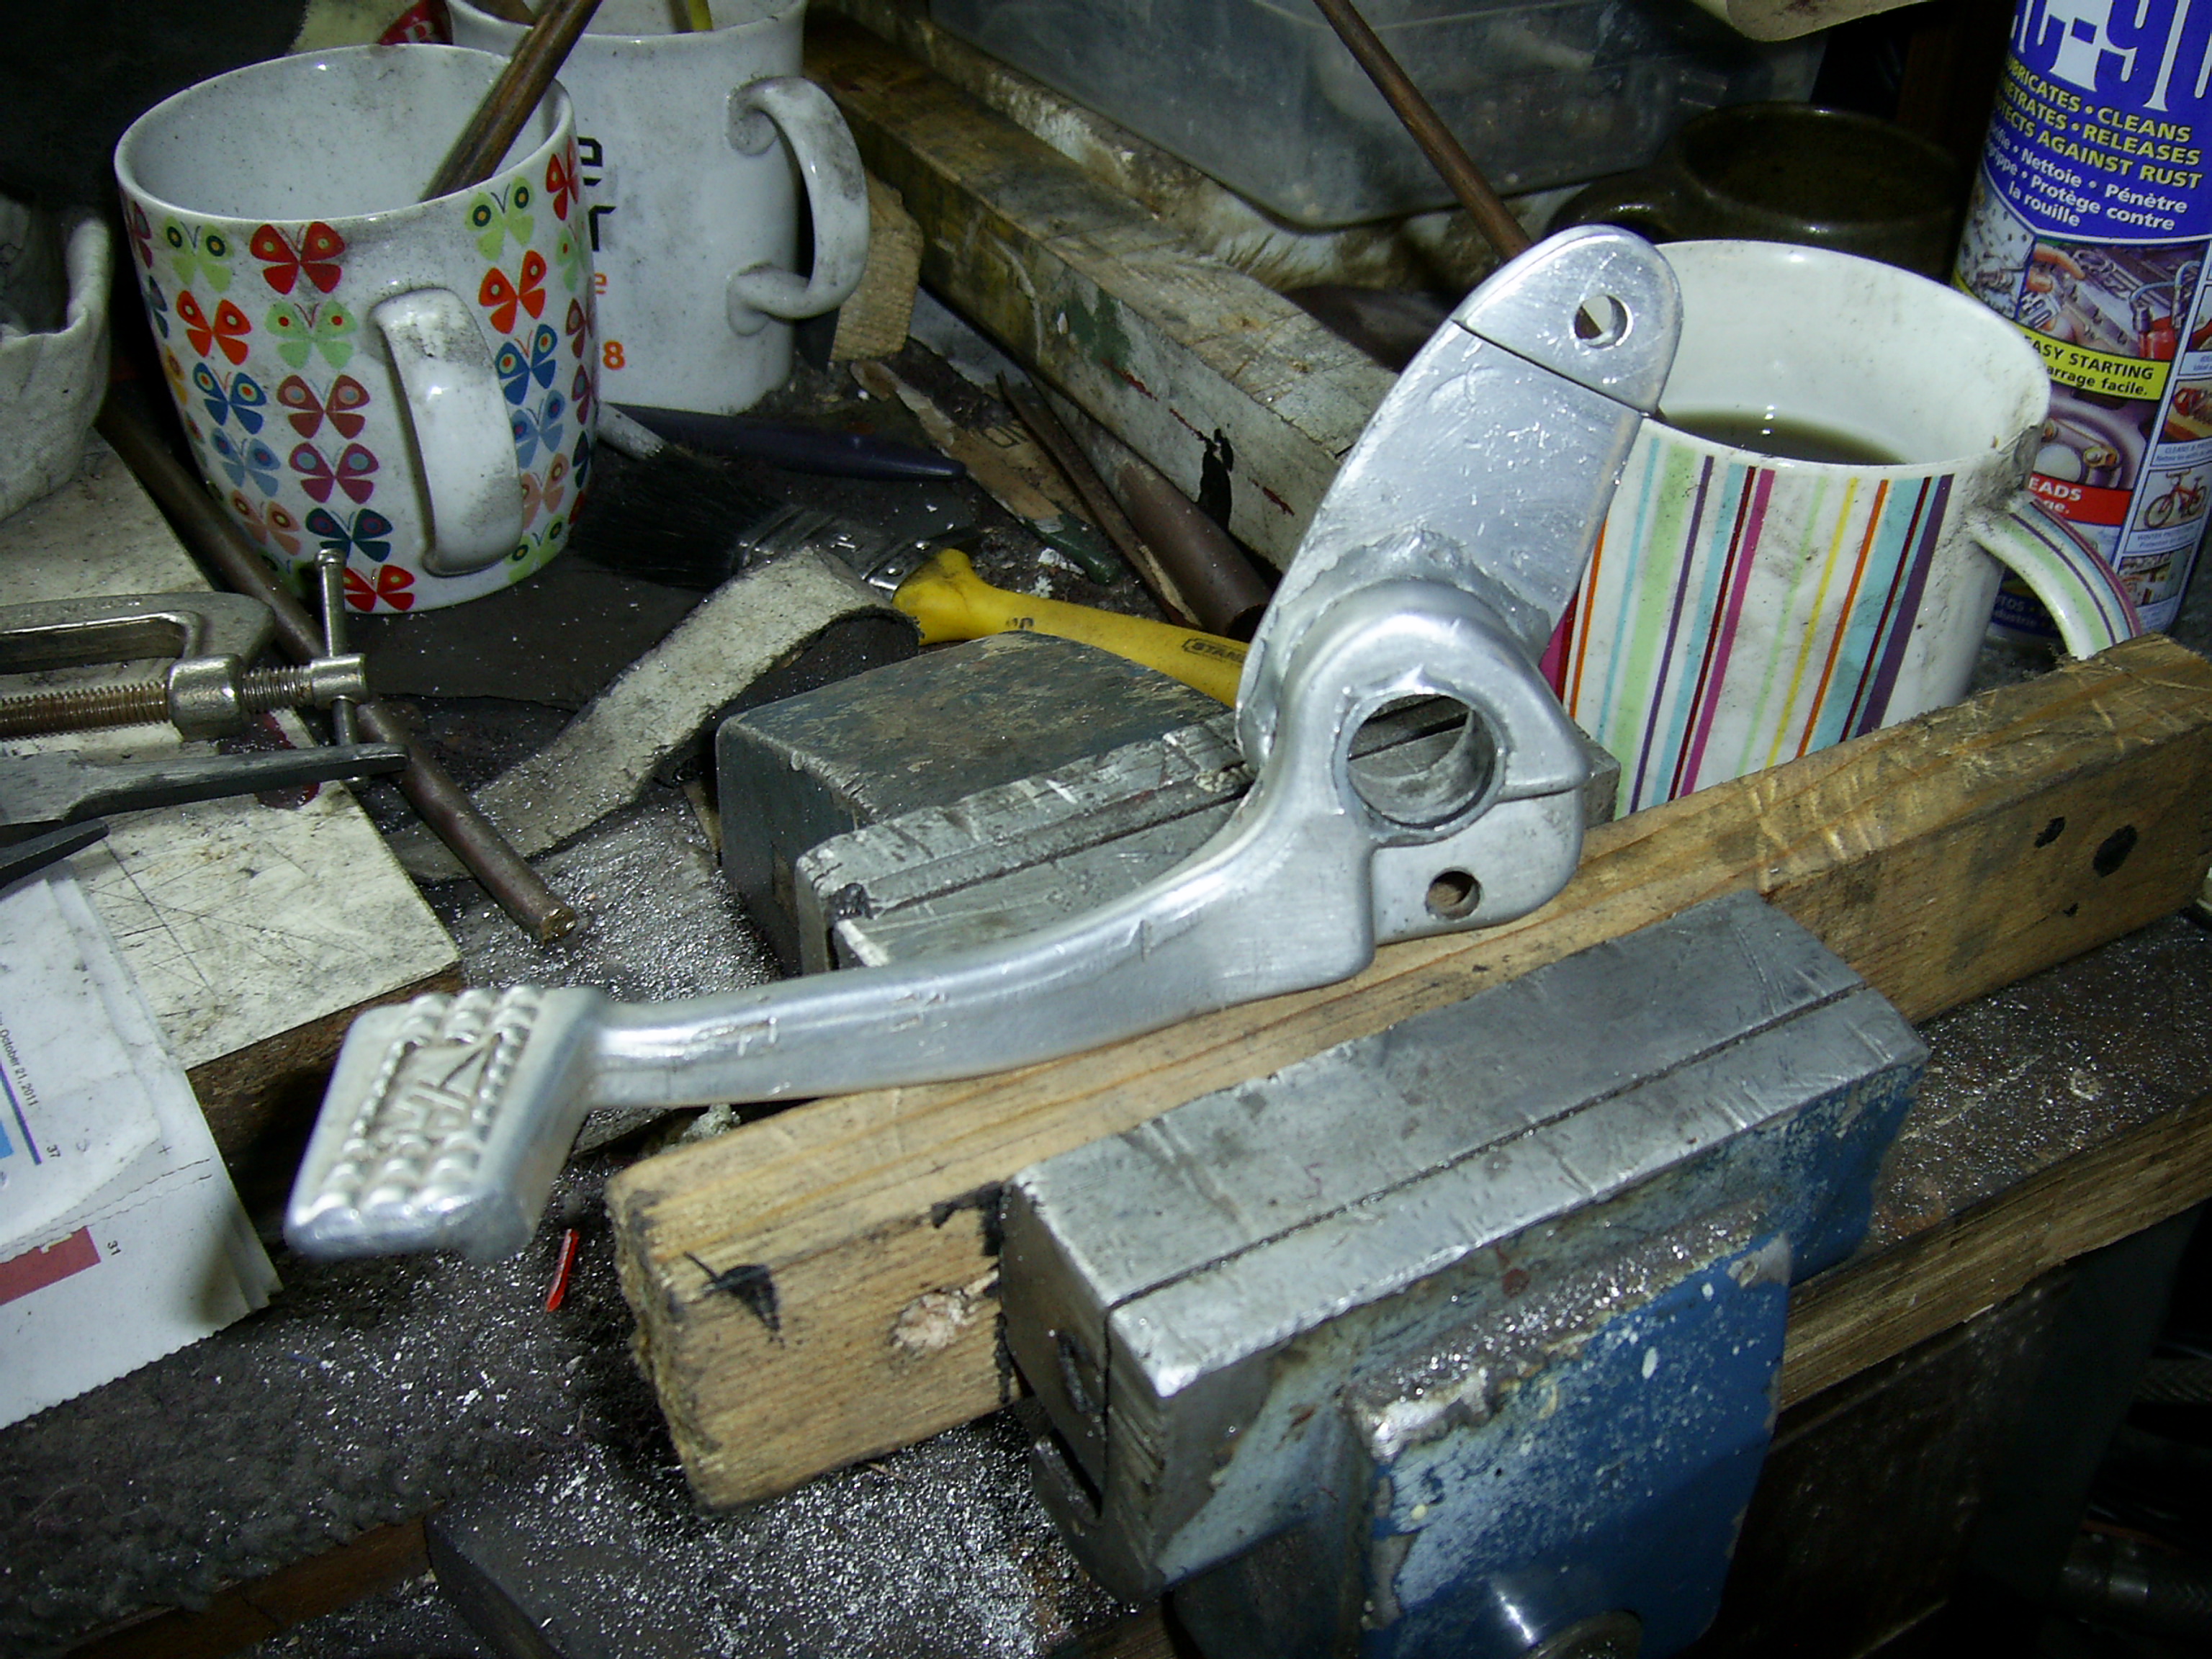
Phil The brake pedal repair…
Phil
The brake pedal repair looks impressive!
I am planning to simply fill my oversized timing cover 0BA holes with lumiweld and re-tap to 2BA.
I know it is more lumi(solder) or lumi(braze) than lumi(weld) but that looks like a viable idea. The tacho drive isn't exactly massively stressed.
But I reckon that it could work on rocker spindle endplate retainers too. Unless it is just too soft.
Steve
- Log in to post comments
You may...
.. struggle with filling holes with lumiweld as it depends on scratching the surface with the stainless rod to break though the oxide coating on the alloy. I've tried using the product a few times but never with any great success.
Regarding the original query I'd be going with tapping out to 5/16", enlarging the holes in the plates appropriately and using socket head screws - with a reduced head if necessary.
- Log in to post comments
Thanks for the input Ian,…
Thanks for the input Ian, makes a lot of sense. I guess I could run an M6 tap up and down it a few times to clean off the oxide layer. They are very shallow holes. M6 has the same pitch as 0BA but a deeper thread form as I recall.
I may fool around with an old cover, see what works.
Plan B Alloy allen bolts are available, I could tap my holes out to m8, plug them using bearing-fit loctite, and then drill and tap to 2BA.
- Log in to post comments
The trouble is..
.. that the oxide layer forms on alloy virtually immediately which is why when using lumiweld you have to constantly scratch the surface. I believe (though may be wrong) that's why TIG welding aluminium alloys needs AC rather than DC power supply.
- Log in to post comments
Has anybody tried this? ( a…
Has anybody tried this? ( a product test from Old Bike Mart Magazine)
Is it as easy to use as watching the demonstrators suggests? if you follow the instructions included with each pack; then the process is quite simply within the grasp of anyone who can master soldering (that word again!); ...... As the bond is only formed with aluminium or zinc alloys it can be effectively used to reclaim stripped threads in such materials by drilling out the offending hole and popping in a bolt of the correct thread form; `Lumiweld' run around the bolt then bonds to the aluminium but not the bolt, which can be unscrewed from the hole leaving a new thread behind it: Again, the low working temperature of the operation makes this an attractive alternative to other forms of repair, where a complete strip down might otherwise have to be contemplated.
- Log in to post comments
I did a dummy run with…
I did a dummy run with Lumiweld. I drilled and tapped an M6 hole (0BA for these purposes) through a gearbox inner. I left it a week to oxidise then I ran a degreased m6 tap in an out a few times applying a bit of lateral pressure in every direction to clean up the walls of the thread, and to remove any oxide.
Then I heated the workpiece up to 400DegC using a Rothenberger torch (which took a lot longer than the videos suggest it might) and I filled the threaded hole up with Lumiweld.
I let it cool, then I drilled it and retapped it to 2BA, and it is just like new after cleaning off any excess weld/solder/braze.
Verdict: Lumiweld can fix oversized holes for low-stress bolts in alloy, like rocker end-plate retainers, especially coarse threads.
- Log in to post comments
Result
Steve.......Good news....Brownie badge job.
Oxidisation is the Achiles Heel of using Lumiweld for fixing alloy issues. The kits generally contain a Stainless Steel brush and spike to help with the cleaning process. The brush helps to rub off the oxide that the alloy naturally gains from the atmosphere and any any other oil and crud that might poison the join.
As soon as heat is applied to the alloy surfaces oxidisation of the surface begins to increase which is why the scratching of the area needs to happen to ensure a strong join or fill. A light scratching will usually suffice and help produce an amazingly good end result.
- Log in to post comments
Next time I will run the tap…
Next time I will run the tap in and out using a drill, immediately before applying the Lumiweld. Angling it every which way. But even without that it produced a really good result.
I won't be using it for barrel holding down studs any time soon. But tacho mounting, it's up to the job.
Starting with a clean sheet of paper a smooth hole would be more scratchable, but have a lower surface area. However, I am reluctant to open my holes up further because Lumiweld has a tendency to sink into the hole, and they are shallow threads.
I watched a youtube video where the chap went to some considerable trouble scratching the main component and he gets a great "wetting", but then he wants to just plonk the next part on to it with no serious effort to clean it up (actually he just melts the smaller part by accident anyway). It seems to me if both parts were scratched and wetted with Lumiweld first it might work really well, like tinning components before soldering. Then you will be effectively welding two Lumiweld surfaces together.
I would definitely use it to reclaim 1/4W rocker spindle plate bolt holes if I needed to.
- Log in to post comments


I bought some stainless whit hex head set screws from E bay to fit the RGM rocker conversion, certainly longer than std 1" i think. They were camera mounts , they may do 5/16 ,I will look.