
As you all know I am in the process of rebuilding my Navigator engine.
I purchased a gasket set and noticed there is no gasket for the crankcase/ engine halves.
When taking apart my engine I removed a paper gasket.
Do I need a paper gasket or is silikone sealant sufficient?
Paper is gaskets
- Log in to post comments
Silicon
Silicon sealant (e.g. Loctite 5699, Yamabond etc) can be used, but you will need to check the endfloat on all your shafts (crank, cams etc) is still correct. That said, that assumes that the paper gaskets old and new are the same thickness. If not, you will need to check the endfloat anyway.
From a technical perspective, metal to metal with a thin smear of a good silicon sealant is best, both for mechanical rigidity and oil leaks. The products I mentioned above are excellent for use on joints submerged in oil, and being grey they 'blend in' well against the grey alloy of the cases.
Just make sure that whether you choose silicon only or paper gasket, that any oil drillings cannot be blocked up by having too much sealant on there.
Good luck with your build,
George.
- Log in to post comments
Paper gasket
And yes, there was a new paper gasket when I checked the engine for the first time!
- Log in to post comments
Crankcase Gasket
Hi Uli,
You found the same as I have done many a time. The gaskets were either made incorrectly to begin with - or have shrunk over the years!
Try a dry assembly without a gasket & tighten all the crankcase bolts. You may find that the cams and/or crankshaft will no longer spin. If that is so - you will need a gasket.
If the dry assembled engine is free, then use sealant like Wellseal, or YamBond, or similar, between the crankcase halves.
- Log in to post comments
to make a gasket
hello now the best way of making up a gasket for the crankcase it to set out on a good strong table a sheet of gasket paper the right thickness and with the drive side case smear some engineers blue on the edge then carefully place in on the paper to then get a in-print of the case then let it dry of some time then mark out with a pen the holes for the screw and bolts and locating pins and with your hole cutting wads punch out these holes and with a very shape craft knife carefully cut the gasket paper were is marked out take you time and do not rush the job I have made many gaskets so just give it a go and see what you can do were to get gasket paper from see the live steam lads they every thing like this, Yours Anna J
- Log in to post comments
right thickness
What is the right thickness for the gasket paper?
I can get 0,25mm paper locally.
I discarded the old gasket so I cannot measure the thickness.
In the gasket set there are several papers twith different thicknesses from 0,25mm up to 0,5mm
- Log in to post comments
Gasket thickness
I've just measured the thickness of my NOC supplied gasket, it is 0.25mm.
- Log in to post comments
Hi Ulrich, I expect you are…
Hi Ulrich, I expect you are aware but the NOC shop has full Navigator gasket sets in stock for £18.75 + VAT and having recently bought one they definitely have the crank case gasket included but not the head gaskets. Good luck with making one or buying a full set! Nick
- Log in to post comments
homemade central gasket
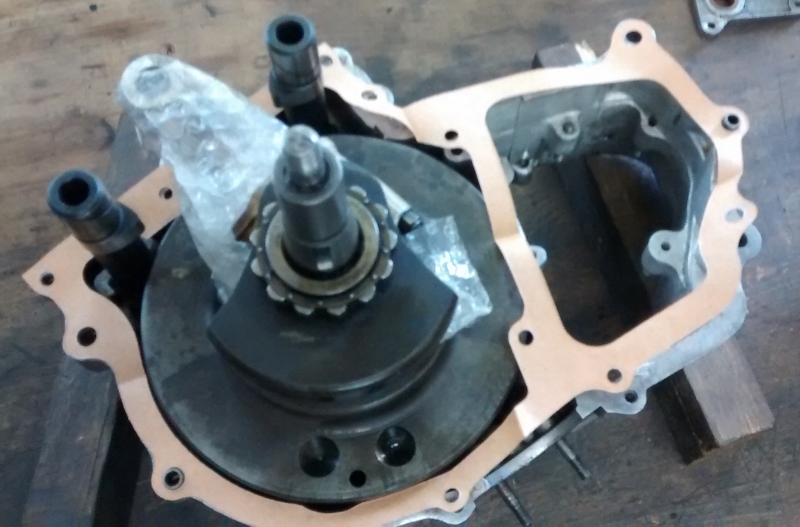
Yesterday I bought a square meter of 0.25mm gasket paper at a local auto supply store. Now I have enough material for several engines. I also got a piece of car foil from a friend .He makes foils and stickers for cars. I placed the foil with the sticky side up on my workbench, placed the drive side housing on it and cut out the outer form.
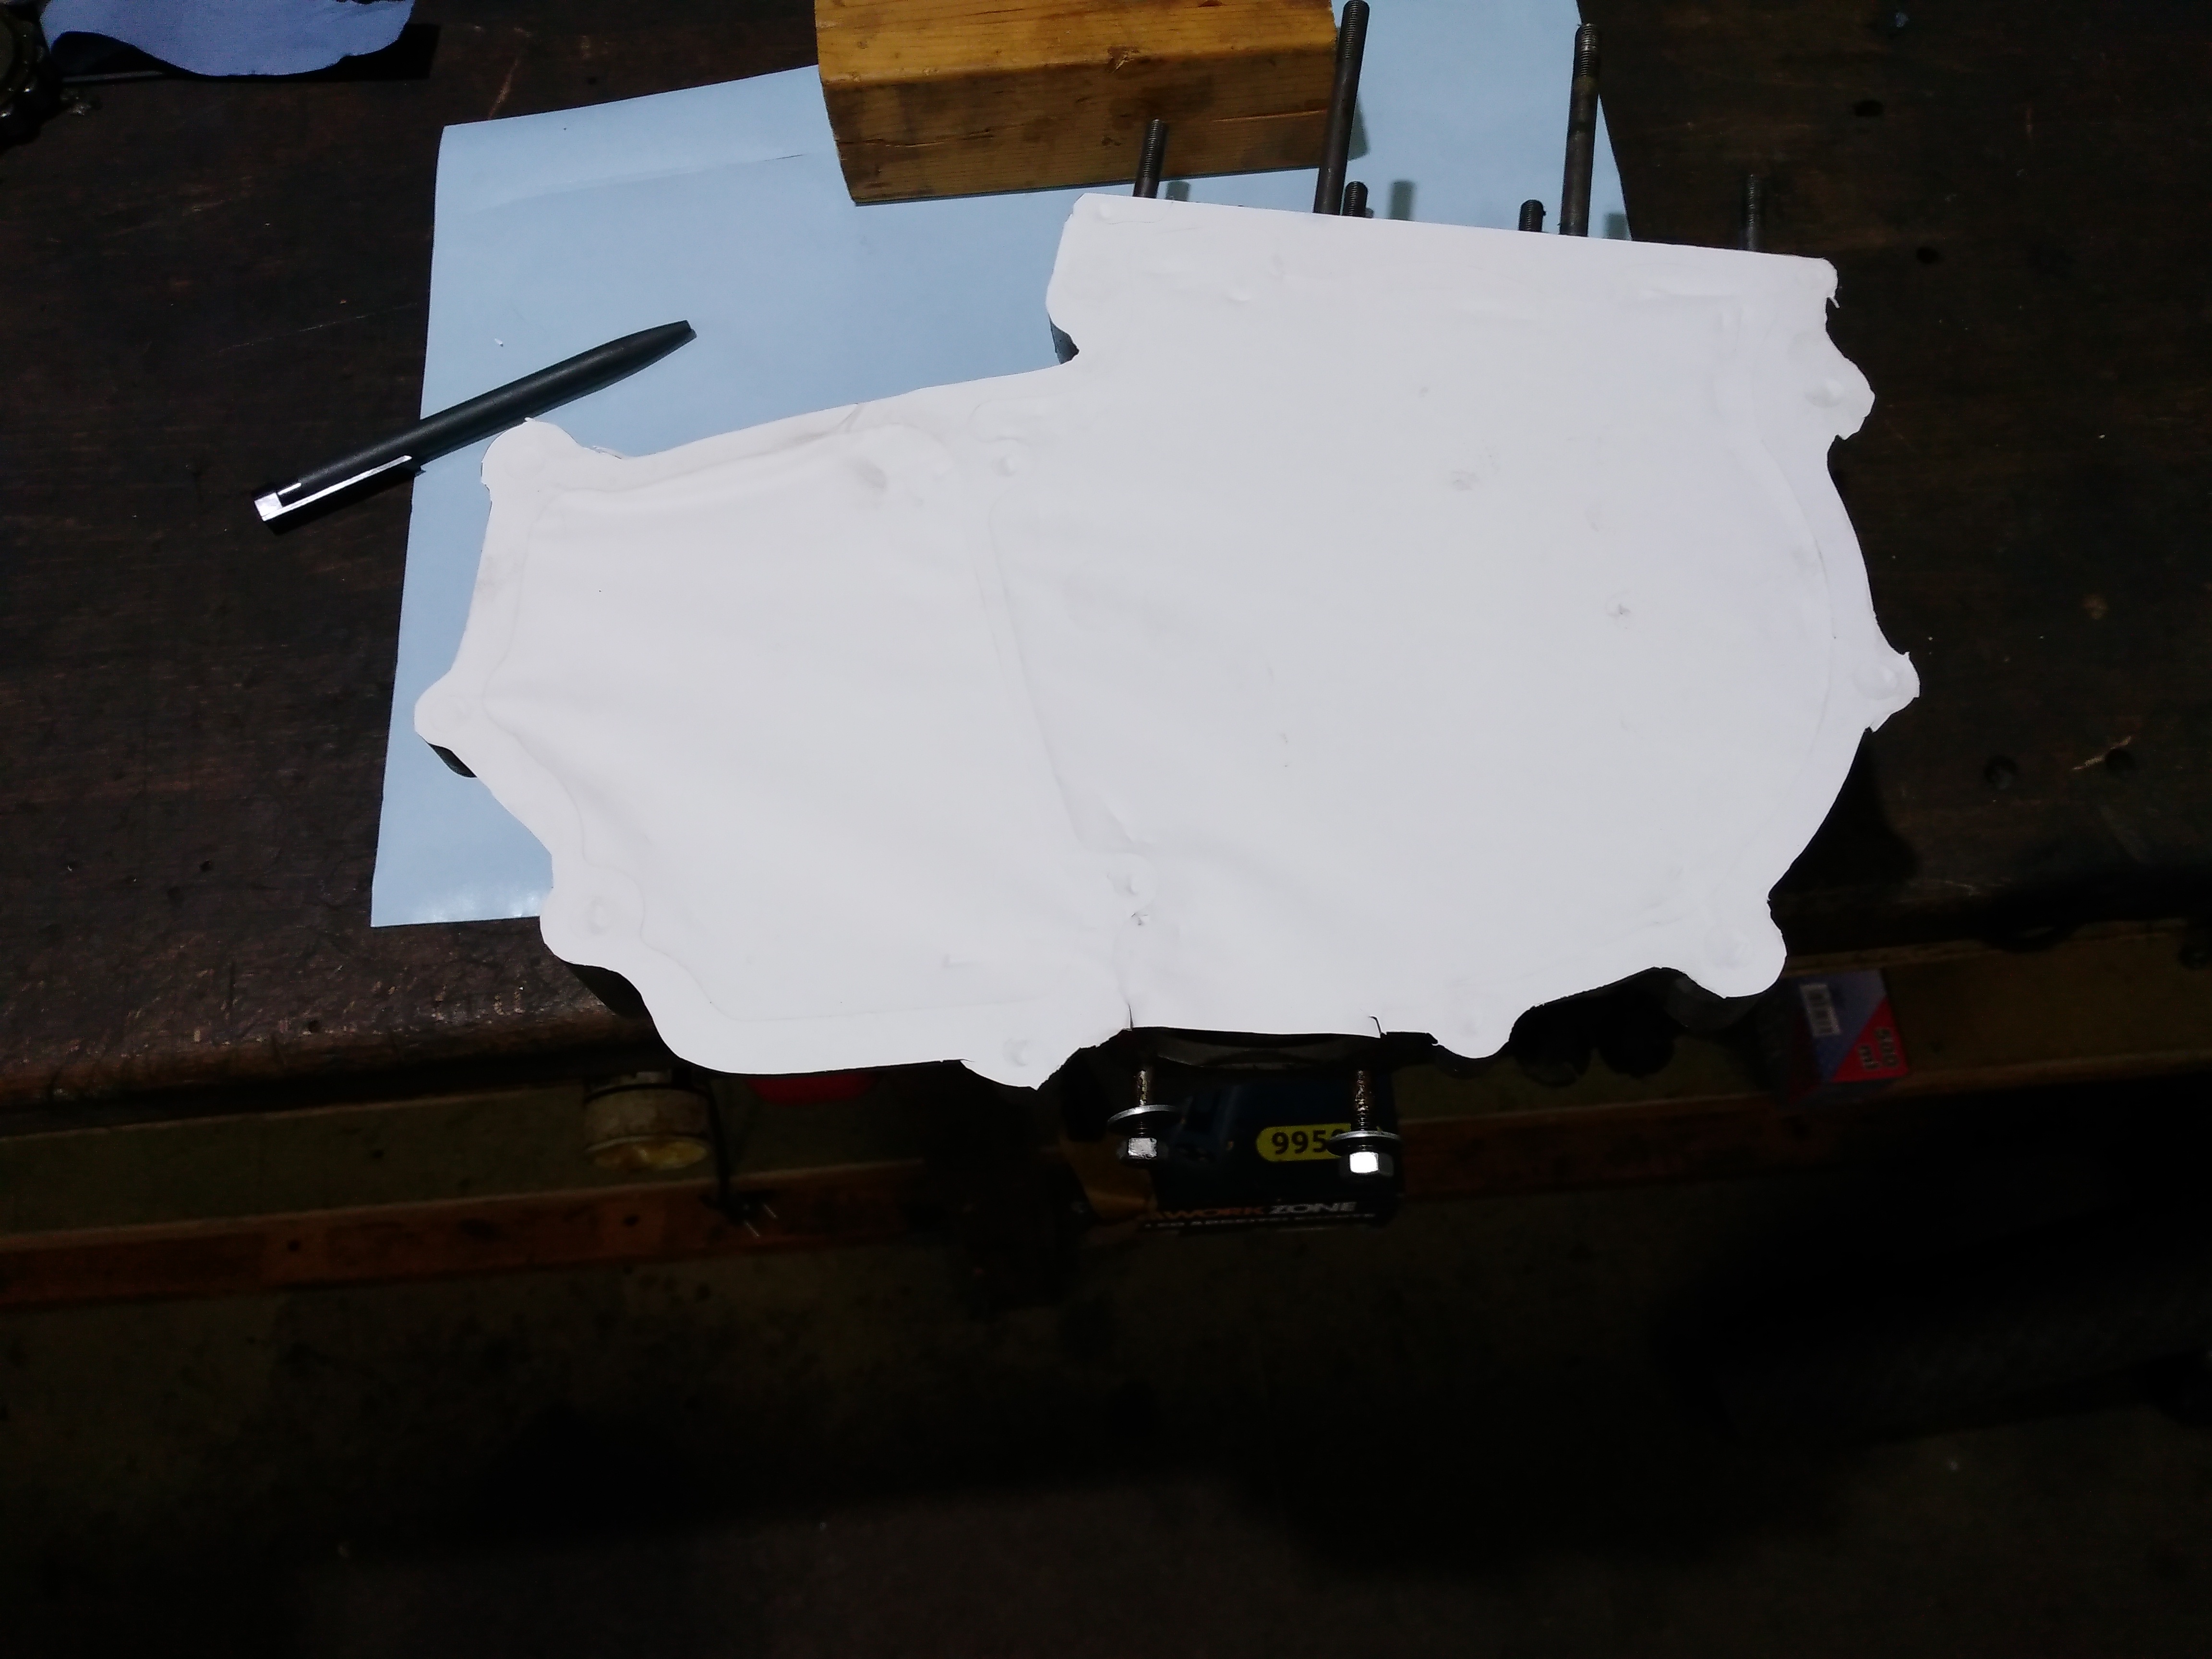
Then I cut out the inner lines and marked the holes for the bolts.
I placed the foil on my gasket paper also cut to match the outer shape of the engine housing.
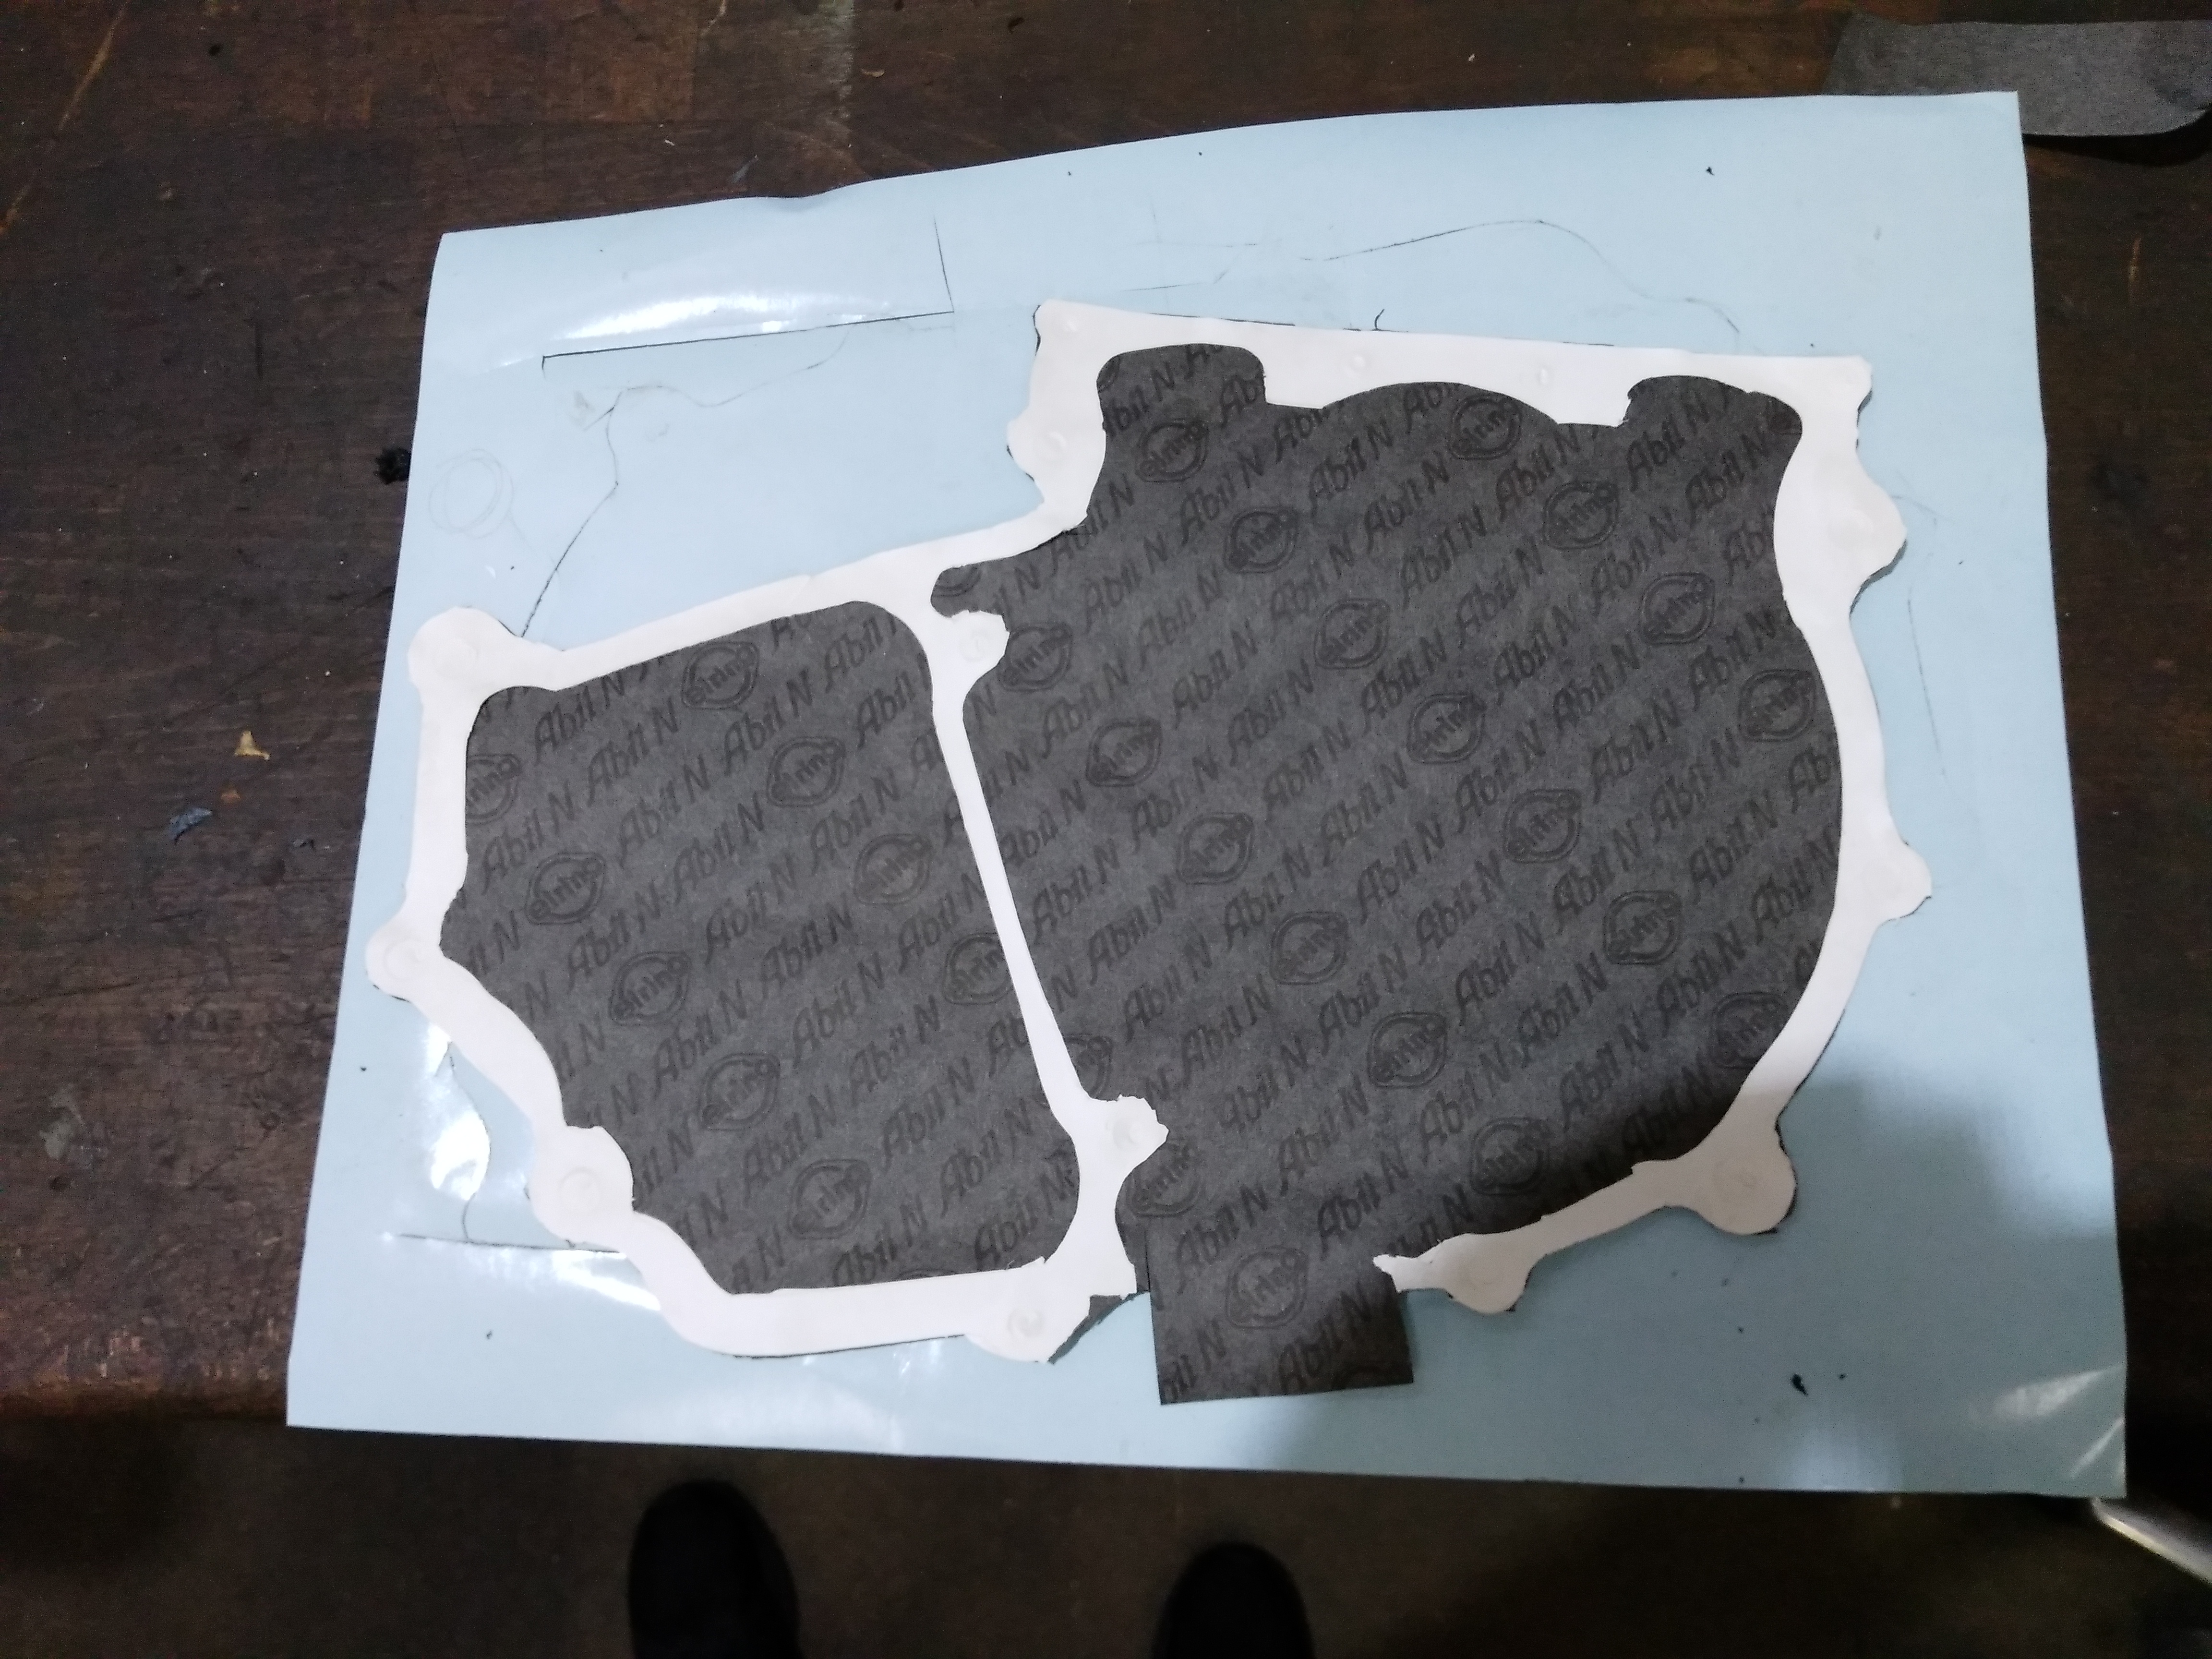
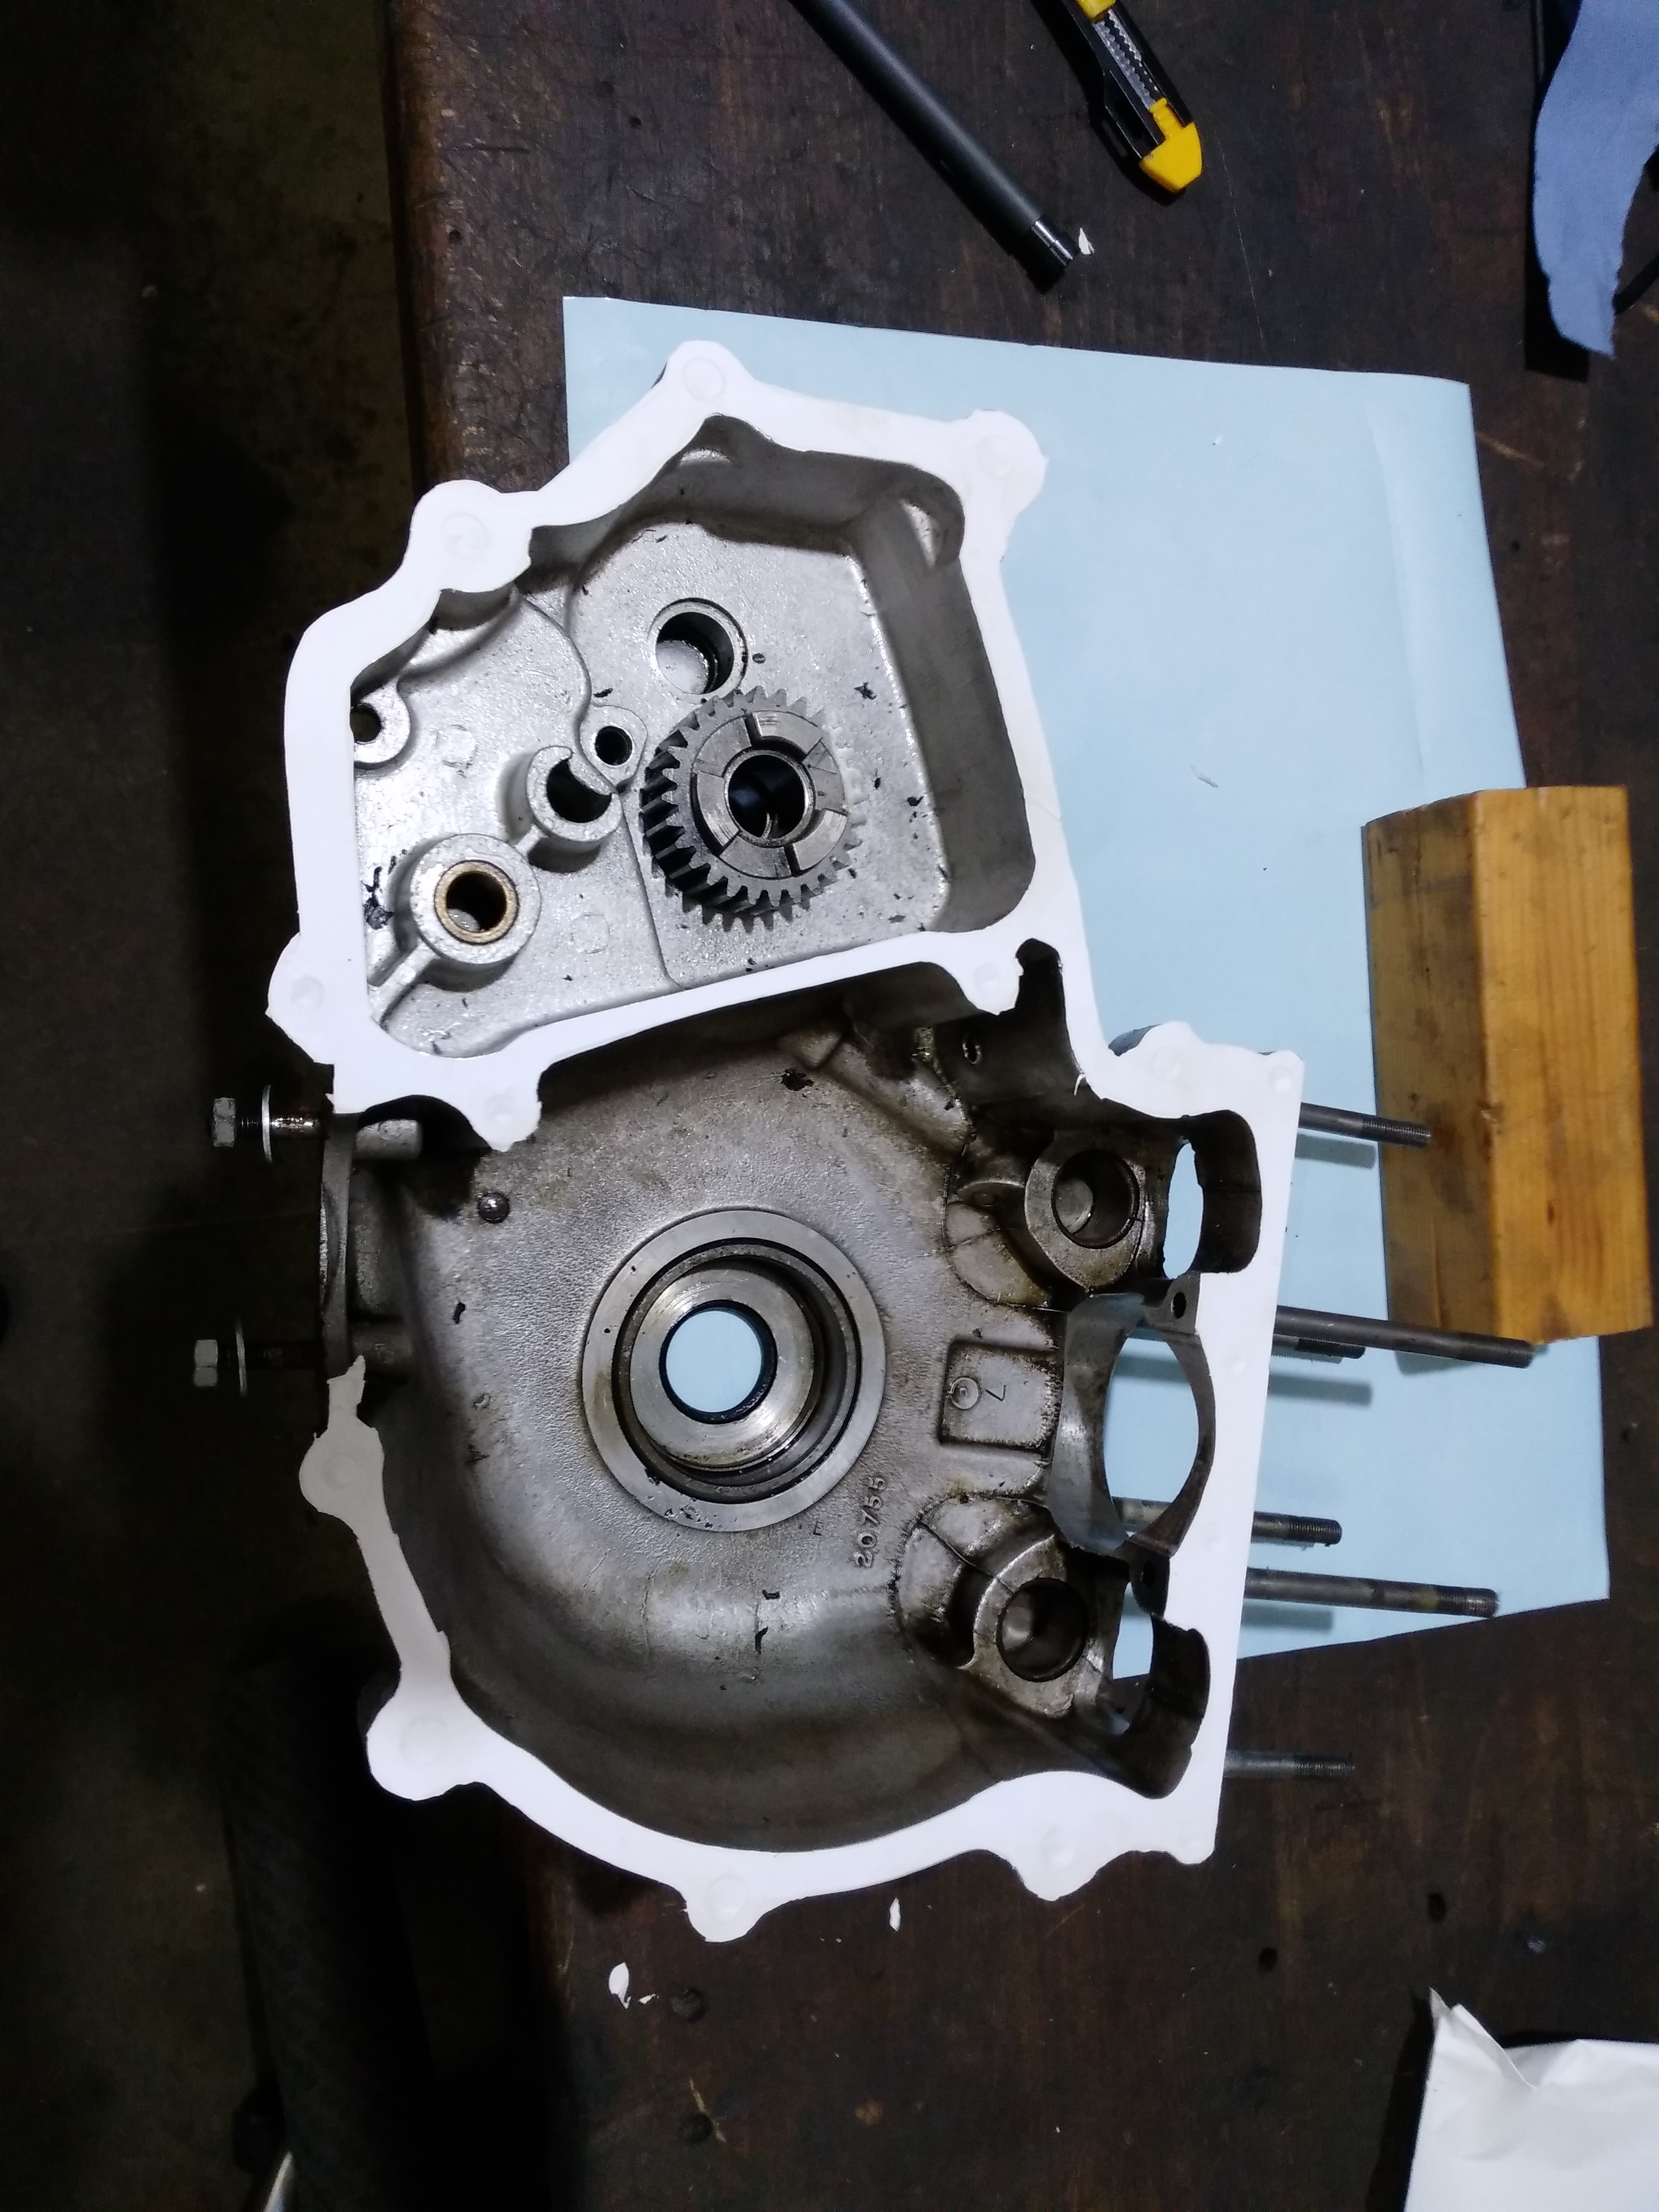
I punched out the holes and cut the paper with a sharp cutter.
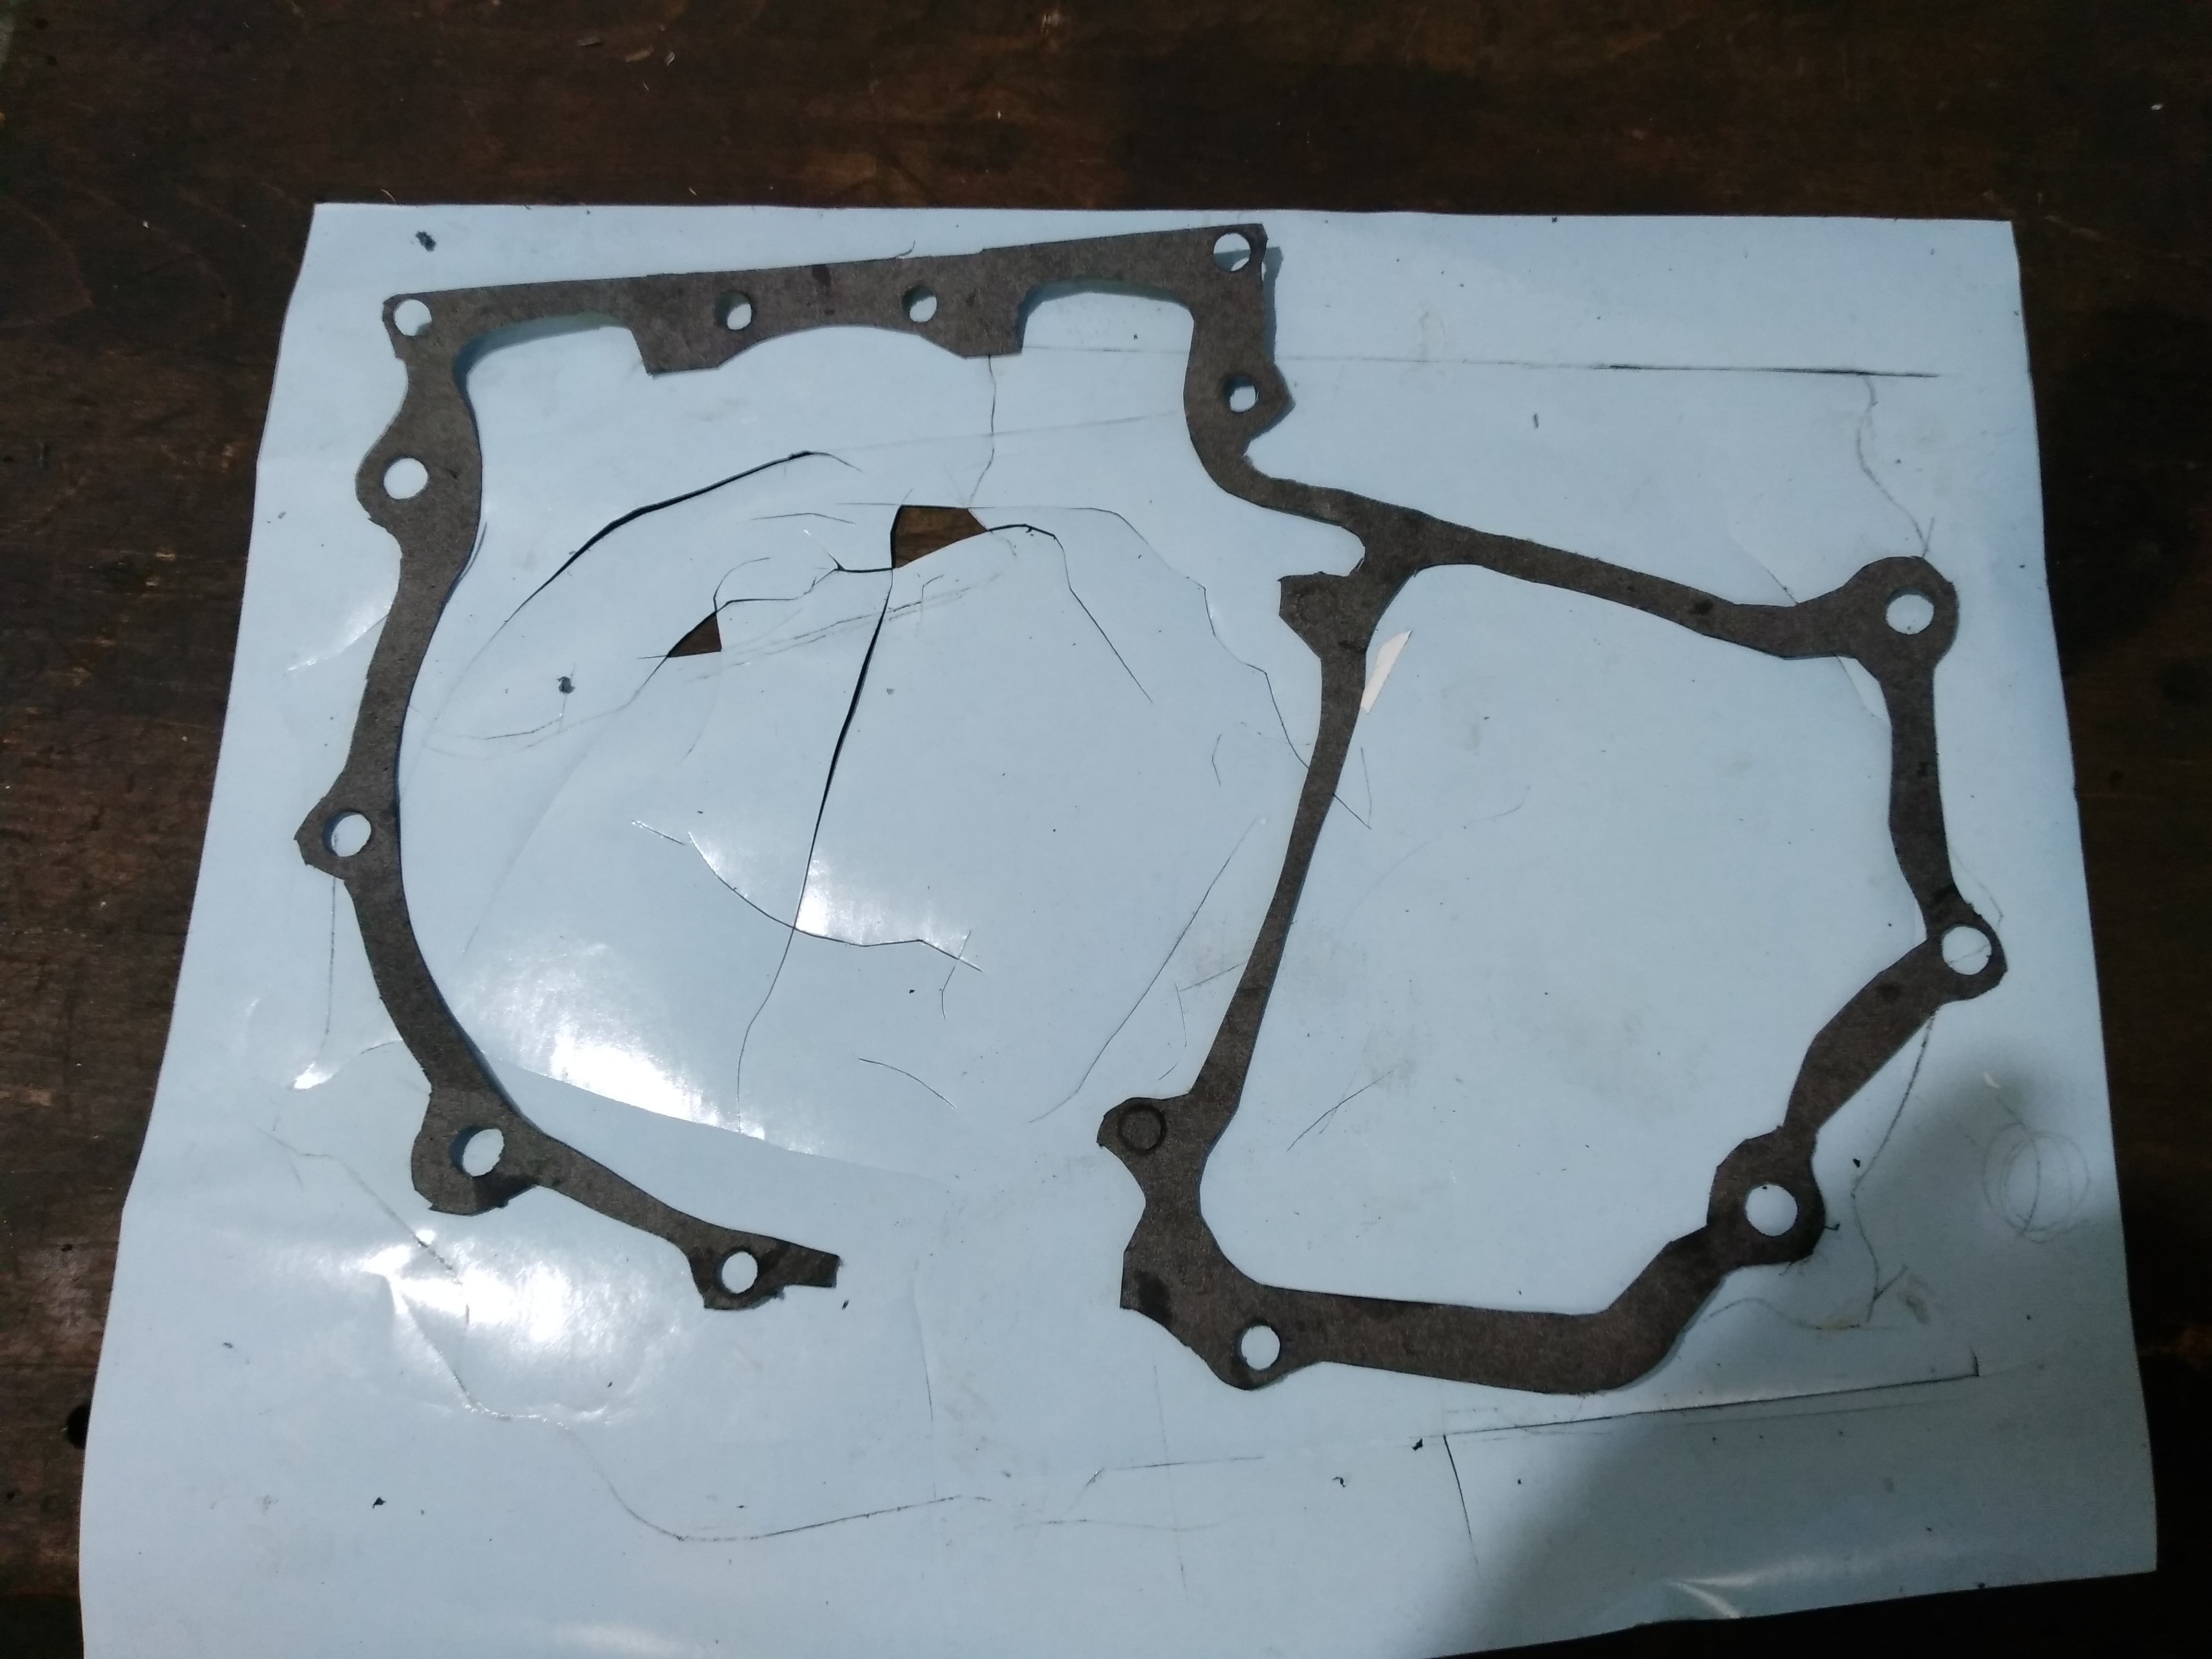
I finished the rounded egdes with sciccors before placing the gasket with additional sealant on the engine halves.
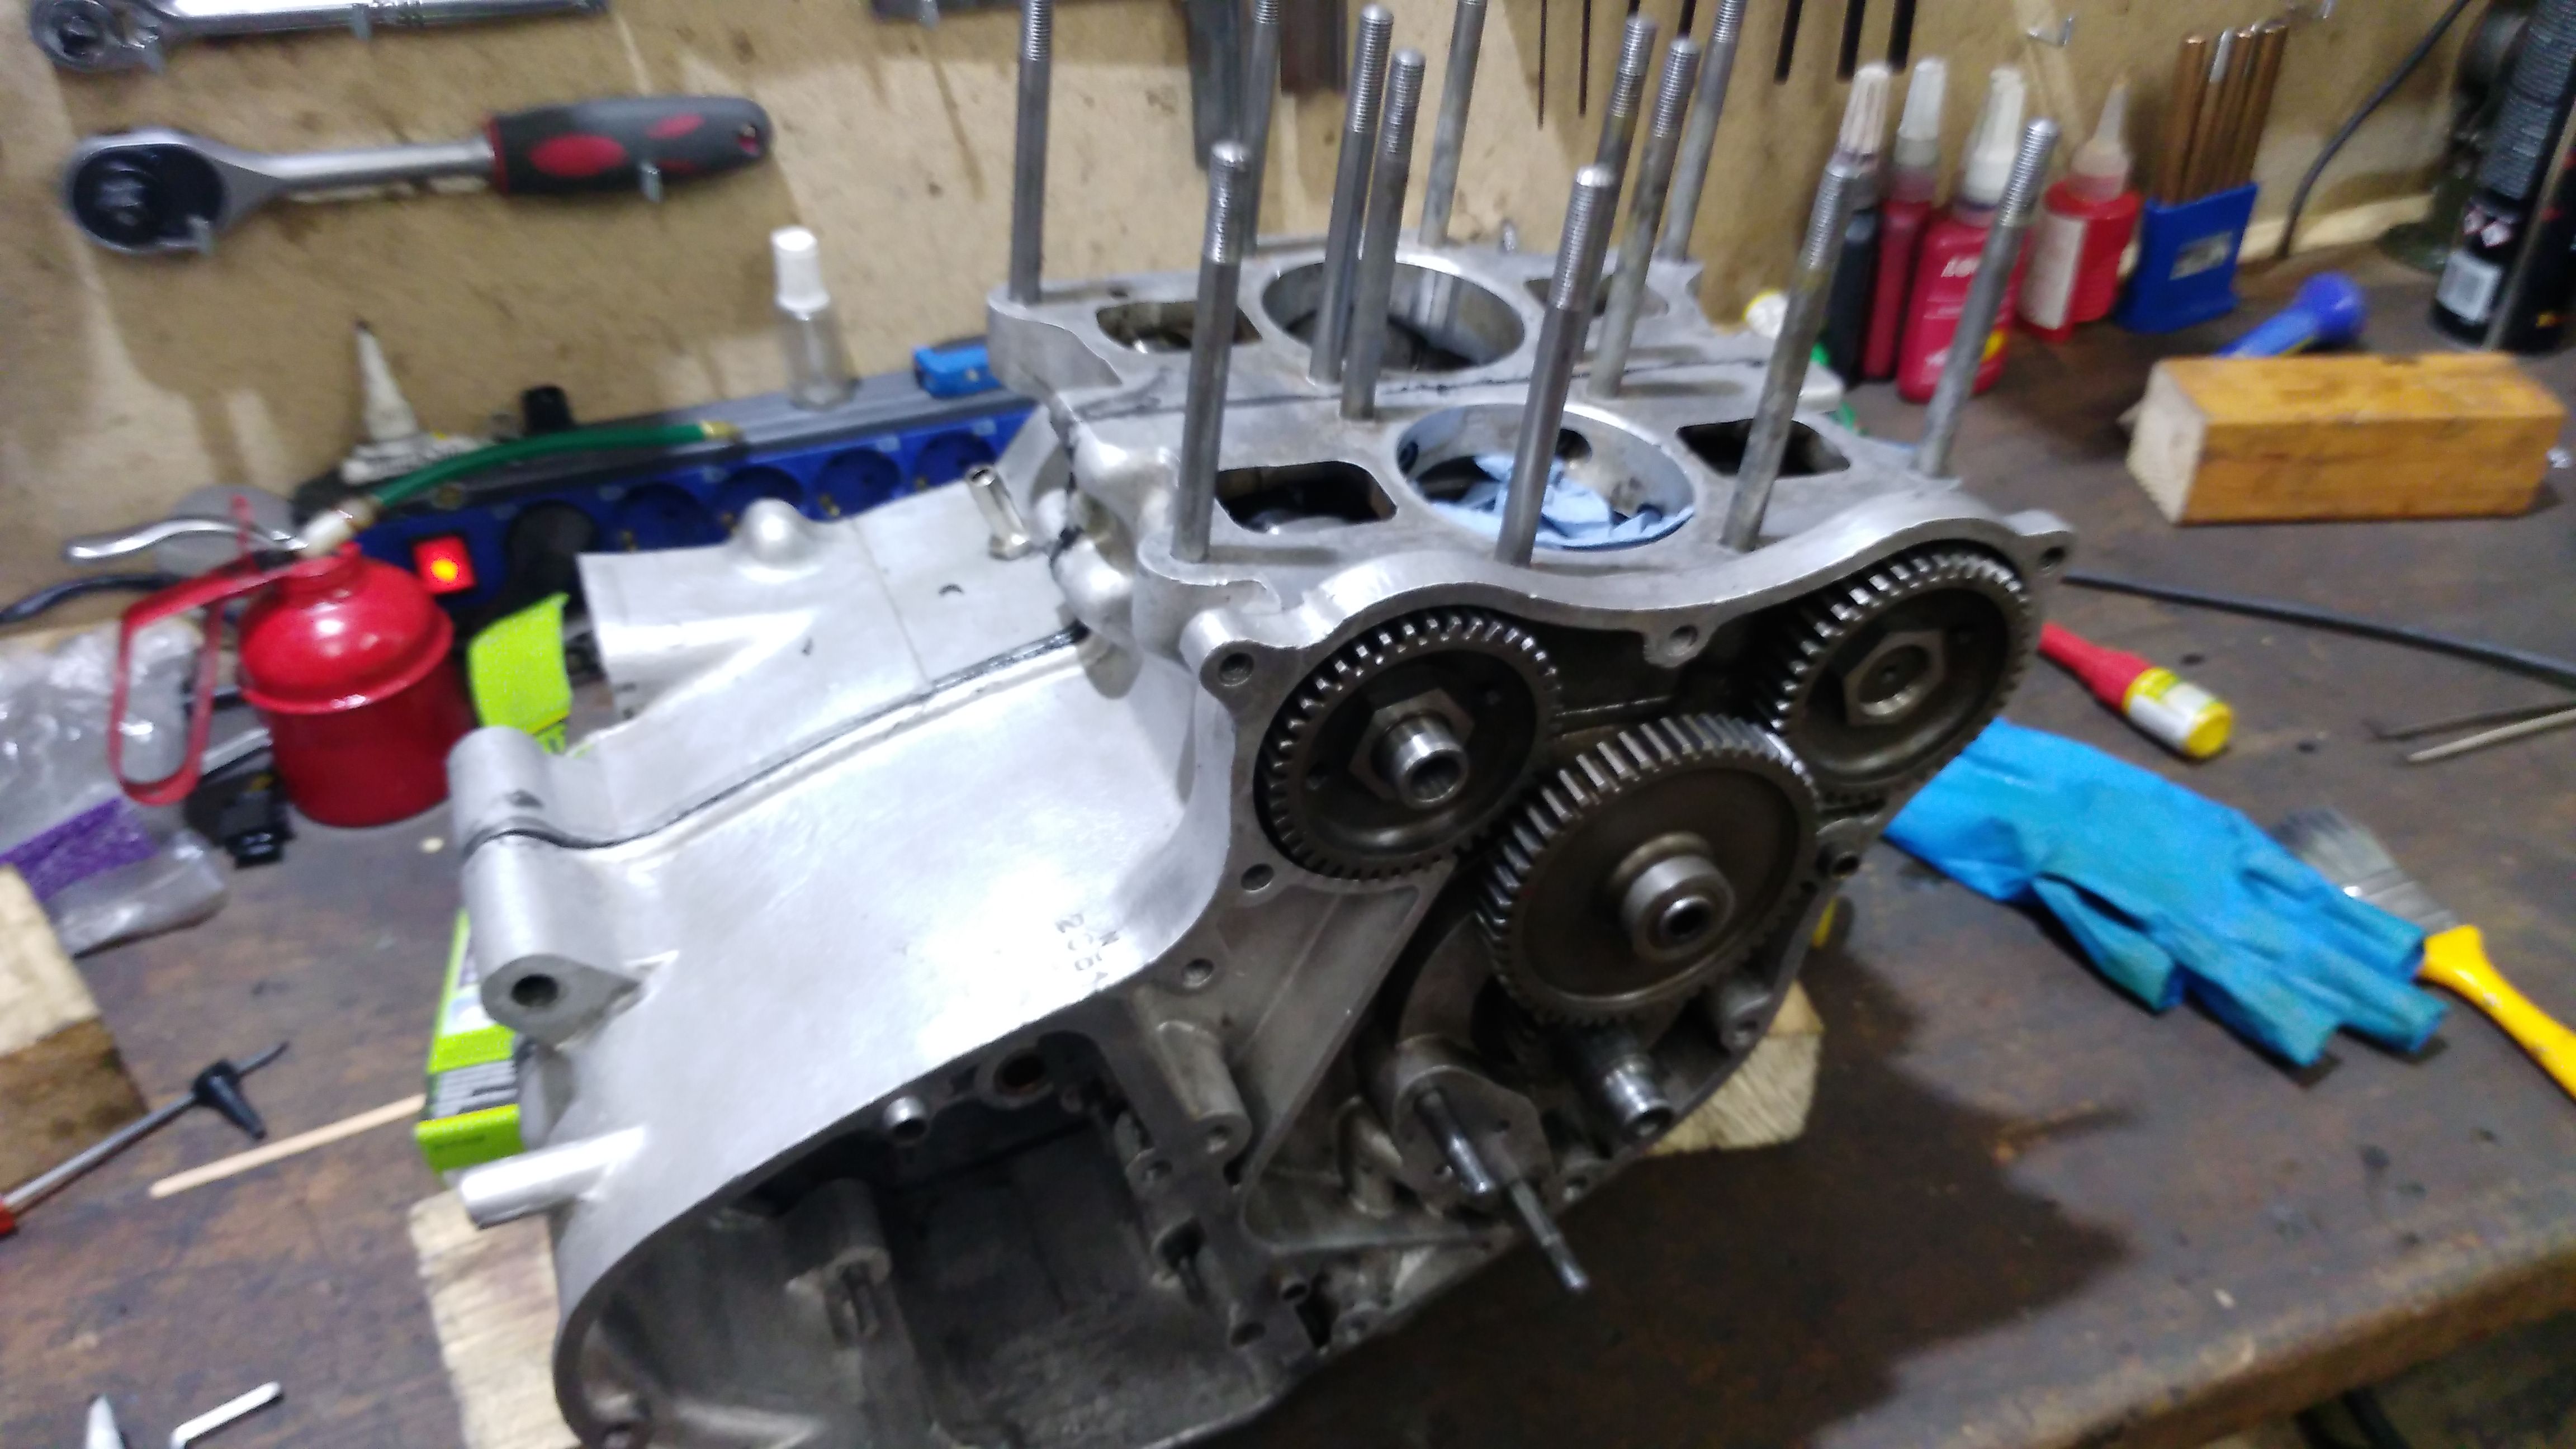
Crankcase is in, now for the correct timing , gearbox etc, etc.
- Log in to post comments
Neat and meticulous job as…
Neat and meticulous job as ever Ulrich, well done! Did you replace the cam shaft bushes in the end and if so where did you source them and how did you remove the blind / primary side bushes? I'm keen to know for when I have to recondition my engine in the future! Are you going to replace the cam followers or aren't they worn and noisy? Good luck with the rest of the rebuild - at least its well known ground from now on! Looking forward to success in the future! Nick
- Log in to post comments
cam shaft bushes
Nicholas, I left the bushes in place, they had tolerable play.
My friend Martin had to re-ream the bush for the layshaft he had made for me.
When in place it was too tight for the layshaft.
I spent the whole day fitting the gearbox. Everytime I torqued down the inner cover the box did not move. Ichecked for wrongly fitted sprockets etc, etc
I found out this evening the sleevegear bearing had moved out of place a little. Must have happened when I warmed the cases in the oven to remove the ring of the left hand roller bearing. I tapped the case to the ground to let the ring fall out. Then the sleegear bearing must have moved a bit out. Tapped it in place and now the gearbox is ready!
- Log in to post comments


Hello ulrich you have to make a paper gasket you can still get gasket paper on rolls yours Anna j