
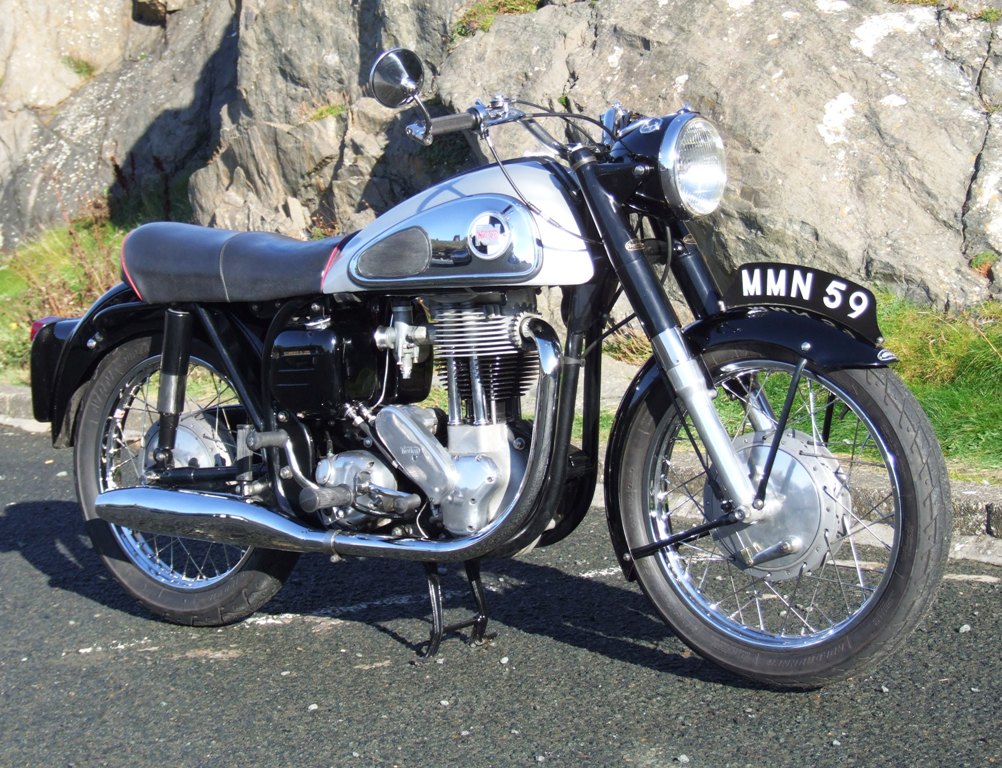
I have completely stripped (every part taken out and separated) my 1961 ES2 (Featherbed Frame). Every part repainted, plated or chromed.
Can anyone help me with the best procedure for getting the engine and gearbox back into the frame without damaging the paintwork. Should I put the engine in the engine plates first, or put the plates in first, etc?
I don't want to experiment with my lovely new paintjob.
Hi Richard - I'm sorry that…
- Log in to post comments
Thank you for this Richard. …
Thank you for this Richard.
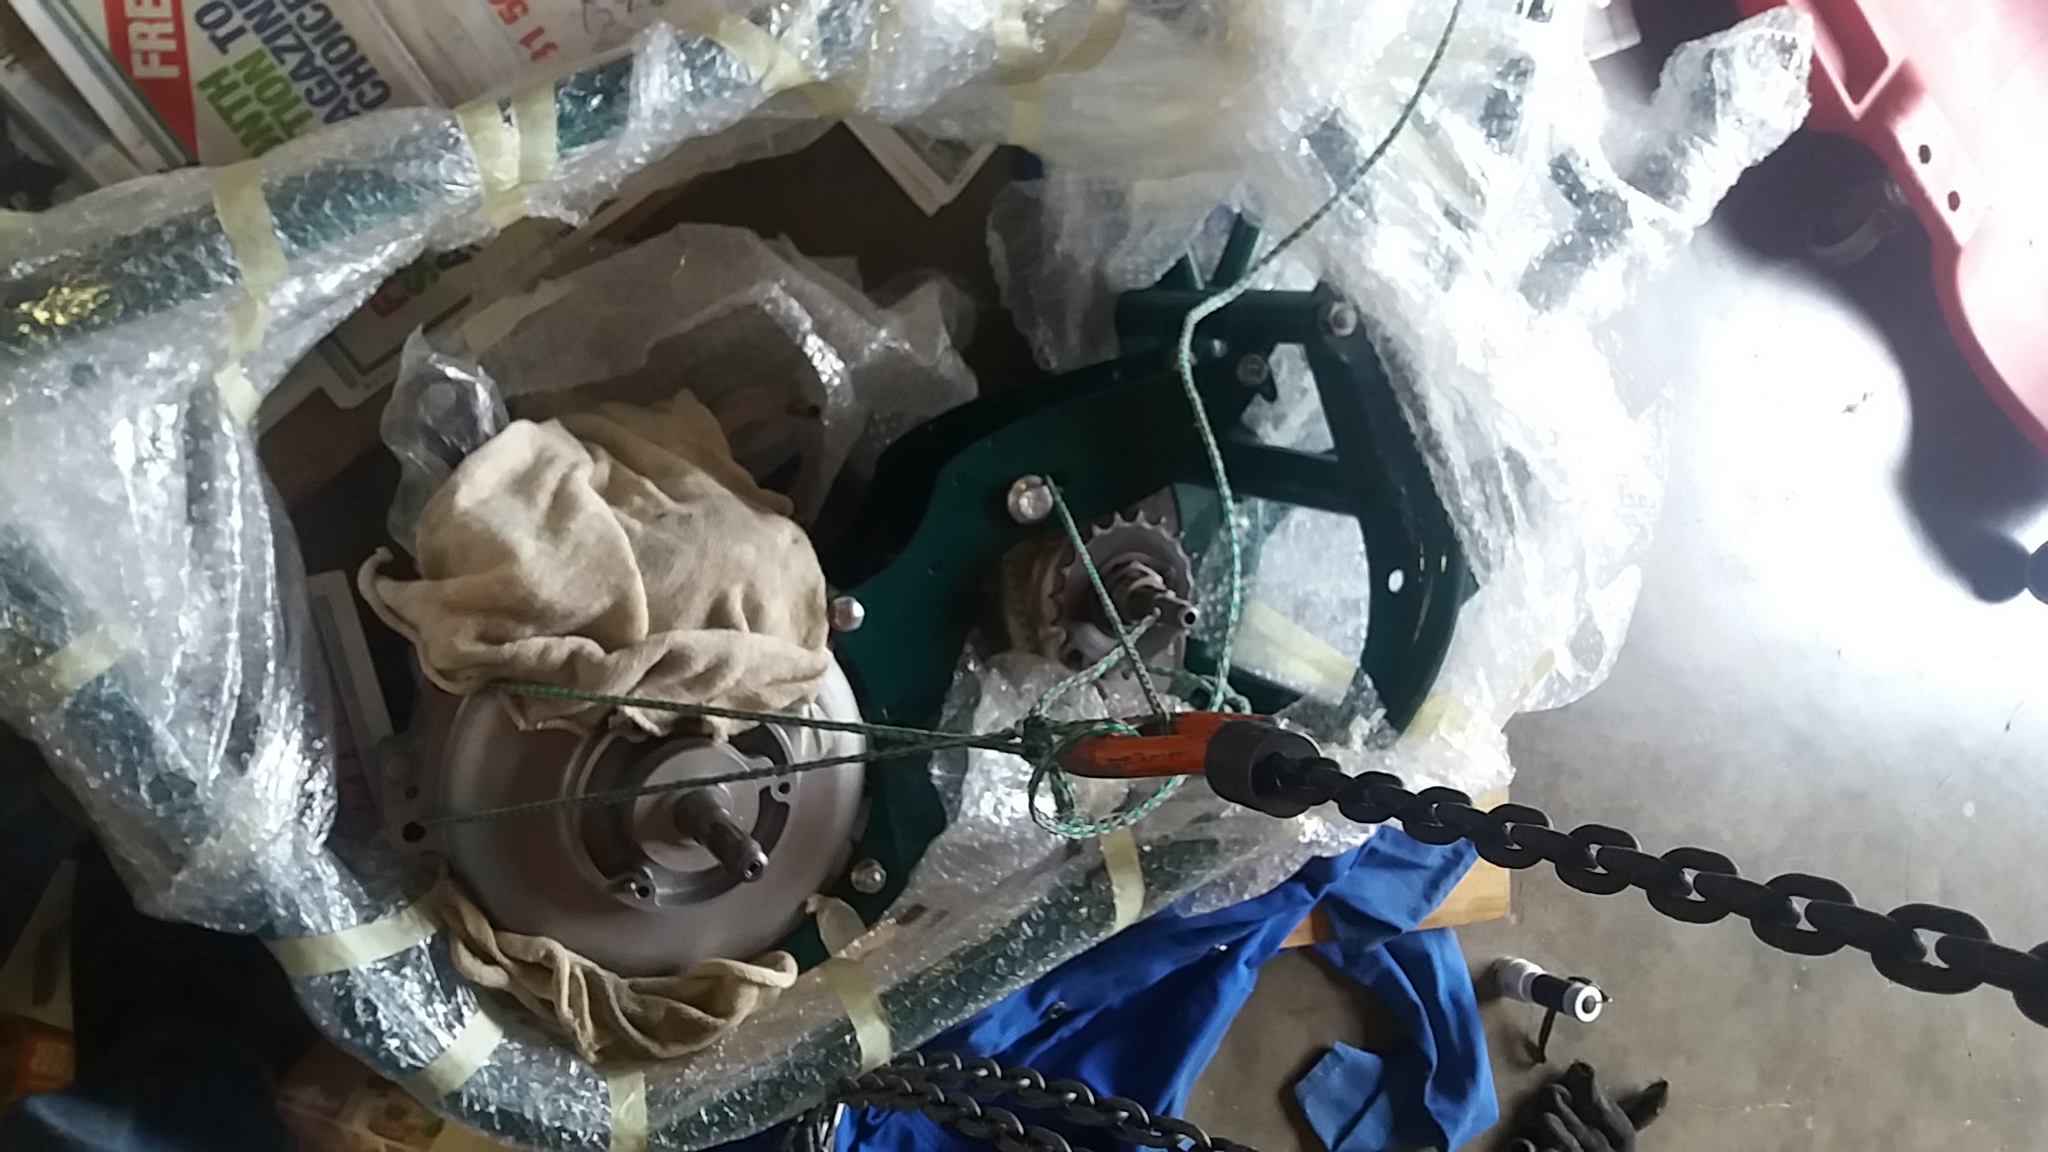
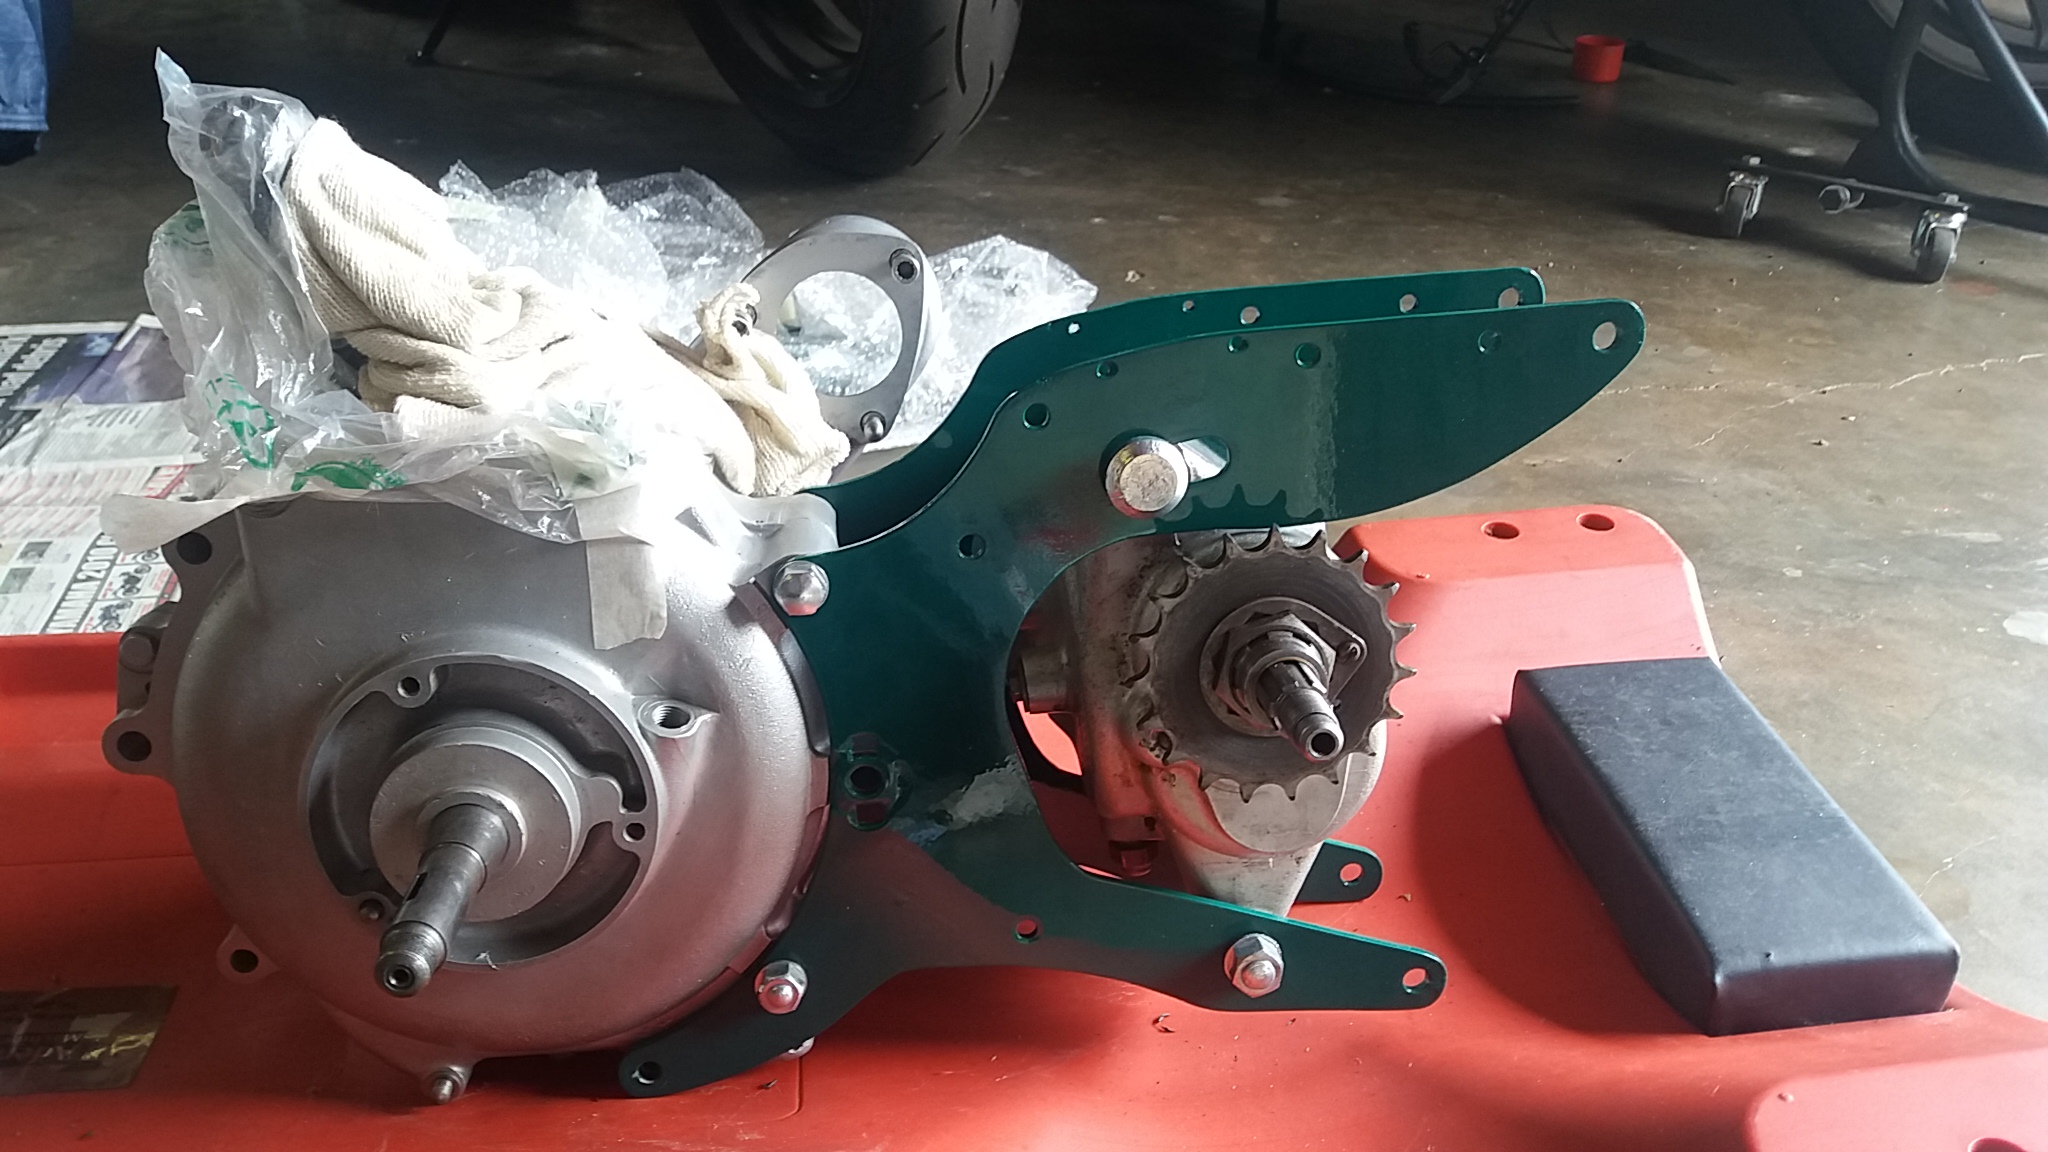
I will certainly send photos as soon as there is something worthwhile - at present it is just 40 odd bubble wrapped packages.
What I am particularly interested in, is the order in which it should go together. Should the plates be put in first, then the engine - what about the gearbox. Or should I fit the engine to the plates and try to put them together into the frame? How does the gearbox go into the scheme of things?
Is it easier with the barrel ( and head) on or off?
I know I could get it all done - eventually - but at what damage.
Any advice to the easiest and safest way would be appreciated.
Thank you
- Log in to post comments
I can't give you model…
I can't give you model-specific advice since I haven't had my 1961 ES2 apart. Yet.
What I can tell you is that when I put my newly-painted commando together I wrapped the frame in clean rags and zip-tied them in place. Regardless of how careful you are you're bound to bang something into something else and this will reduce, if not eliminate the possibility of chipping.
Can't wait to see pictures :)
- Log in to post comments
Which ever way you go about…
Which ever way you go about it - plates to engine first or plates to frame first it will certainly be easier without the barrel / cylinder head on. Just be certain you have enough room to install these afterwards between the top of the cases and frame above . Be certain to allow for any studs that barrel and/or head may have to be lowered over. This method sometimes complicates pushrod installation as well. If you go this route take care to protect the top end of the rod from getting knocked about the case mouth or other obstacles.
- Log in to post comments
Richard. How did you get the…
Richard. How did you get the engine and gearbox assembly out? All in one unit? What does your manual say? I have a manual which says that 'the engine and gearbox assembly is intended to to be removed from the frame as a unit'. One would assume it goes back the same way. Elsewhere it says 'it is not possible to remove the gearbox (from the frame) as a separate unit'.
- Log in to post comments
ES2 engine installation
Hi.
Loosely bolt the rear engine plates to the crankcase (minus timing case, pump and cams - keep it light) and the empty gearbox shell (except for the bearings, cam-plate and selector quadrant). Remember the plates have to be spread to clear the outside of the rear mounting lugs. Don't forget to loosely fit the sidestand lug if you have one. If the centre-stand is already fitted undo the bolts as far as is practicable. Leave the front plates off for now but fit the lowest front crankcase/engine plate stud in the cases. Place an old towel on the bottom rails of the frame. I usually tie a bit of cord, to help lift, through the front top crank case mount and lift the assembly into the frame (watch that front engine stud) resting it on the towel and fit the rear top engine plate bolts. Lift the front and pull out the towel as you are fitting the front engine plates (fit the cover later). Then fit the bottom rear engine/frame bolts, then the bolts that go through the middle of the centre stand bolts to the engine plates. Now you can remove the top two front engine/frame studs and fit the cover over the front engine plates. Don't tighten everything up absolutely solid - that's best left until you've got the top end assembled and the head steady on. It's easy enough single handed (if you've done it before) but having a helping hand makes it a breeze.
Cheers.
Ian.
- Log in to post comments
Hi RichardI assume you…
Hi Richard
I assume you have a slimline frame, I recently put my M50 + gear box back in the frame, and found the most useful thing a small pully block, to enable me to lower the engine fully assembled (minus carb) through the frame, and then fit the plates, gearbox to the engine/frame, using the pully block for fine adjustment if required.
Don't forget to fit the bolts through the holes in the centre stand pivot to the rear engine plates before fitting the inner chain case !...………..Good luck
Regards John O
- Log in to post comments
Re engine install
I've not done it on my ES2 yet, but did it on my Manx. Beeing similar (except cambox), install should be the same. I was alone doing it so paint scratches will appear. Ideally you need to be three, two for lifting engine in place and one inserting screws. I did it by placing engine into the frame and then with a lot of fiddling got plates and gearbox in place. So it is possible to do it that way. But the way Molnar does it seems easier. https://www.youtube.com/watch?v=J5VYuYNli3E
Good luck
Mike
- Log in to post comments
its been mentioned before on…
i think its been mentioned before on the site but cant remember who said it. place engine on its side and carefully lower the frame over it . bolt up and raise the bike. all resting on some padding of some sort
Barry
- Log in to post comments
ES2 engine installation
Thank you all for your advice.
It is a wideline frame, so it should be quite easy to drop it in from the top.
However, I remember that when I tried to lift the complete unit out, the rear engine/gearbox plate fouled the frame.
I loosened the plates, wiggled the gearbox out sideways and then took the rear plates off. Then it came out easily. I used an overhead pulley system. As it was a year ago, that's my memory but I may be wrong.
I think I will go the same way, using the pulley system and just lower the engine/gearbox assembly without the front plates.
I'll keep you informed of progress - if any.
Richard
- Log in to post comments
ES2 Engine instalation
Hi Richard
I am surprised your frame is a wideline, My 1960 M50 (Oct) is a slimline
- Log in to post comments
Slimline/wideline
Hi John, you are correct, it is a slimline.
I inadvertently wrote wideline as i was thinking of my '57 Dominator at the time.
I don't think the engine will go in from the top, it's too wide.
I will try the idea of lying the engine on its side side and lowering the frame over it.
Thanks,
Richard
- Log in to post comments
Thank you all for your…
Thank you all for your advice.
I followed the advice of Ian Allen and Barry Carson.
I fitted the engine (minus barrel and head) and the gearbox into the front engine plates and lifted the assembly, lying with the left side up, on a hoist.
Then I laid the frame on its right side on the ground and carefully lowered the engine assembly into it. With a hoist very well controlled small movements can be made, and it all went in with no trouble at all.
I fitted the two top rear engine mounting plates to the frame, then fitted the two front engine mounting plates.
No scratches, no trouble at all, no helper.
Richard
- Log in to post comments


Hi Richard - I'm sorry that I can't advise on the order of assembly as my ES 2 is a plunger model . I would suggest that it may be wise to lightly assemble one way or other and check the clearances for the next step - I found that very careful and judicious use of paint remover was necessary in order for all to fit together again. High build primers and layers of paint can add considerably to the thickness of plates , change distances between mounting points , etc.
Of course protective tape masking of surfaces will help providing you can remove said tape after assembly. Foam pipe insulation ( the type with the axial slit ) is handy for protecting frame tubes , etc.
Lastly get help - another pair of hands can lift , support , insert etc.
Perhaps other members who have gone the Featherbed route can better advise on assembly order ( I've got one in the que but have not gotten to it yet )
I hope this has been of at least marginal help - keep us posted and posting pictures is always welcome . I love to see other people's work.
Cheers - Richard