
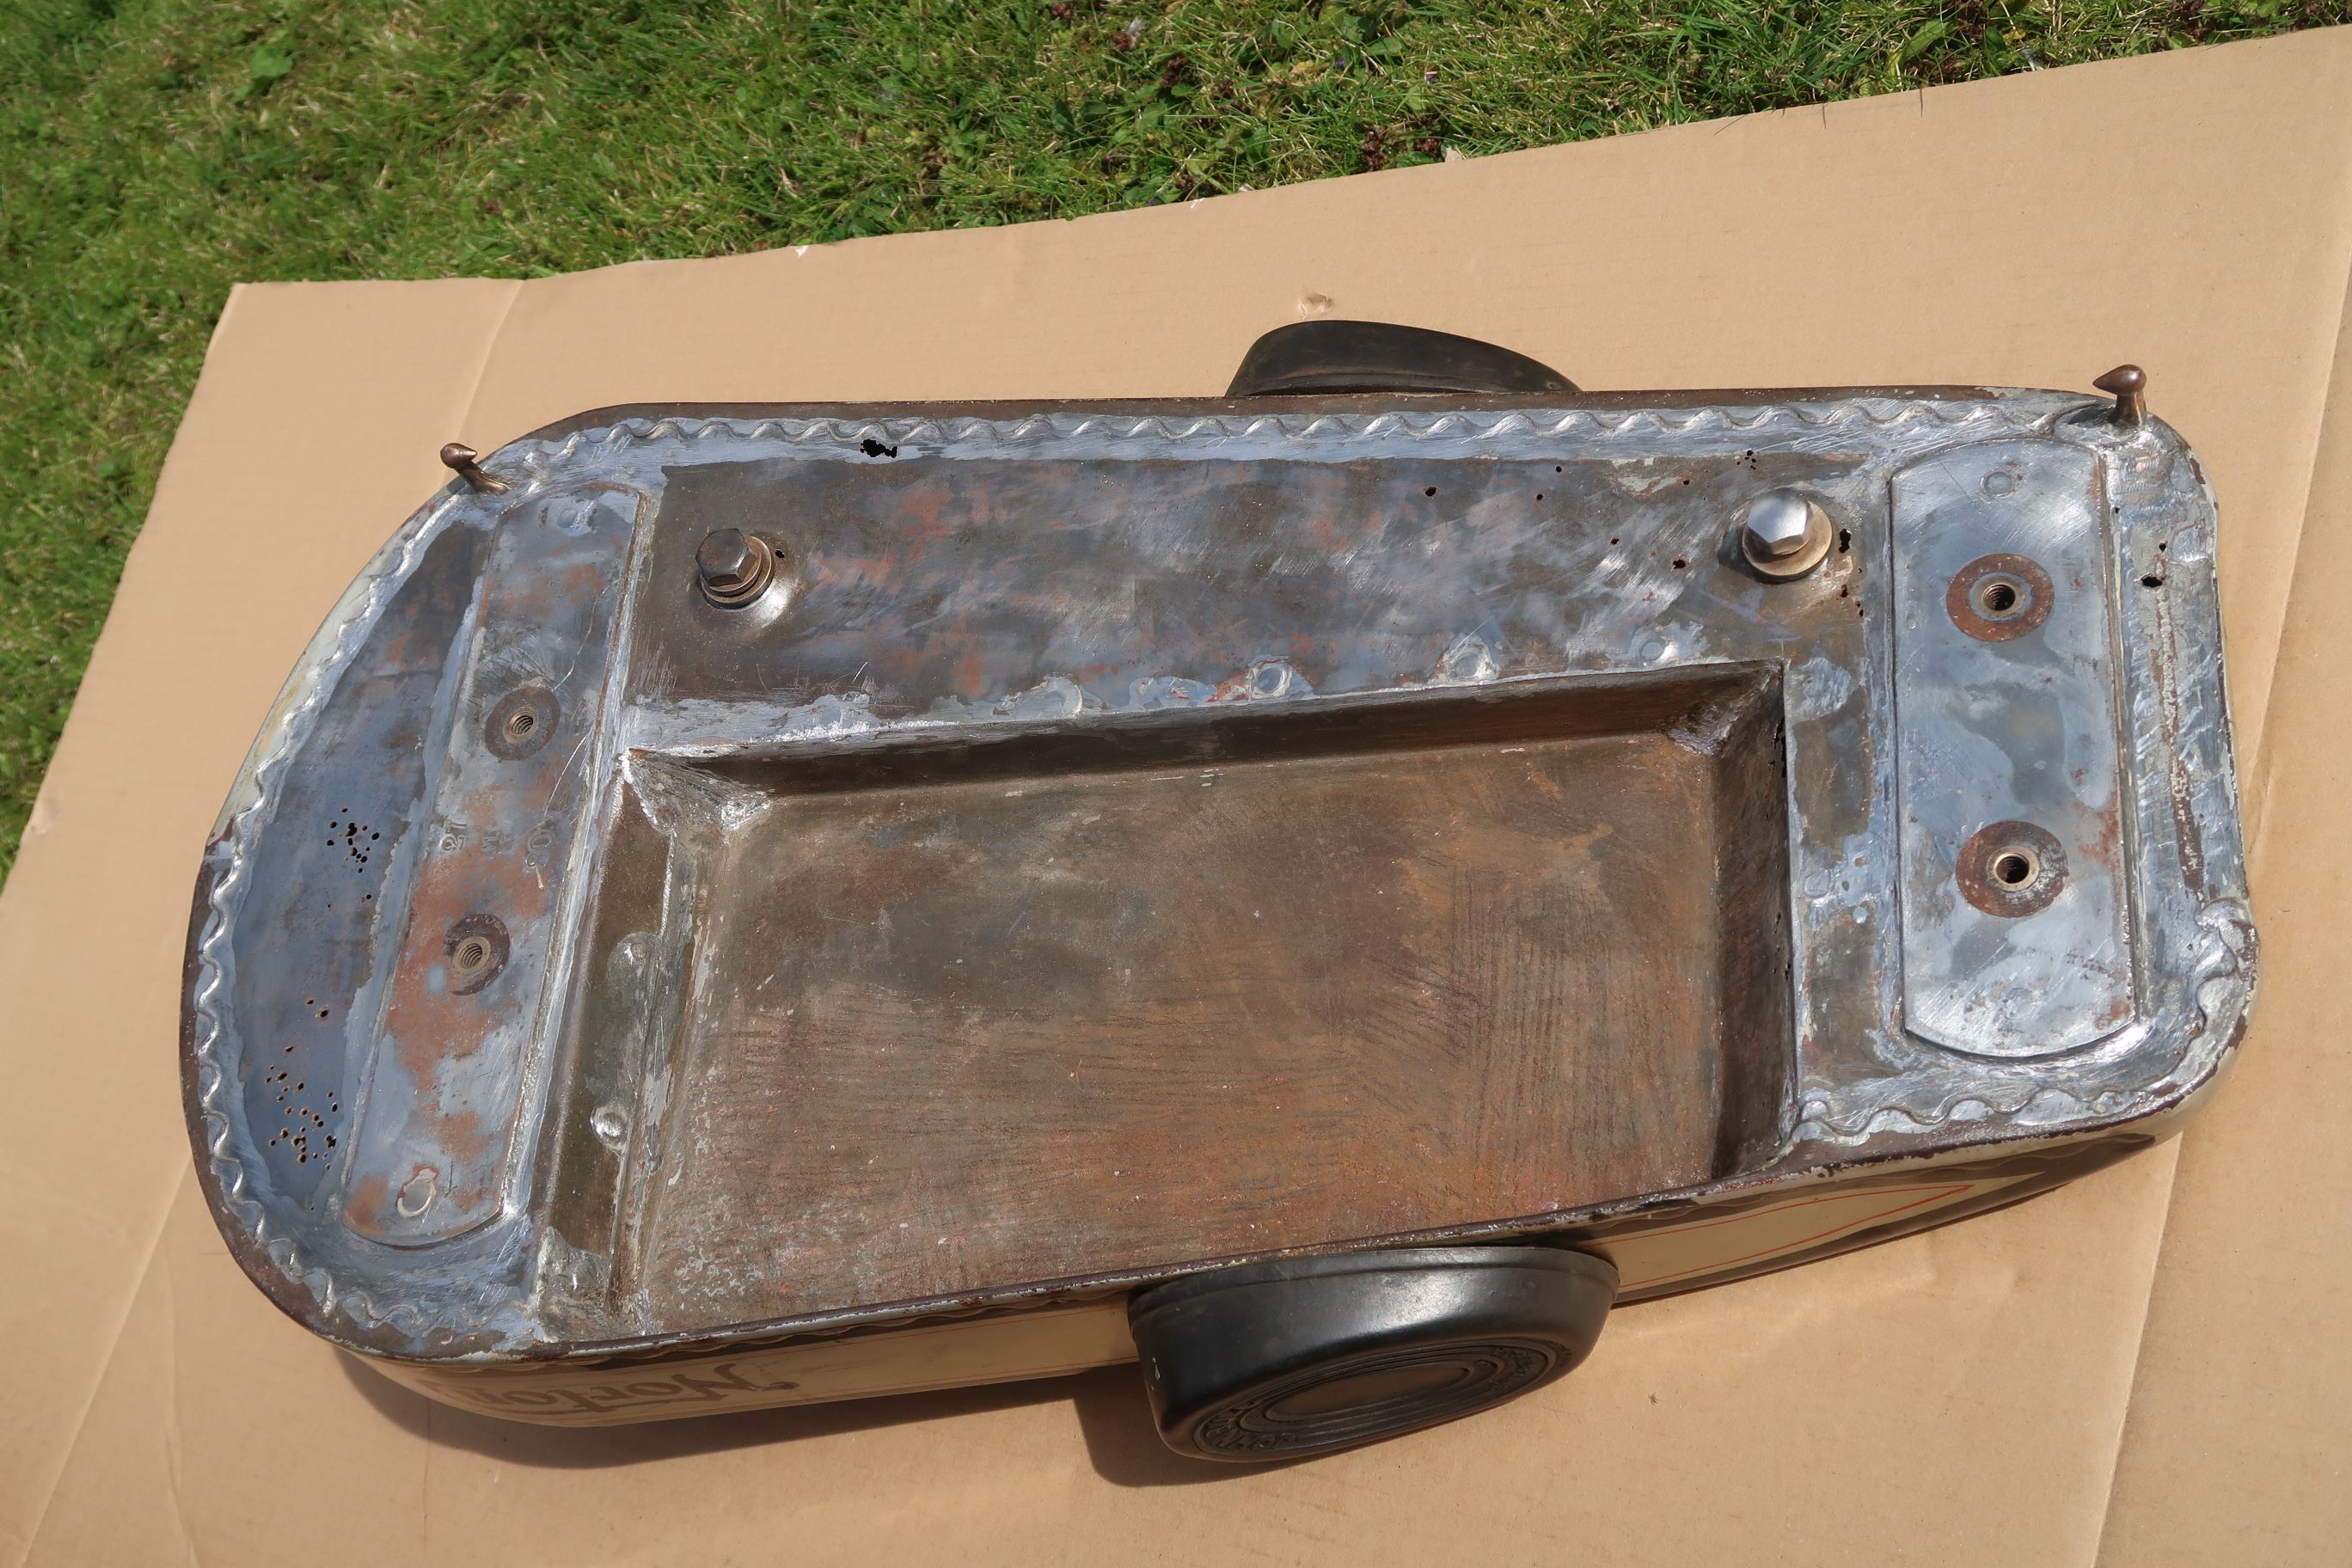
I have to undertake some repairs to the bottom of a 1927 Model 18 petrol tank. This is to repair about 40 pinholes and some larger holes, some near the existing soldered joints.
Can anyone advise what solder was used in the original manufacture of these tanks so that I can try and get some solder with a lower melting point to make the repairs?
Philip
Solder repair of a tank
- Log in to post comments
I'd be using an old…
I'd be using an old fashioned copper headed soldering iron and a blow lamp or gas ring to heat it up. Just had a quick look on Ebay and there are lots of vintage irons for sale.
Cleanliness is paramount for good soldering, if you can't see bright metal where you are going to solder, then it's not clean enough. This may be a problem for you with the 'pin holes' as the metal will be extremely thin where it has corroded through and by the time you have abraded it to get back to shiny metal the pin hole could be several times the diameter! If you find the pin holes turn into lace, then you may have to solder a thin plate over the affected the area.
I agree with Peter above and would use either bar or wire solder from a plumber's merchant, but I'd change the flux to 'Baker's Soldering Fluid'. If you plate over the affected area, the gap between the two parts must be kept as close as possible as the solder will only flow by capillary action and looking at your tank, I'd be using a plate rather than trying to fill in the holes.
- Log in to post comments
Take care. Modern solder is…
Take care. Modern solder is always lead free, with much higher melting fixed point and little or no plastic range of temperature.
I don't know if it is compatible with old solder or not but from what I have read it might not be.
Lead-tin solder is still available from modelling suppliers or look for old stock. Model shops sell a variety of low melt sliders. Some are seriously poisonous cadmium based. Again they might not be strong enough, and will be costly.
- Log in to post comments
You can buy normal leaded…
You can buy normal leaded solder from most plumber's merchants - it's used on gas and heating pipes (no need for lead free here). About a fiver for half a kilo.
- Log in to post comments
It's illegal to use lead in…
It's illegal to sell lead solder commercially in the EU except for military and aerospace applications. And lead free has led to huge costs for us all, as well as lower reliability because it suffers fatigue cracks on circuit boards due to temperature changes. You are not allowed to sell products with lead in solder. Good luck looking for it at your local plumber's merchant. You should find it on the web as it is legal for non-commercial applications, such as private model making. But it is then against the law to sell it! Luckily such a law is practically unenforceable. There's lots of internet chat on the topic, mostly shedding more heat than light.
- Log in to post comments
No problem getting leaded…
No problem getting leaded solder on Ebay, I use it for electronics after too many failures with lead free solder.
- Log in to post comments
No problem getting it from…
No problem getting it from my local plumber's merchants either, illegal or not :)
- Log in to post comments
Leaded or Unlead
Saw the above comments re leaded/unleaded solder and just to add my two pence worth.
I would recommend wearing a mask if you are doing a big soldering job with any type of solder. Fluxes are corrosive and as you can imagine so are the fumes. Lead poisoning is a slow and cumulative process, however, the effects of breathing corrosive fumes causes a much quicker reaction and over time is probably just as bad for your health. So whichever solder formulation you use a mask is advisable, even the disposable 'dust mask' type as they will filter out some of the nasties before your respiratory system is affected. It's also 'advisable' to wear gloves as the nasty metal components of solders (lead, cadmium, tin etc) can be absorbed through the skin and of course liquid or paste fluxes can cause chemical burns/nasty itchy skin conditions too, and you don't want that either.
I know "teaching your granny to suck eggs" etc.
John
- Log in to post comments
Solder melting points
Thanks everyone for your words of advice, about solder and fluxes. I've always undertaken my own soldering for control cables, copper pipe household plumbing etc and pre-tin everything where possible, so am practiced in normal soldering. With the flat tank I only get one opportunity to get it right!
I've found some info on solder properties, which I've attached, so will choose a low melting point one with lead in. Perhaps I'll ask at my local plumbers merchant what the melting point and the composition of their solder is, that make them scratch their heads!
Phil
- Log in to post comments
Just be careful with some fluxes
Greetings,
Just be aware:
http://ehs.whoi.edu/ehs/occsafety/LeadSafety.pdf
https://www.bowersautomotive.co.uk/Safety-Data-Sheet_0-664-25.pdf
http://www.johnsonmfg.com/2015/HWhtml/ZCFS3.htm
Any Zinc chloride based flux will need washing off as the base is Hydrochloric acid (HCl). Even in low concentration, HCl corrodes anything ferrous and will attack even 316 SS given time.
Just take care and you should be fine.
Rgds Steve
- Log in to post comments
Soldering
I hate to be negative but... hang on I’m from Yorkshire,I love to be negative.
I would say some of your repairs are beyond lead filling.
In an ideal world it wants a new bottom ( lots of work), or you could patch some of the worst.
Your other option is to line the tank with ethanol proof liner. I know that may sound like sacrilege to some but if the tank is as thin at the bottom as it looks it is a cheaper option and it does work. Just tape up the holes prior to filling and swilling around the tank.
yes it makes the inside of the tank white but it will not wreck your paintwork.
If however you want a proper job, get someone with a good reputation to replace the bottom.
Not cheap though!
- Log in to post comments
Brass plates to be used
Stephen,
My intention is to cut brass sheet to form patches, then tin the tank and patch, then position the patch and heat gently with a large soldering iron (I have a 175 watt iron) until a ring of bright solder is seen around the edge of the patch.
Afterwards I intend to line the tank with POR 15 system from Frosts.
These restoration projects are really interesting as you have to go back to basics when keeping a 90 year old machine on the road! The help from NOC members is also very helpful, than you everyone.
Phil.
- Log in to post comments
A Cautionary Tale....
I have seen tank liner applied to a rust-lined tank that eventually resulted in the lining separating from the inside of the tank in patches resulting in one big mess. What you can see now of the pitting is probably the tip of the iceberg. I vote for cutting out a large part of the bottom, having a good look, and welding it back together with good metal. Been there.
Mike
- Log in to post comments
On Wheeler Dealers a leaky…
On Wheeler Dealers a leaky steel petrol tank was repaired first tinning the tank around the hole and then placing a patch piece on top and soldering the edges.
- Log in to post comments
Christopher, I'm worried…
Christopher,
I'm worried that the blow lamp will melt the existing soldered joints of the tank as there is little control where the flame heats. I felt that heating by conduction is a more precise way of getting the heat to the patch and then melting the solder.
- Log in to post comments
From memory the Wheeler…
From memory the Wheeler Dealer guy did it by first using a blow torch on an old fashioned copper headed soldering iron so the heat was then applied locally using the soldering iron from the retained heat. If not then I have seen that old type iron used elsewhere for keeping the heat applied in one spot.
- Log in to post comments
Lining
I used Belzona super metal to patch my tank with some roughened steel patches, I used a handful of small self tapping screws in the tank agitated to remove most of rust. Then used a de rusting solution.
Once I could see mainly clean metal I lined with ethanol resistant liner.
It did not upset the finish on the tank and it’s still petrol proof.
- Log in to post comments
Limitations of liner
I may have to do something different with my Big four tank though!
- Log in to post comments
Stephen, Just catching up…
Stephen,
Just catching up on where I left off last year! You've certainly got a much bigger job with Big Four tank.
I used the POR15 tank re-lining kit and followed the instructions implicitly, which took over 18 hours to complete, but after 1 week when I tested the tank I found that the liner was beginning to peel off. So back to stage 1.
I'm now toying with the idea of making my own flat tank, with the help of my son-in-laws welding expertise. This would be a spare tank so that I can use the Model 18 so that I may then send my tank to India for them to copy. You have to be careful who you use in India and am making enquiries to make this as trouble free as possible.
By the way, what year is your Model 18, looks to be 1928?
Philip
- Log in to post comments
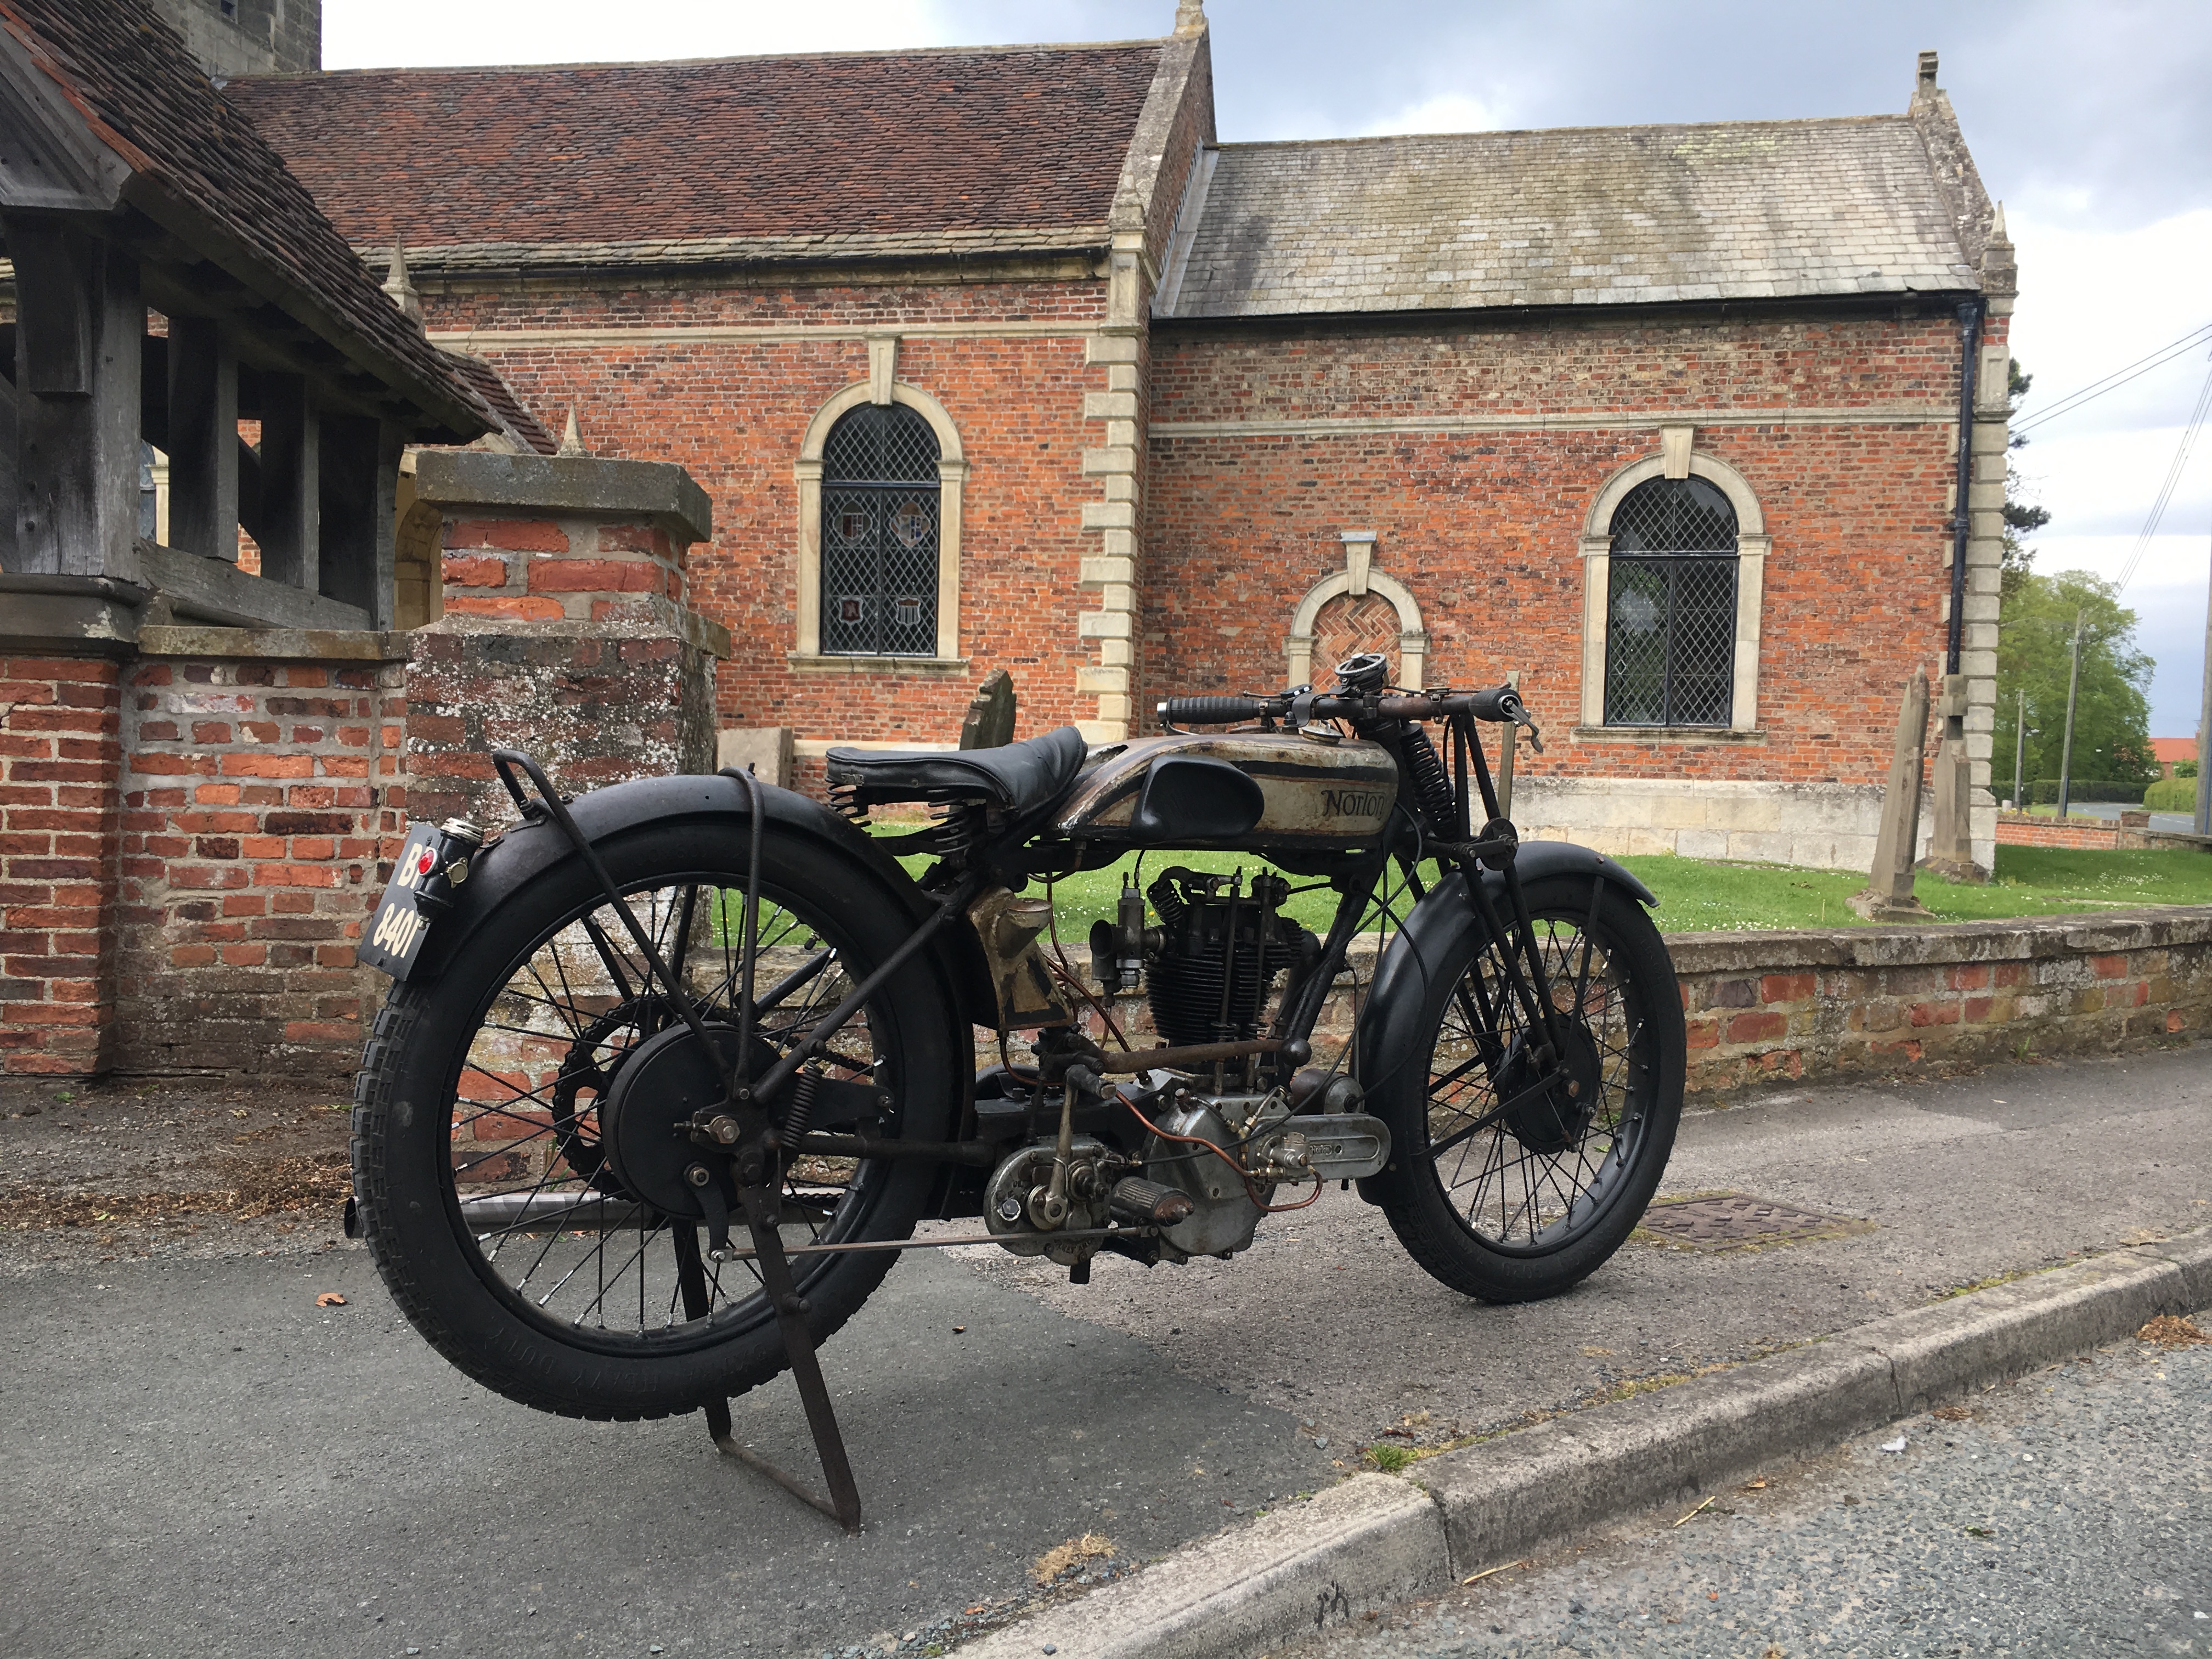
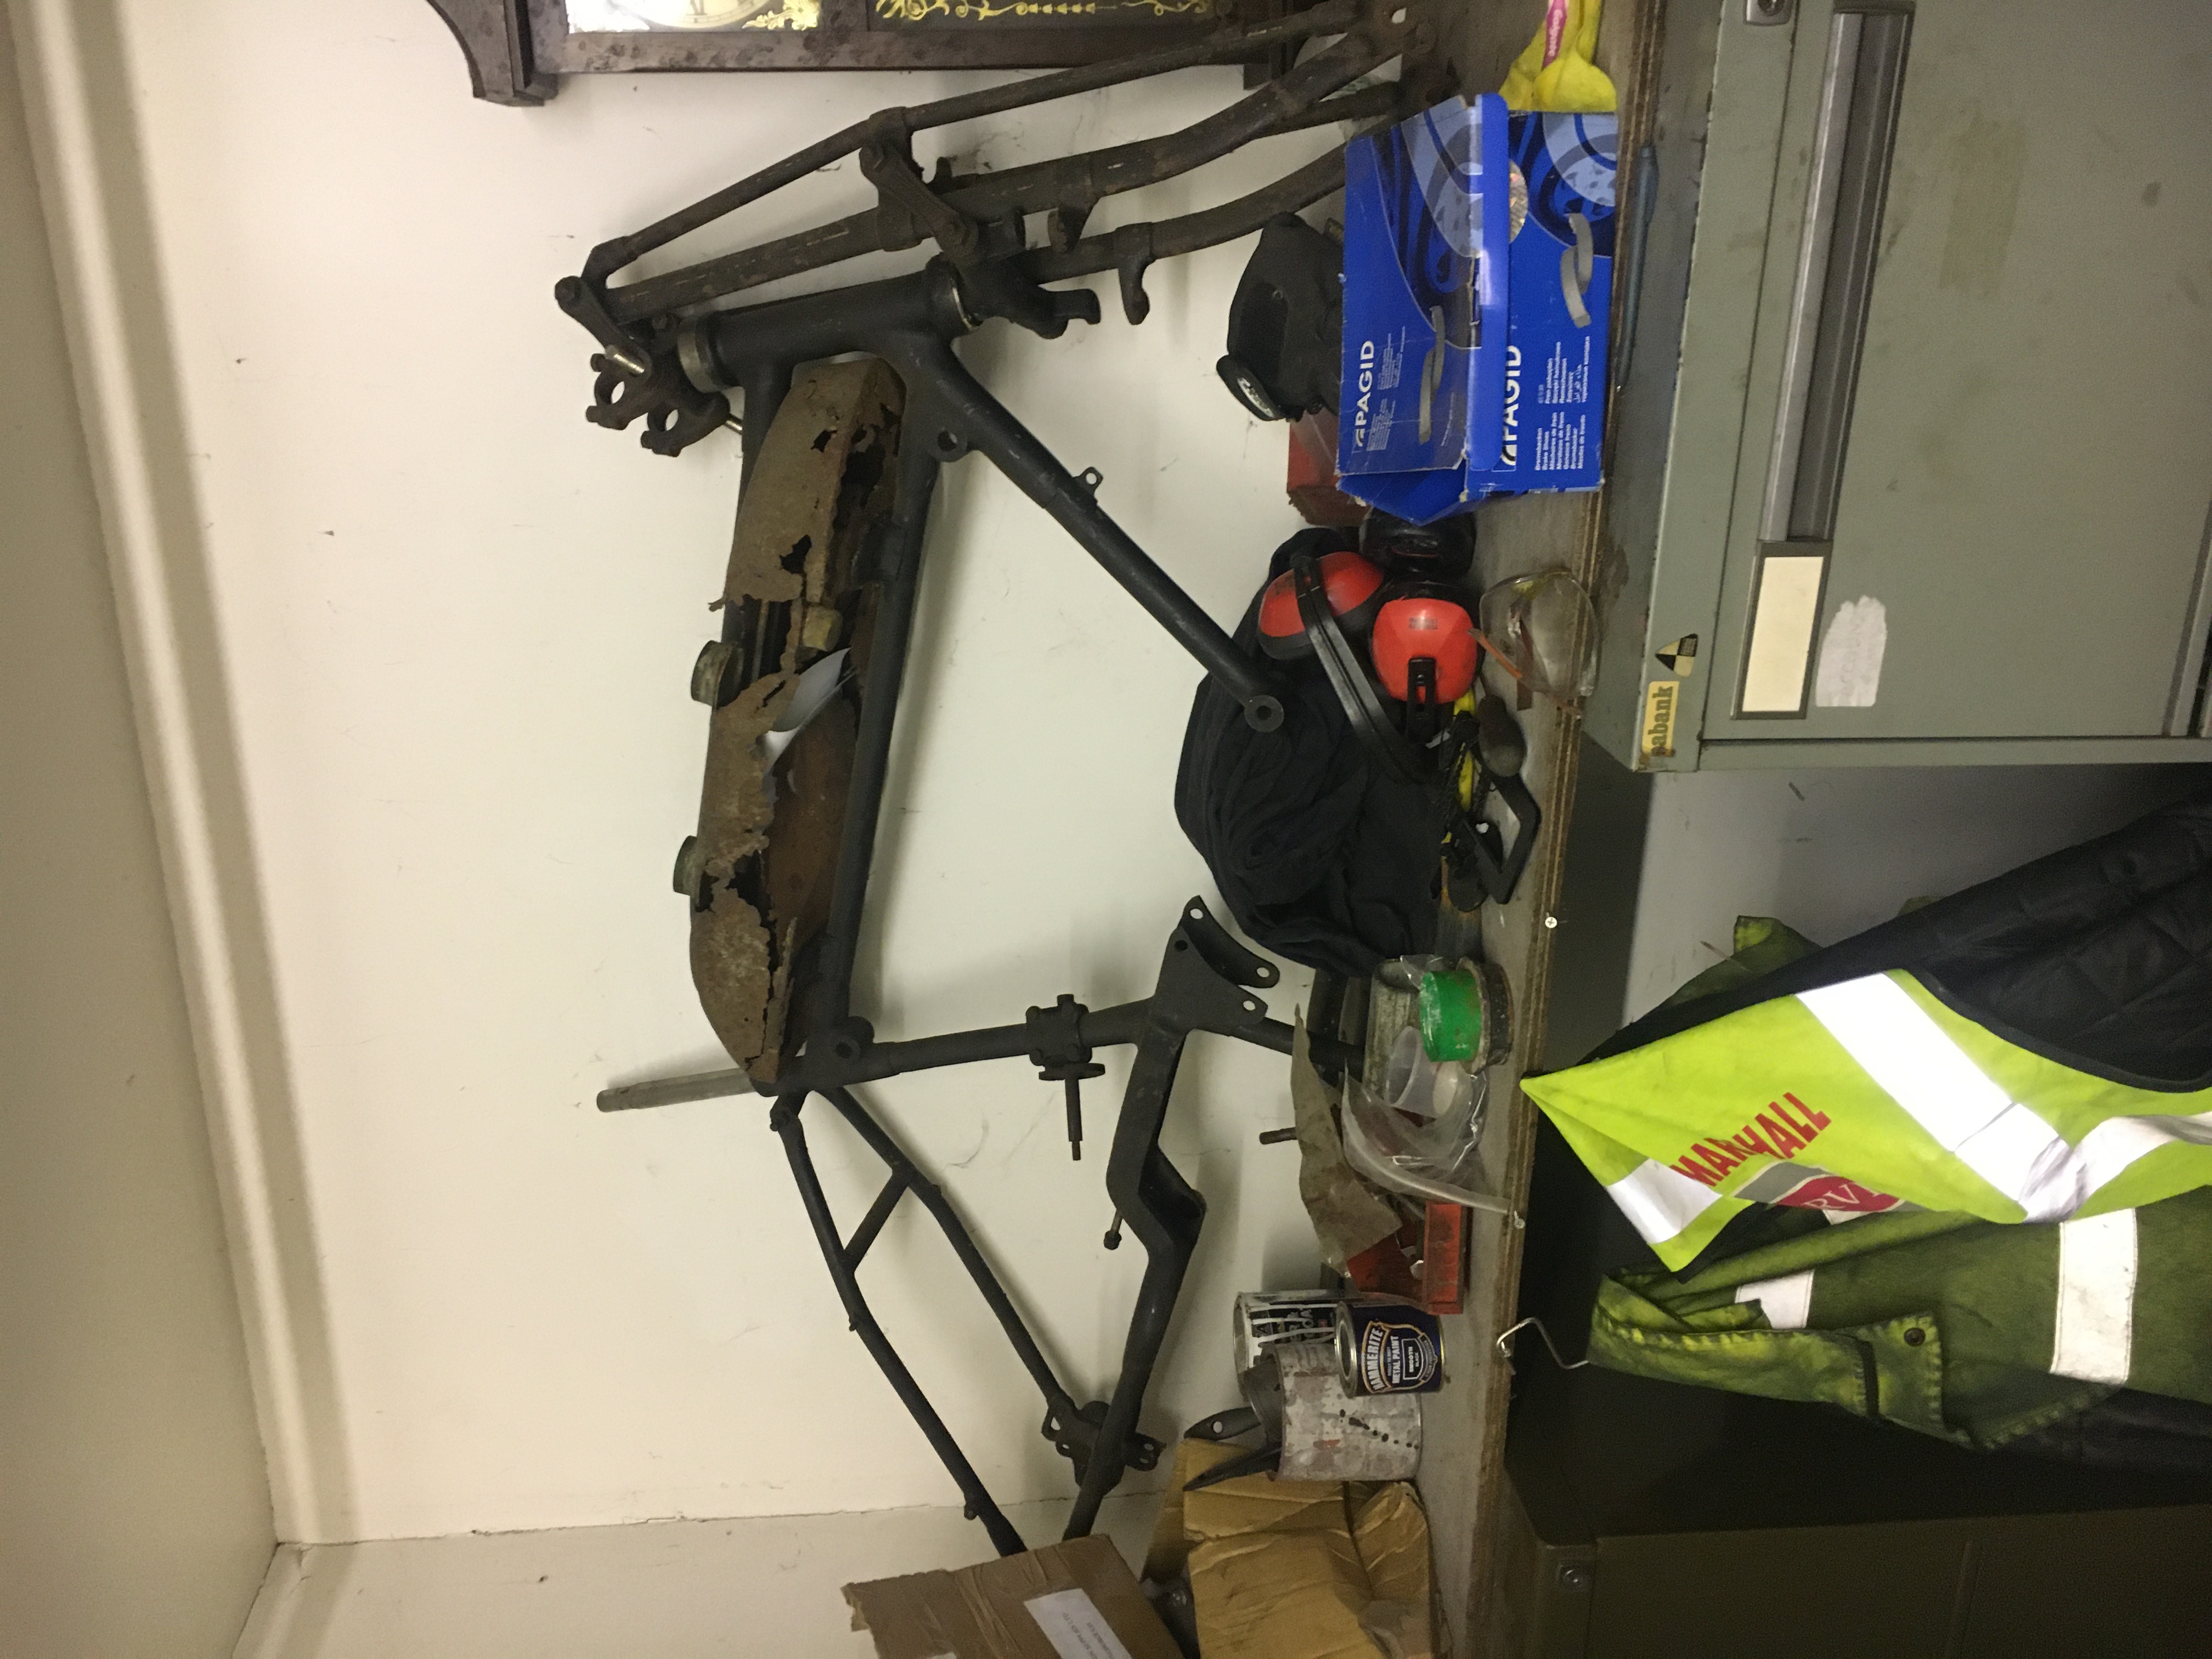
Model 18 tank
My model 18 in the picture is 1924 but with later tank and brakes fitted. It was updated I believe some time in the 30s and as it was like this when bought and I loved the look, I made it OK to use as is.
It should have a flat tank.
My 1928 model 18 still has a flat tank.
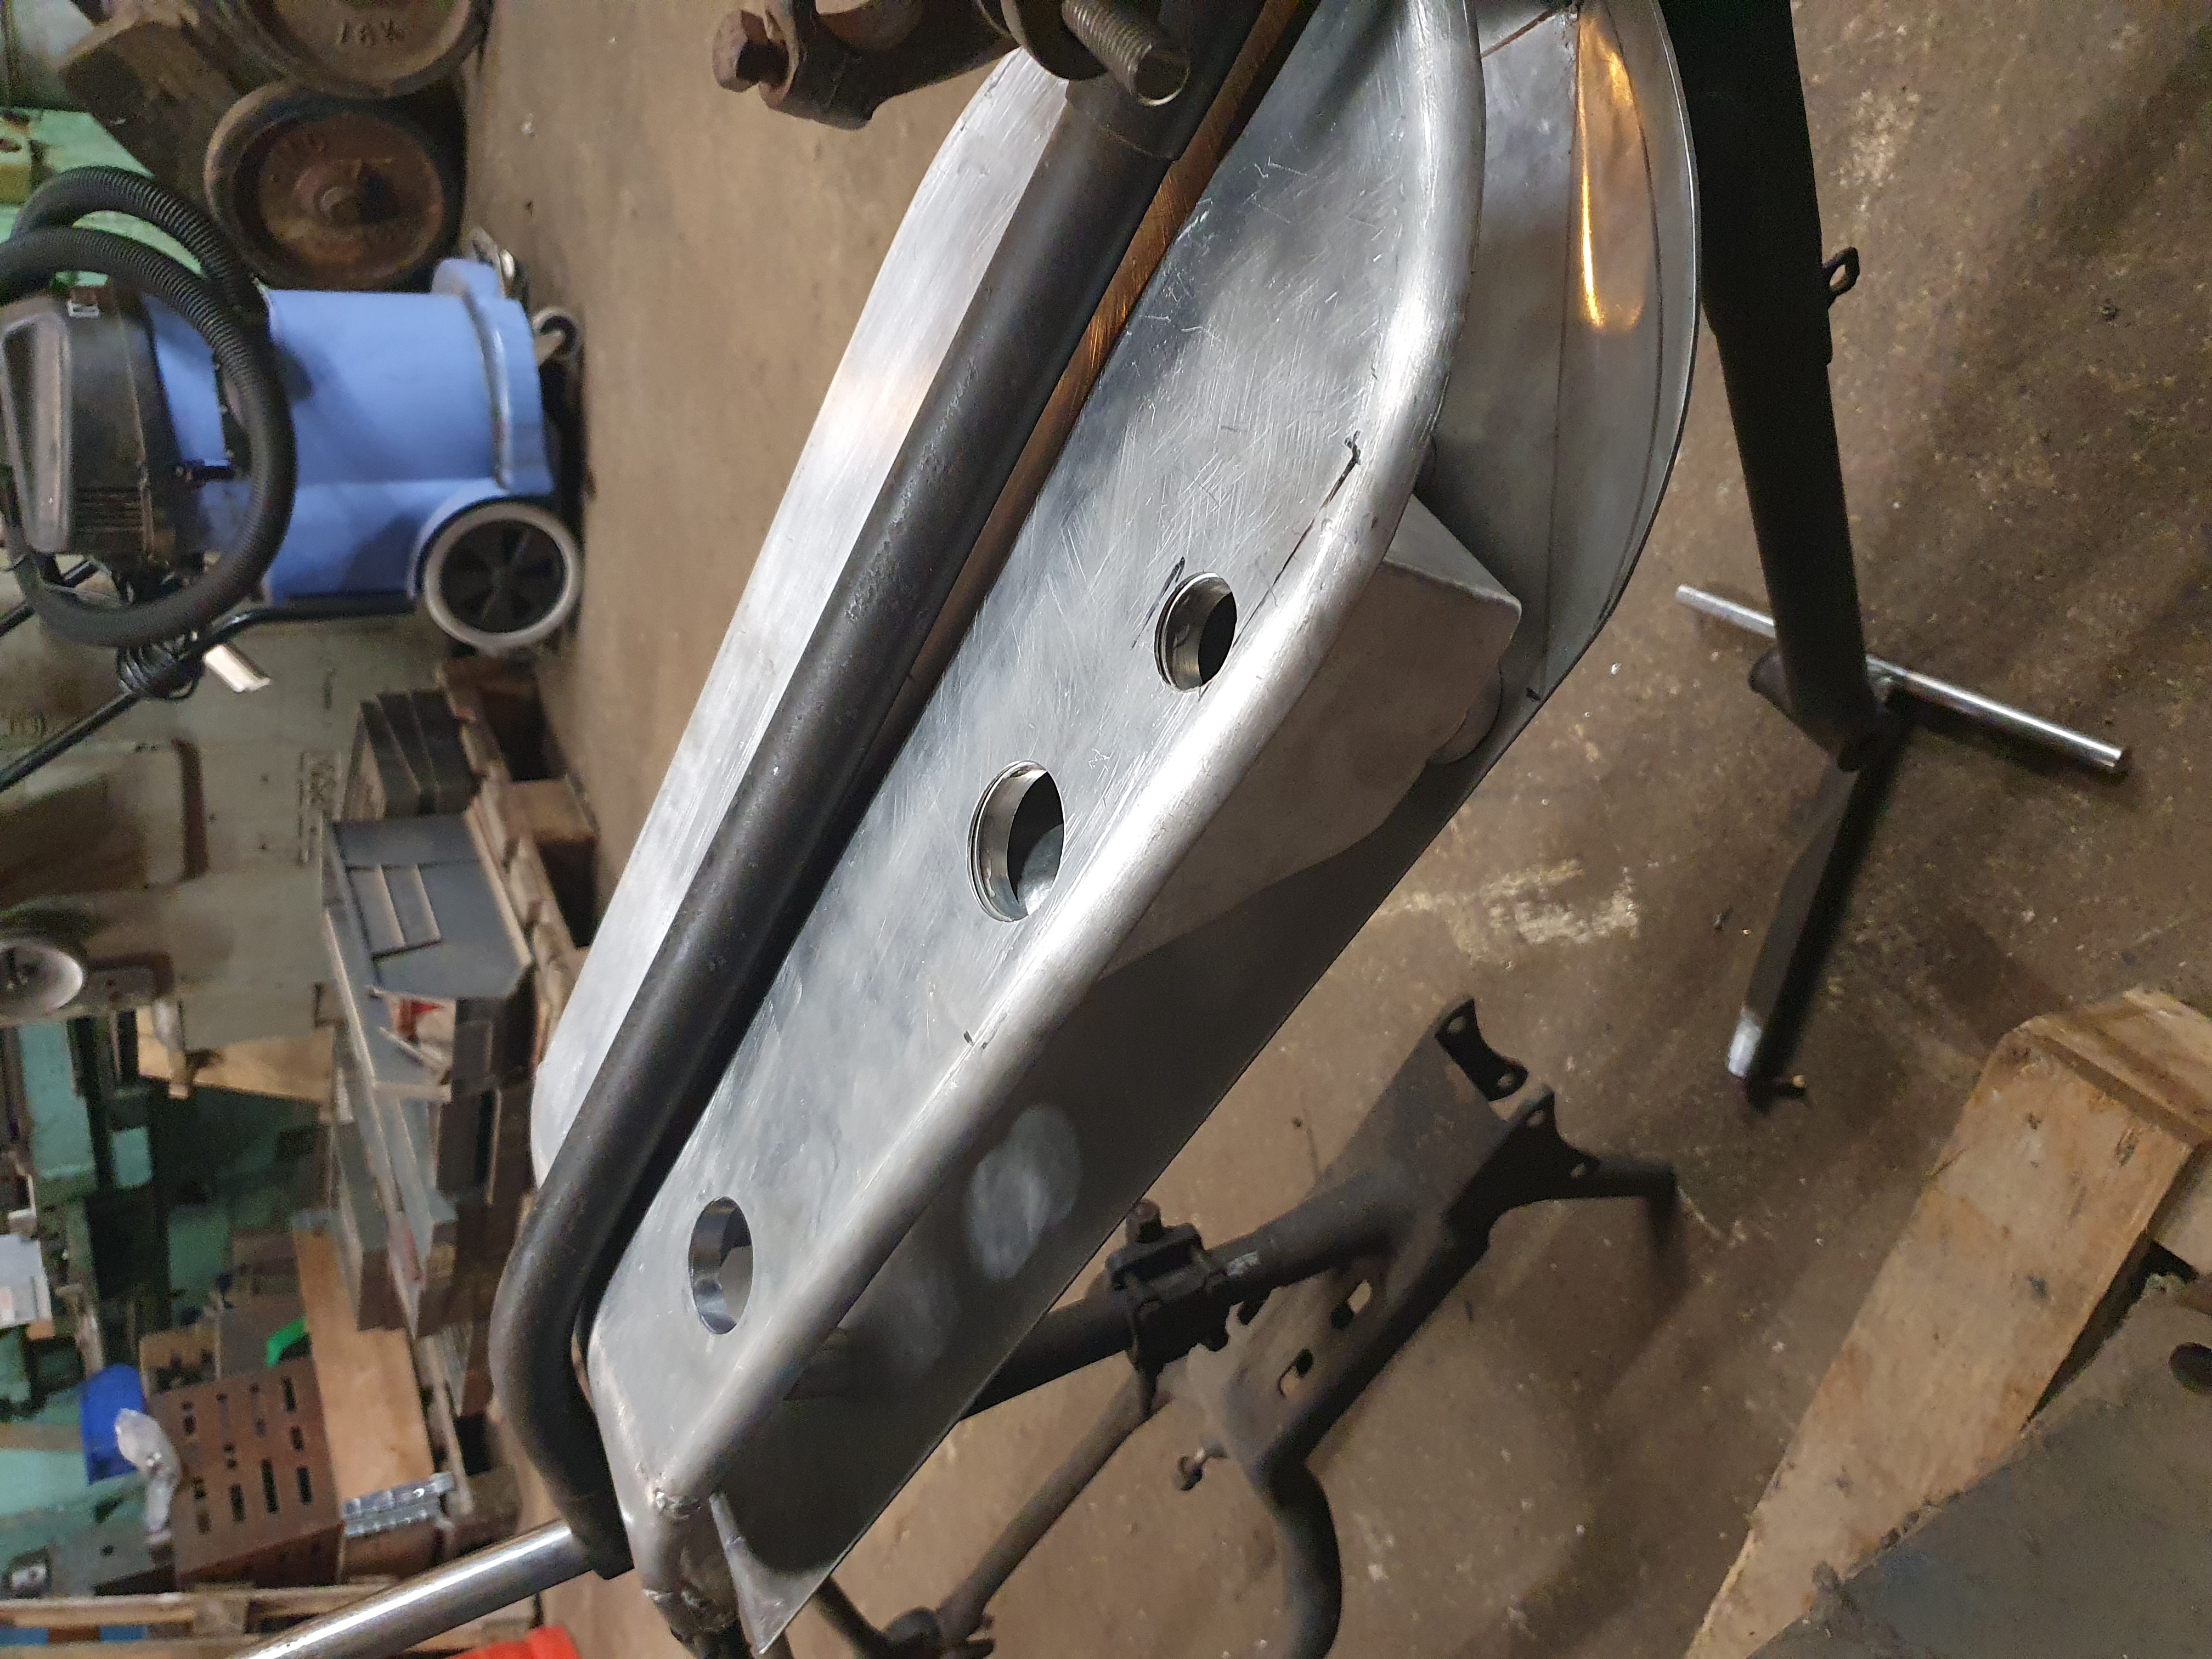
I'm making a tank for my other 1924 model 18 which has dummy belt rear brake and Druids 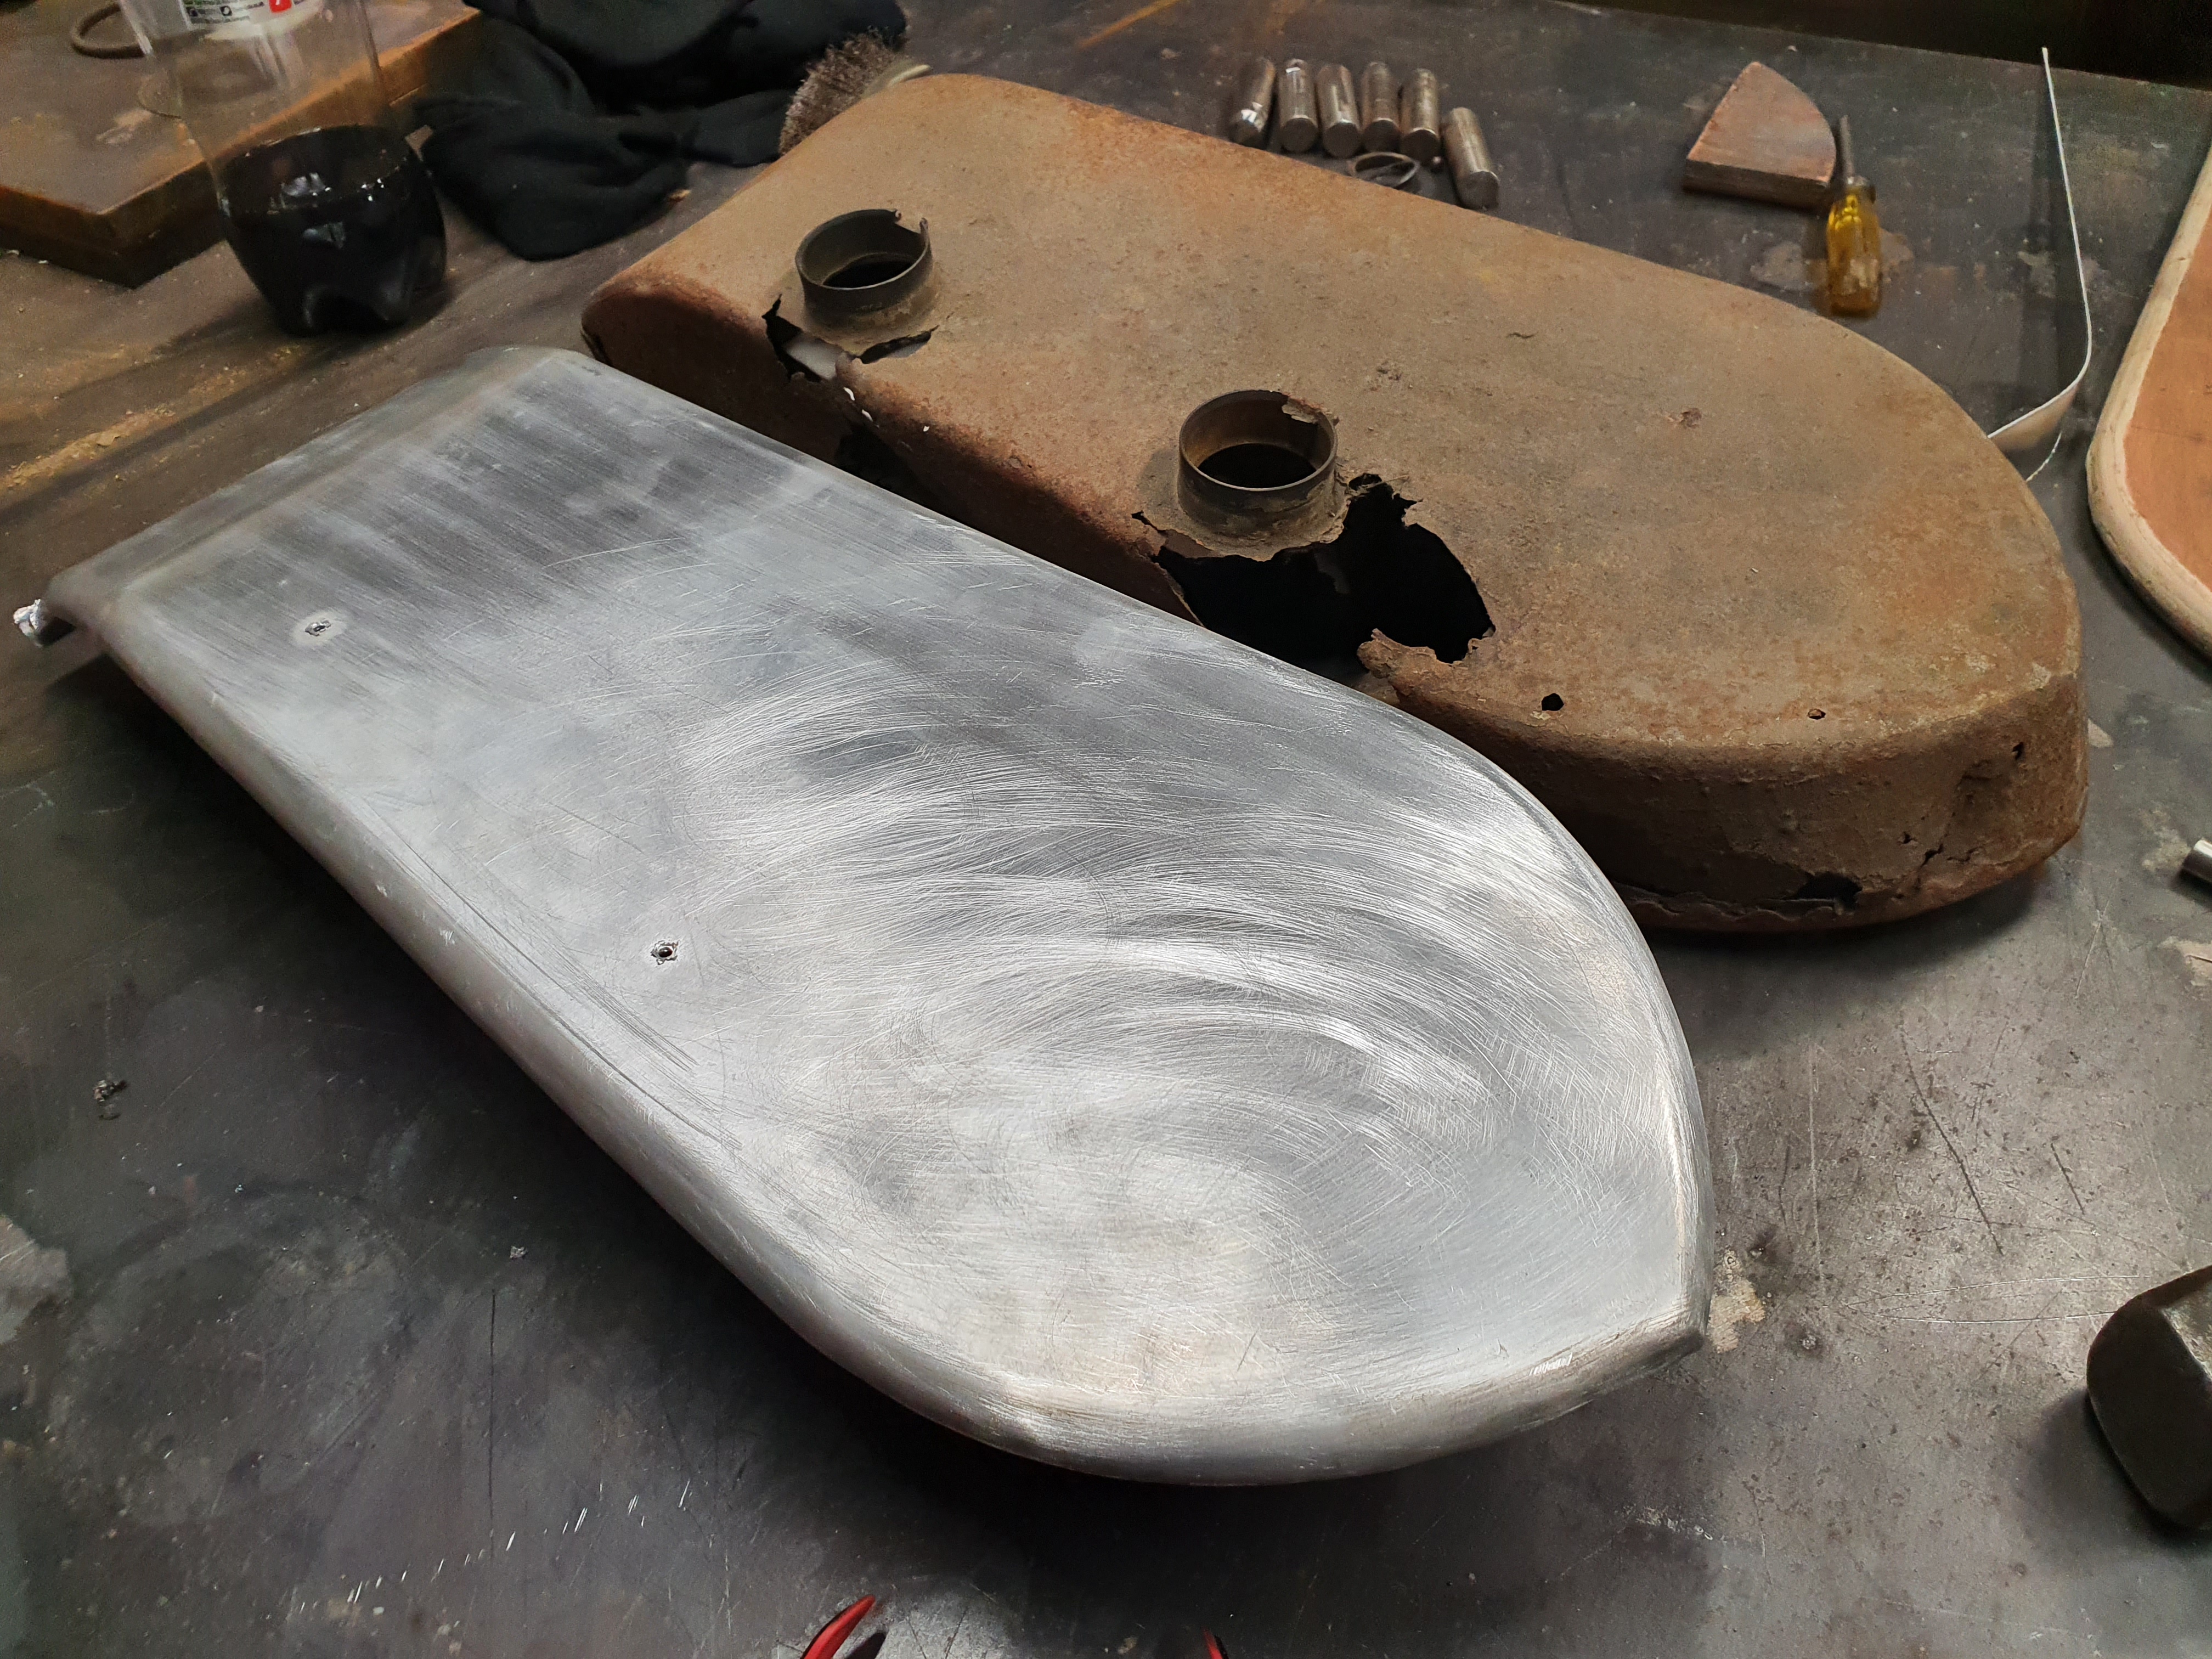 but they are a lot of work.
Additionally I've started to make an Aluminium tank for my 1923 Big four.
If you do get someone In India to accurately copy your 27 tank I'd be surprised. Fully welding a flat tank in 0.9mm steel would be a waste of time as the distortion would mean loads of filler to finish.
In 2mm Aluminium you have a chance.
- Log in to post comments
Use the biggest soldering iron you can lay your hands on (250w or bigger) This will help you control the flow of where your able to solder. Using a blowlamp of whatever size will be a recipe for disaster, Use plumbers solder, the stuff in stick form and a good flux, the powerflow flux in yellow pots is good.